How to Condense Files for Email: Expert Tips 2026
Ayush Soni
Founder, File Studio
On this page
- That Dreaded File Too Large Email
- Choosing Your File Condensing Strategy
- Three approaches that solve different problems
- File condensing methods compared
- Condensing Files by Type A Practical Guide
- Images need resizing before archiving
- PDFs reward cleanup in the right order
- Office documents and spreadsheets behave differently
- A Secure Offline Workflow with File Studio
- Why local processing matters
- A practical privacy first routine
- When Compression Is Not Enough
- Split the problem instead of forcing one attachment
- Use links carefully when you have to
- Troubleshooting Common Condensing Problems
- Why the file is still too big
- Why quality dropped too far
- Why the email got flagged
You've got the email ready, the subject line is clear, the recipients are copied, and the attachment is the only thing left. Then the send fails. Or worse, it looks like it sent, but a few minutes later the bounce message lands in your inbox and tells you the attachment was too large.
That problem shows up everywhere. It's a scanned contract from legal, a board packet saved as a PDF, a folder of event photos, or an invoice packet with too many images embedded. The frustrating part is that the file often doesn't seem that big until email encoding, mailbox limits, and mixed recipient systems get involved.
Most guides jump straight to cloud storage. That works sometimes, but it isn't always the right answer, especially when the file includes IDs, contracts, invoices, or internal reports. A better approach is to condense files for email in a way that matches the file type, the recipient's setup, and the privacy level of the content. If your issue is specifically image sharing, this professional guide to sharing photos is also useful for choosing between attachments and alternative delivery methods.
That Dreaded File Too Large Email
It usually happens at the worst time. A deadline is close, someone is waiting on the document, and the attachment that opened fine on your computer suddenly becomes “message size exceeds the limit” on the way out.
I've seen this most often with PDFs that grew unnoticed over several edits. A simple report turns into a bloated file after scans get added, pages are rearranged, comments stay embedded, and a few high-resolution screenshots sneak in. The sender thinks they're attaching one normal document. The mail server sees a payload that's too heavy.
There's a reason this problem hasn't gone away. Email systems weren't built for today's media-heavy files, which is why vendors still treat size reduction as a normal part of attachment workflows. Microsoft's Outlook guidance explicitly recommends compressing files to work around attachment limits, and Adobe still recommends zipping files before emailing them in attachment-based workflows, even while also offering cloud sharing options in its guidance on reducing attachment size in Outlook.
Practical rule: If a file matters enough to email, it matters enough to prepare properly before attaching it.
The good news is that condensing files for email isn't one trick. You can bundle, resize, re-export, trim pages, or switch delivery methods. The right move depends on whether you're sending text documents, scans, photos, or something confidential that shouldn't leave your device in the first place.
Choosing Your File Condensing Strategy
Some files need a zipper. Some need actual compression. Some shouldn't be attachments at all. A common mistake is using one method for everything.
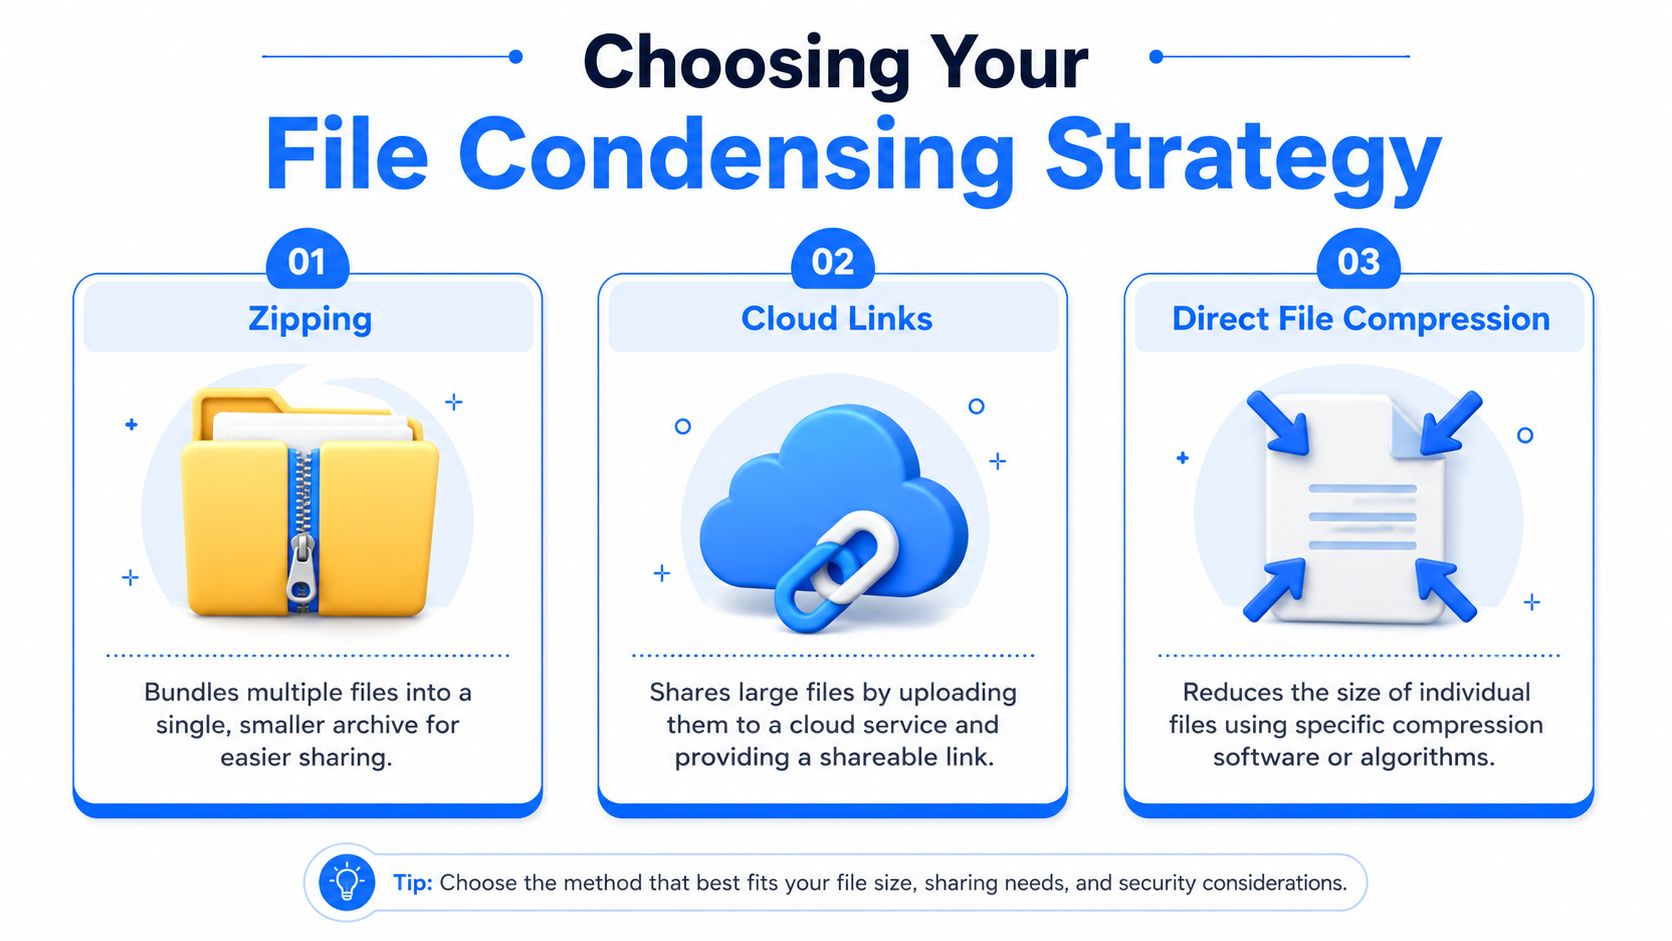
Three approaches that solve different problems
Zipping works best when you have multiple files or document-heavy content. It bundles everything into one archive and can shrink text or office files efficiently. Microsoft and Adobe both still treat compression and zipping as standard solutions for attachment limits, which says a lot about how durable this method is in day-to-day office work, as noted in Adobe's guidance on sending large files via email.
Cloud links are useful when the file is too large or when the recipient expects a shared folder instead of an attachment. But there's a trade-off. Uploading means the file leaves your device, and for some teams that changes the compliance conversation immediately. Legal, HR, finance, and client service teams usually can't treat that as a casual detail.
Direct file compression gives you the most control. You resize images, lower image resolution inside PDFs, remove unnecessary pages, and export at a more practical quality level. That's the route I trust most when the file needs to stay readable but smaller.
If you're mainly dealing with photos and screenshots, a dedicated image workflow is usually more effective than archiving alone. A tool that focuses on compressing images without losing quality is a better fit than trying to ZIP a folder of already-compressed image files.
File condensing methods compared
| Method | Best For | Pros | Cons |
|---|---|---|---|
| Zipping | Multiple documents, text-heavy office files, folders | Fast, built into Windows and macOS, bundles many files neatly | Often weak on photos, scans, and media-heavy files |
| Cloud links | Very large files, shared review workflows, recipients who don't want attachments | Avoids attachment caps, easy for oversized files | Requires upload, adds privacy and access concerns |
| Direct file compression | PDFs, images, scans, polished outbound attachments | Most control over final size and quality | Requires more decisions about settings and output |
Choose based on file makeup, not habit. A folder of spreadsheets behaves differently from a scanned PDF. A photo set behaves differently from both.
A simple rule helps. If the file is mostly words, tables, and standard office content, start with ZIP. If it's mostly images or scans, compress the content itself. If it's enormous or the recipient already works from shared documents, use a link only if that fits your privacy requirements.
Condensing Files by Type A Practical Guide
Different file types fail for different reasons. A ZIP file can shrink a folder of Word documents nicely and barely touch a batch of phone photos or scanned PDFs.
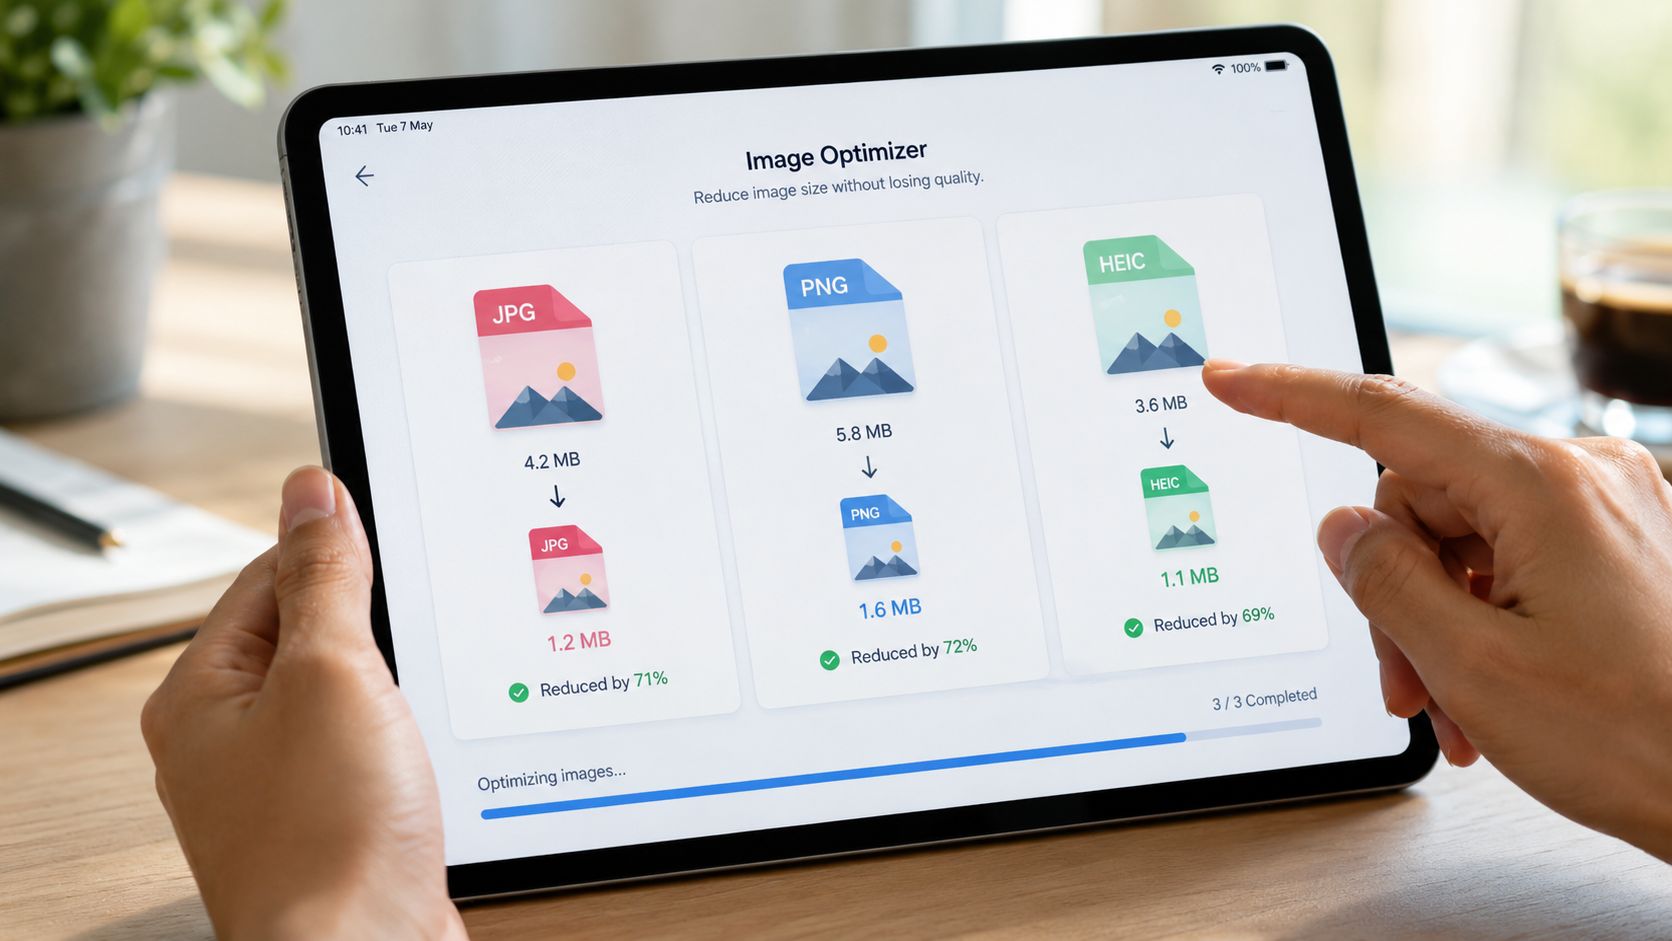
Images need resizing before archiving
Images usually get oversized because the source is far larger than the recipient needs. A screenshot for review does not need camera-level resolution. A product shot for print might.
For email, screen-friendly dimensions and moderate image compression usually do more than archiving alone. The practical rule is simple. Remove extra pixels first, then compress, then archive only if you need to bundle files.
Use this order:
- Evaluate the use case. If the image is only for on-screen review, keep it optimized for screens instead of preserving the original export.
- Resize dimensions first. Reducing a large image from full-resolution to a sensible width cuts file size faster than zipping it.
- Compress after resizing. Smaller dimensions give compression tools less data to process and better odds of a clean result.
- Archive at the end. ZIP helps package multiple finished files together. It is rarely the main size reduction step for photos.
This matters with sensitive work too. If the files are internal screenshots, IDs, signed forms, or client images, an offline image workflow keeps that material off browser tools and random upload sites.
PDFs reward cleanup in the right order
PDFs respond well when you cut waste before you run compression. That usually means trimming pages, reducing oversized scans, and re-exporting for screen use.
SMTP2GO explains the practical email side well in its article on email file size limits and compression sequence. The useful takeaway is not the exact limit. It is the order of operations. Image-heavy PDFs often shrink far more when you reduce the embedded images and then save the PDF for web or screen delivery.
That is the part people miss.
A practical routine for PDFs:
- Remove pages the recipient does not need. Old appendices, blank scans, duplicate signatures, and long reference sections add weight fast.
- Target the images inside the PDF. Scans, screenshots, and pasted photos are usually responsible for most of the size.
- Re-export for screen or web delivery. That keeps the file readable without carrying print-grade bulk.
- Use ZIP only after the PDF itself has been cleaned up. For scan-heavy PDFs, archiving alone usually changes very little.
If this is a recurring problem, a guide on fixing a PDF that is too large for email will save more time than repeated trial and error.
Office documents and spreadsheets behave differently
Native Office files usually compress well because they contain structured text, repeated data, and layout instructions rather than full-page images. A ZIP archive is often enough for reports, spreadsheets, slide decks, and exported text documents.
The exception is common in office admin work. A spreadsheet that started as an Excel file can become a bloated image document after someone prints it, signs it, scans it, and saves it as a PDF. At that point, treat it like a scan, not like a workbook.
Use the file you have, not the file it used to be. That one decision avoids a lot of wasted time.
A Secure Offline Workflow with File Studio
Most file-size advice focuses on speed. Sensitive document workflows need a second filter. Where is the file being processed?
Why local processing matters
A lot of how-to posts casually tell people to upload contracts, IDs, invoices, and HR records to a browser tool. That may be convenient, but it skips the key question. Should the file ever leave the device before you send it?
TitanFile's guidance calls out that exact gap and notes that many articles miss the question of whether a file should be uploaded at all. For sensitive files like IDs, contracts, or invoices, keeping the process local can reduce exposure of confidential data and metadata, as discussed in TitanFile's article on sending large files without overlooking privacy.
That's why an offline desktop workflow makes sense for confidential work. No upload queue. No browser tab holding private files. No extra copy on a third-party service just because you needed to shave down an attachment.
A practical privacy first routine
For teams that handle sensitive files regularly, I'd keep the workflow simple and repeatable:
- Start with file triage. Decide whether the recipient needs the whole file, selected pages, or only extracted images.
- Convert for compatibility. If the source is HEIC, AVIF, WebP, or another format the recipient may not open easily, convert it before sending.
- Condense locally. Resize images, optimize PDFs, and batch-process folders without uploading anything.
- Inspect metadata. Check for author names, timestamps, device details, location data, and editing history before the file leaves your machine.
- Export with consistent naming. Clean filenames reduce confusion and prevent resends.
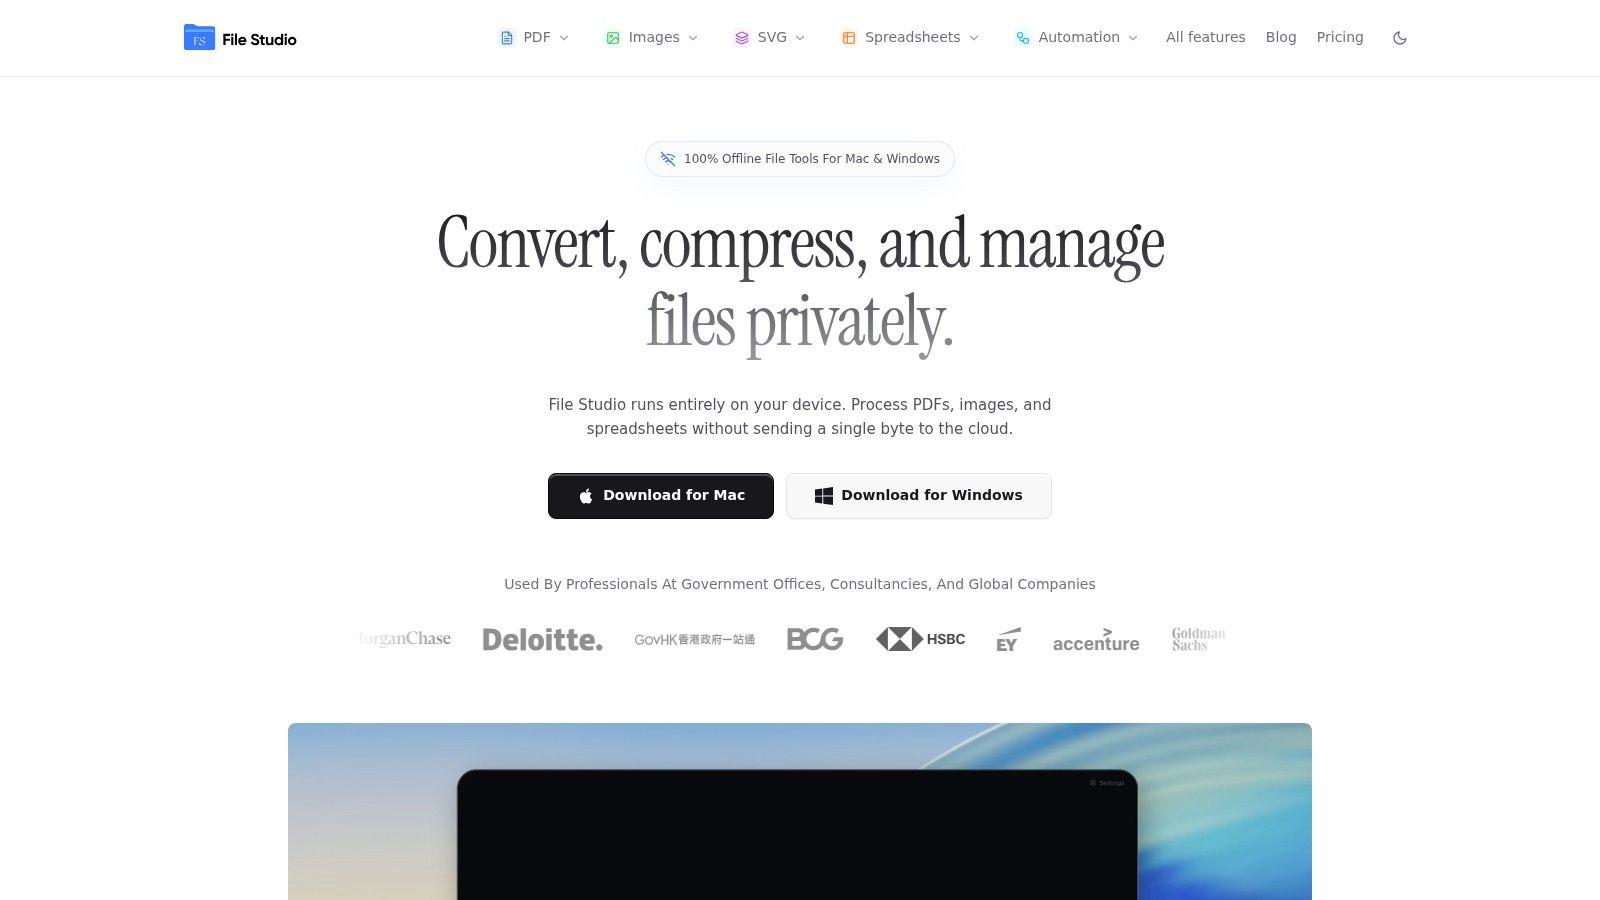
That's where a local utility becomes more than a convenience tool. A desktop app built for converting files without uploading fits the reality of legal, HR, finance, and client-document workflows better than one-file-at-a-time web tools.
Sensitive file handling isn't just about making attachments smaller. It's about reducing exposure while you prepare them.
The strongest offline setup also helps with volume. Batch compression for image folders, PDF page deletion, format conversion, and metadata cleanup all belong in the same workflow. When those steps live in separate web apps, people rush, skip checks, and send more than they meant to send.
When Compression Is Not Enough
Sometimes you do everything right and the file is still too large. That usually means the problem isn't compression anymore. It's delivery strategy.
Split the problem instead of forcing one attachment
For text-heavy office documents, ZIP is often the strongest offline shortcut. Neuxpower notes that standard ZIP compression is generally best on text and data-heavy files, and MyDocSafe reports that compression can reduce document sizes by as much as 50% in some document workflows, as summarized in Neuxpower's guide to compressing files for email. But that same guidance is clear that ZIP has limited value on already-compressed image and video formats.
So if the file is still too large after sensible optimization, stop trying to squeeze the same object harder. Split the package.
A practical fallback looks like this:
- Break one archive into numbered parts when you're sending a large set of documents.
- Send separate themed attachments such as “signed forms,” “supporting scans,” and “reference images.”
- Move image sets out of the main PDF if the recipient doesn't need them embedded.
If you need a deeper refresher on why images behave differently, this overview of effective image compression methods is a helpful companion to attachment-focused workflows.
Use links carefully when you have to
Cloud links still have a place. They're the fallback when attachment-based delivery stops being practical.
But use them intentionally. Set access controls if your system supports them. Remove access after the recipient confirms download. Keep the linked version clean, final, and limited to what they need. If the file contains sensitive material, link sharing should be the exception you chose for a reason, not the default because compression felt inconvenient.
Troubleshooting Common Condensing Problems
Condensing usually fails for practical reasons, not mysterious ones. The file itself was handled in the wrong place, the settings were too aggressive, or the attachment format created trouble with the recipient's mail system.

Why the file is still too big
ZIP is often the first move. It is not always the right one.
JPEGs, PNGs, phone photos, and many exported PDFs already contain compressed data, so zipping them often produces little change. The underlying problem is file content, not file packaging. If the attachment is image-heavy, reduce the images first. If the PDF came from a scanner, work on scan settings, image resolution, or PDF optimization instead of wrapping the same oversized file in a ZIP and hoping for a different result.
A quick check saves time:
- Inspect the file type first. Photos and scanned PDFs usually need optimization before archiving.
- Find the heavy pages. One color scan or inserted screenshot set can account for most of the size.
- Check the sent size, not just the saved size. Email encoding can push the final payload higher than the file size shown in your folder.
Why quality dropped too far
This usually happens after a failed send and a rushed second attempt. Someone picks the smallest preset, flattens the file, and sends a version that technically fits but is hard to read.
The correct fix is selective reduction. Lower image quality where fine detail does not matter. Keep invoices, contracts, spreadsheets, and text-heavy pages sharp. Test the result on a normal laptop screen and on mobile if the recipient is likely to open it there. If small text looks soft or signatures start breaking up, raise the setting one step and export again.
Small enough to send is useful. Small enough to damage readability is not.
Why the email got flagged
Compressed attachments can draw extra scrutiny, especially in finance, legal, healthcare, and larger corporate environments where mail filters are stricter. A ZIP file with a vague name and no context can look risky even when it is harmless.
Use plain filenames, standard formats, and a short message that explains what is attached and why. If a ZIP keeps getting blocked, send the cleaned files individually if policy allows. For sensitive material, I prefer an offline prep workflow first, then the simplest acceptable delivery method. File Studio fits that approach well because it runs locally on macOS and Windows and lets you condense PDFs, images, spreadsheets, batch files, and remove metadata without uploading confidential documents to a third-party service.
Crafted with Outrank tool