

Image Compressor
Images to Compressed Images - Shrink image files without sacrificing the details you care about.
File Studio uses smart compression to dramatically reduce file sizes while keeping images sharp and vibrant - perfect for web uploads, emails, and storage optimization.
Free trial · No account required · Files stay on your device
All conversions happen locally on your computer. No uploads, no subscriptions, and no background syncing.
Images → Compressed Images
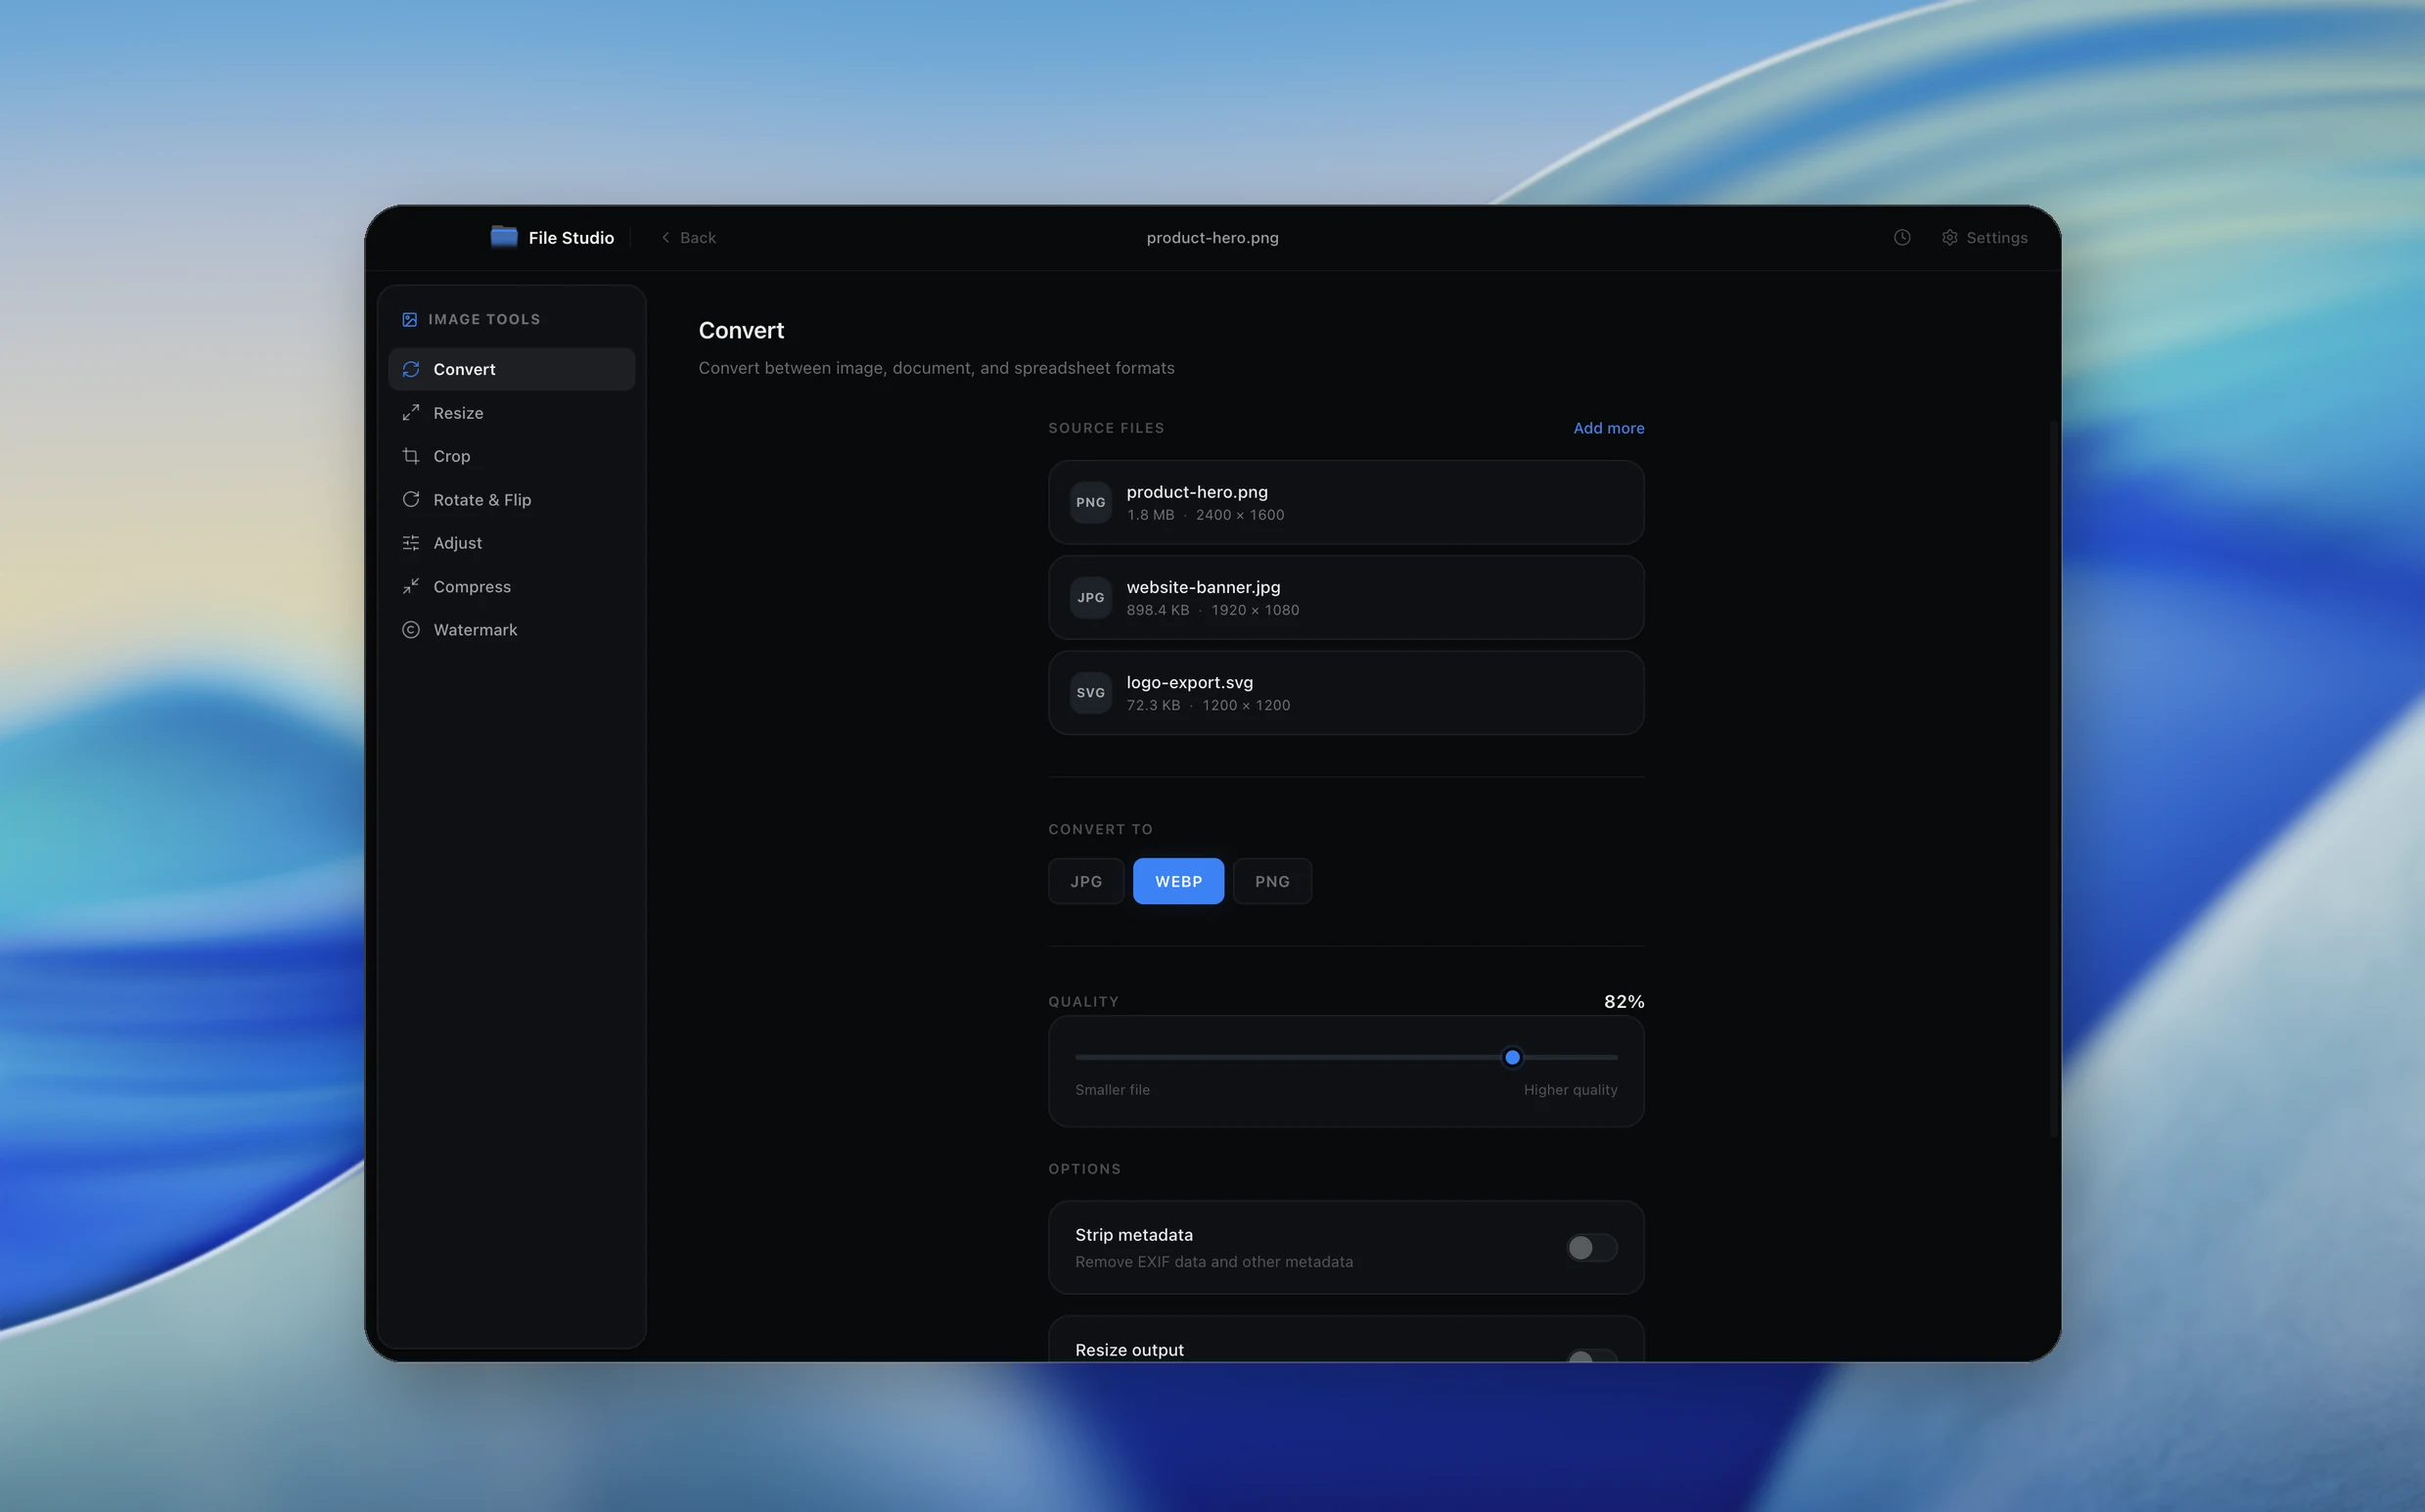
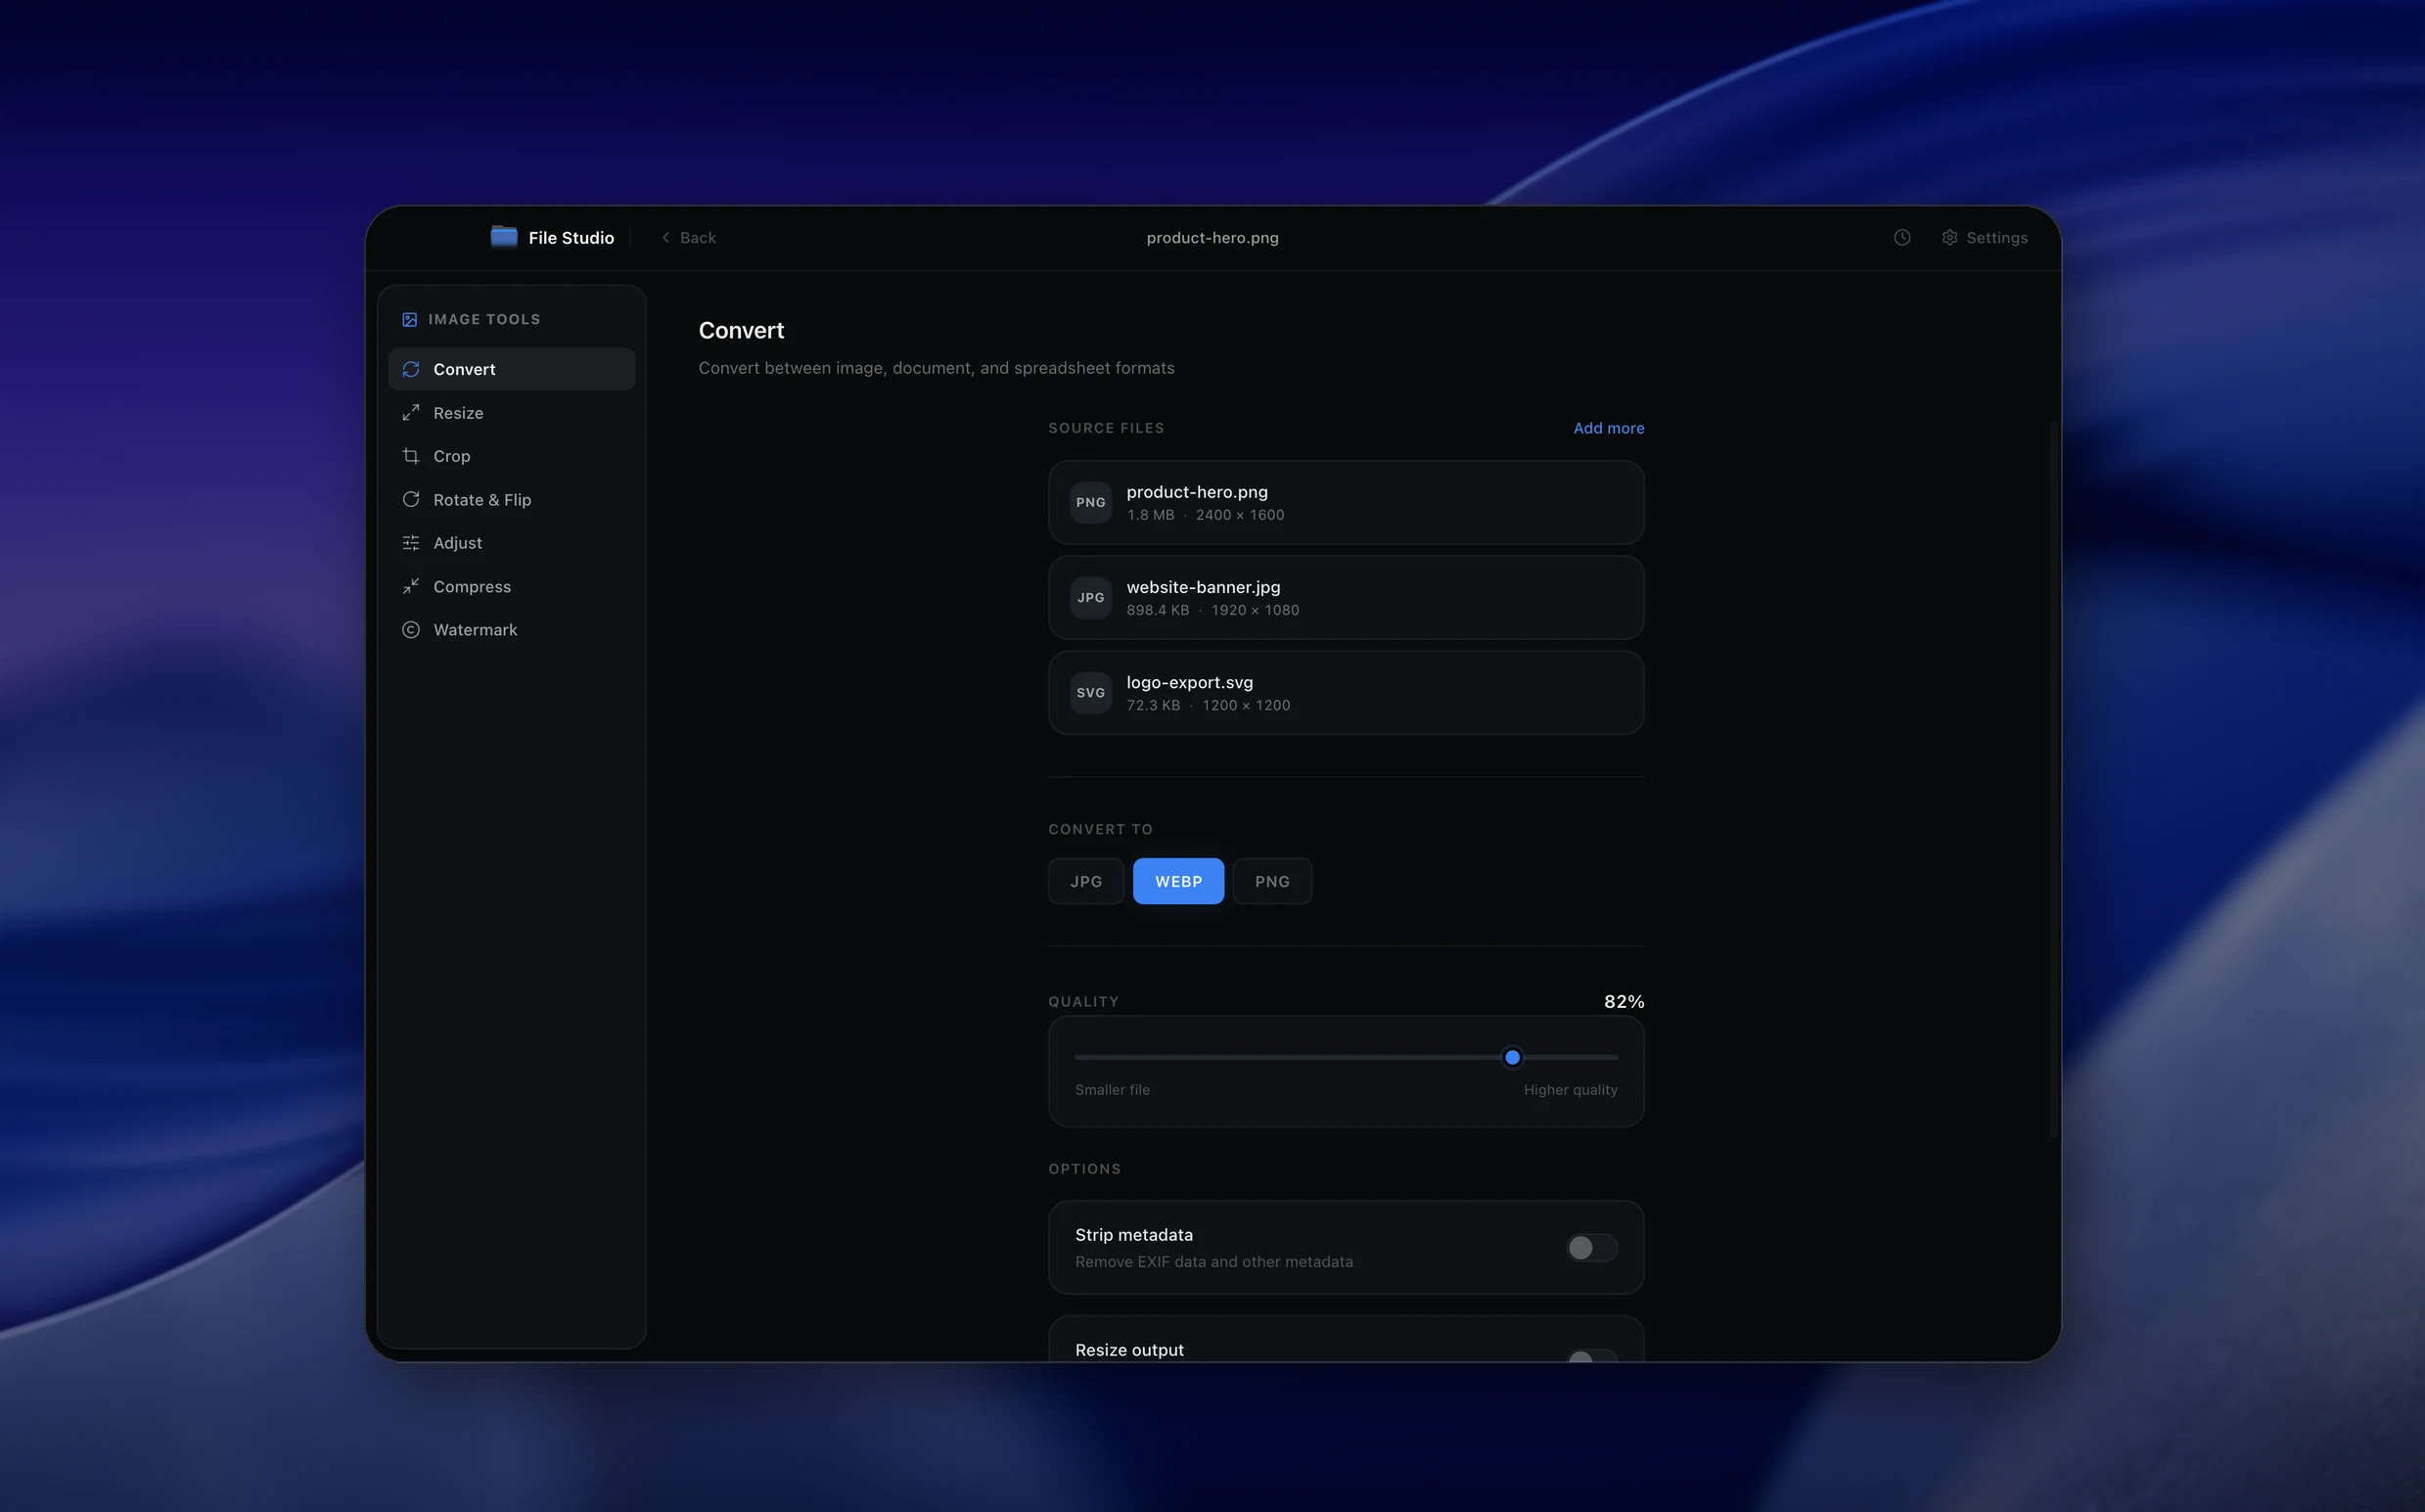
Real File Studio interface, shown in light and dark mode.
Understanding image compression
Image compression reduces the file size of photographs and graphics using mathematical algorithms that remove redundant or less important visual information. There are two fundamental types: lossless compression (PNG, TIFF with LZW, WebP lossless) preserves every pixel exactly, while lossy compression (JPG, WebP lossy, AVIF) achieves smaller files by discarding information the human eye is less likely to notice.
Lossy compression works by analyzing the image in small blocks, transforming spatial data into frequency data, and discarding high-frequency components (fine details, subtle color variations) based on a quality threshold. The lower the quality setting, the more information is discarded, and the smaller the file becomes. At moderate quality levels (70-85 for JPG), the visual difference from the original is often imperceptible to casual viewers.
Lossless compression works by finding repeating patterns in the pixel data and encoding them more efficiently. It is best suited for images with large areas of uniform color (screenshots, diagrams, text) and produces minimal compression for complex photographs. Choosing between lossy and lossless depends on whether perfect fidelity or small file size is the higher priority.
How it works
Convert Images to Compressed Images in four simple steps.
The flow mirrors the main File Studio experience: install the app, drop in your files, pick the right tool, and export clean, ready-to-share output. All without sending anything to the cloud.
Install File Studio
Download the app, move it to Applications, and open it. No sign-ups or accounts required.
Add your Images files
Drag-and-drop your images files into the window or click to browse from disk.
Choose Images → Compressed Images
Pick the dedicated tool, then adjust resolution, quality, and page range until the preview feels right.
Export & keep working
Select an output folder and run the conversion. Your originals stay untouched on your device.
Best practices for cleaner results
- ·Group related files into folders before converting so your output stays organized and easy to archive.
- ·Use higher resolution presets when you know the result will be printed, zoomed in, or reused in design tools.
- ·Keep an unedited copy of your original Images files for audits, record-keeping, or compliance workflows.
- ·Combine this tool with other File Studio actions like compress, merge, or split to streamline entire document pipelines.
Why File Studio
Built for trustworthy, everyday Images to Compressed Images work.
You get precise control over the output, predictable file names, and a private workflow that keeps sensitive documents on your own machine.
Features tuned for this conversion
- ·Intelligent compression that preserves edges and details.
- ·Preview before/after comparisons with file size estimates.
- ·Lossless and lossy compression options for different needs.
Why use File Studio for this conversion?
- ·Compress JPG, PNG, WebP, and more in one workflow.
- ·Choose quality presets or fine-tune compression manually.
- ·Batch compress entire folders of images at once.
Real-world ways people use it
- ·Optimize product photos before uploading to your online store.
- ·Reduce email attachment sizes without losing image clarity.
- ·Free up disk space by compressing your photo library.
Settings guide
Understanding your conversion options
Quality Level
For lossy formats, this controls the trade-off between visual quality and file size. 80-85 is the sweet spot for most photos. Below 60, artifacts become clearly visible. Above 95, file size increases rapidly with minimal visual improvement.
Output Format
Converting to a more efficient format during compression can yield better results than compressing in the original format. WebP typically achieves 25-35% smaller files than JPG at equivalent quality. AVIF pushes further but has less browser support.
Maximum Dimensions
Resizing to a maximum width or height during compression is the single most effective way to reduce file size. A 4000x3000 photo compressed to 80% quality may still be 1 MB, but resizing to 2000x1500 first can bring it under 300 KB.
Metadata Stripping
Removing EXIF, IPTC, and XMP metadata can save a few kilobytes per image. For photos with embedded GPS data, stripping metadata also improves privacy. Keep metadata if you need camera settings, copyright info, or location data for organization.
Chroma Subsampling
In JPG and WebP, chroma subsampling (4:2:0 vs 4:4:4) reduces color resolution while keeping luminance detail. 4:2:0 produces smaller files and is standard for web photos. 4:4:4 preserves full color resolution and is better for images with fine color detail like fabric textures or gradients.
Industry standards and requirements
Google recommends that web images be as small as possible without visible quality loss, ideally under 200 KB for above-the-fold hero images. Core Web Vitals metrics (LCP, CLS) are directly affected by image size. Tools like Lighthouse flag images that could be compressed further or served in next-gen formats like WebP or AVIF.
E-commerce platforms have specific image requirements. Amazon recommends 2000x2000 pixel product images (for zoom) compressed to under 1 MB. Shopify, Etsy, and eBay have similar guidelines. Over-compressed product images with visible artifacts reduce buyer confidence and conversion rates.
For print production, images should not be compressed below 300 DPI at the final print size, and lossless formats (TIFF, PNG) are preferred to avoid generational quality loss from repeated editing and saving. In professional prepress workflows, JPG is typically used only for client proofs, never for final production files.
Troubleshooting
Common issues and how to fix them
Compressed image looks fine on my screen but blurry on mobile→
Mobile devices with high-density screens (Retina, etc.) need images at 2x or 3x the display size to look sharp. An image displayed at 400px wide on a 2x screen should be at least 800px wide in the file.
Compression barely reduced the file size→
The image may already be compressed, or it may be a format that does not compress further (e.g., an already-optimized PNG). Try converting to a different format (e.g., PNG to WebP) or reducing dimensions for greater savings.
Visible banding in gradients after compression→
Gradient banding is a common artifact of aggressive JPG compression. Increase the quality level to 85-90, switch to WebP or AVIF which handle gradients better, or add a subtle noise layer before compressing to mask the banding.
Pricing
Simple, fair pricing.
All tools included. No hidden fees. Processing stays on your device.
Yearly
For short-term projects.
- 1 year of updates
- Image, PDF, SVG, and spreadsheet tools
- Works on Mac & Windows
- All processing done on device
Lifetime
One purchase. Keep it forever.
- Unlimited conversions forever
- 1 year of major updates
- Image, PDF, SVG, and spreadsheet tools
- Watch Folders & Automation
- macOS Notch Drop Zone
- Works on Mac & Windows
Team & Bulk Pricing
Lifetime seats with volume discounts. More seats, bigger discount.
15
lifetime seats
You save
$60
15% off the individual price
Enterprise
50+ seats with custom pricing, centralized license management, and priority support.
FAQ
Frequently asked questions
Will compression make my images look bad?→
File Studio's smart compression preserves visual quality while reducing file size. You can preview results and adjust settings before saving.
What's the difference between lossless and lossy compression?→
Lossless compression reduces file size without any quality loss but offers smaller reductions. Lossy compression achieves much smaller files with minimal visible quality loss.
Can I compress images without changing their dimensions?→
Yes. The compression tool only reduces file size - dimensions stay exactly the same unless you also choose to resize.
Which format compresses best?→
WebP typically achieves the smallest file sizes. JPG is great for photos. PNG works best for graphics with sharp edges and transparency.
Does compression remove metadata like EXIF data?→
You can choose to preserve or strip metadata during compression. Removing metadata can further reduce file size.
How much can I reduce file sizes?→
Results vary by image, but typical compression reduces files by 50-80% with minimal visible quality loss.
Looking for something else? Explore more offline conversions with File Studio: