Image Filters
Images to Filtered Images - Fine-tune colors, brightness & contrast with precise controls.
File Studio gives you professional-grade adjustment sliders for brightness, contrast, saturation, and more - all processed locally on your device.
Works 100% offline on both Windows and Mac.
All conversions happen locally on your computer. No uploads, no subscriptions, and no background syncing.
Images → Filtered Images
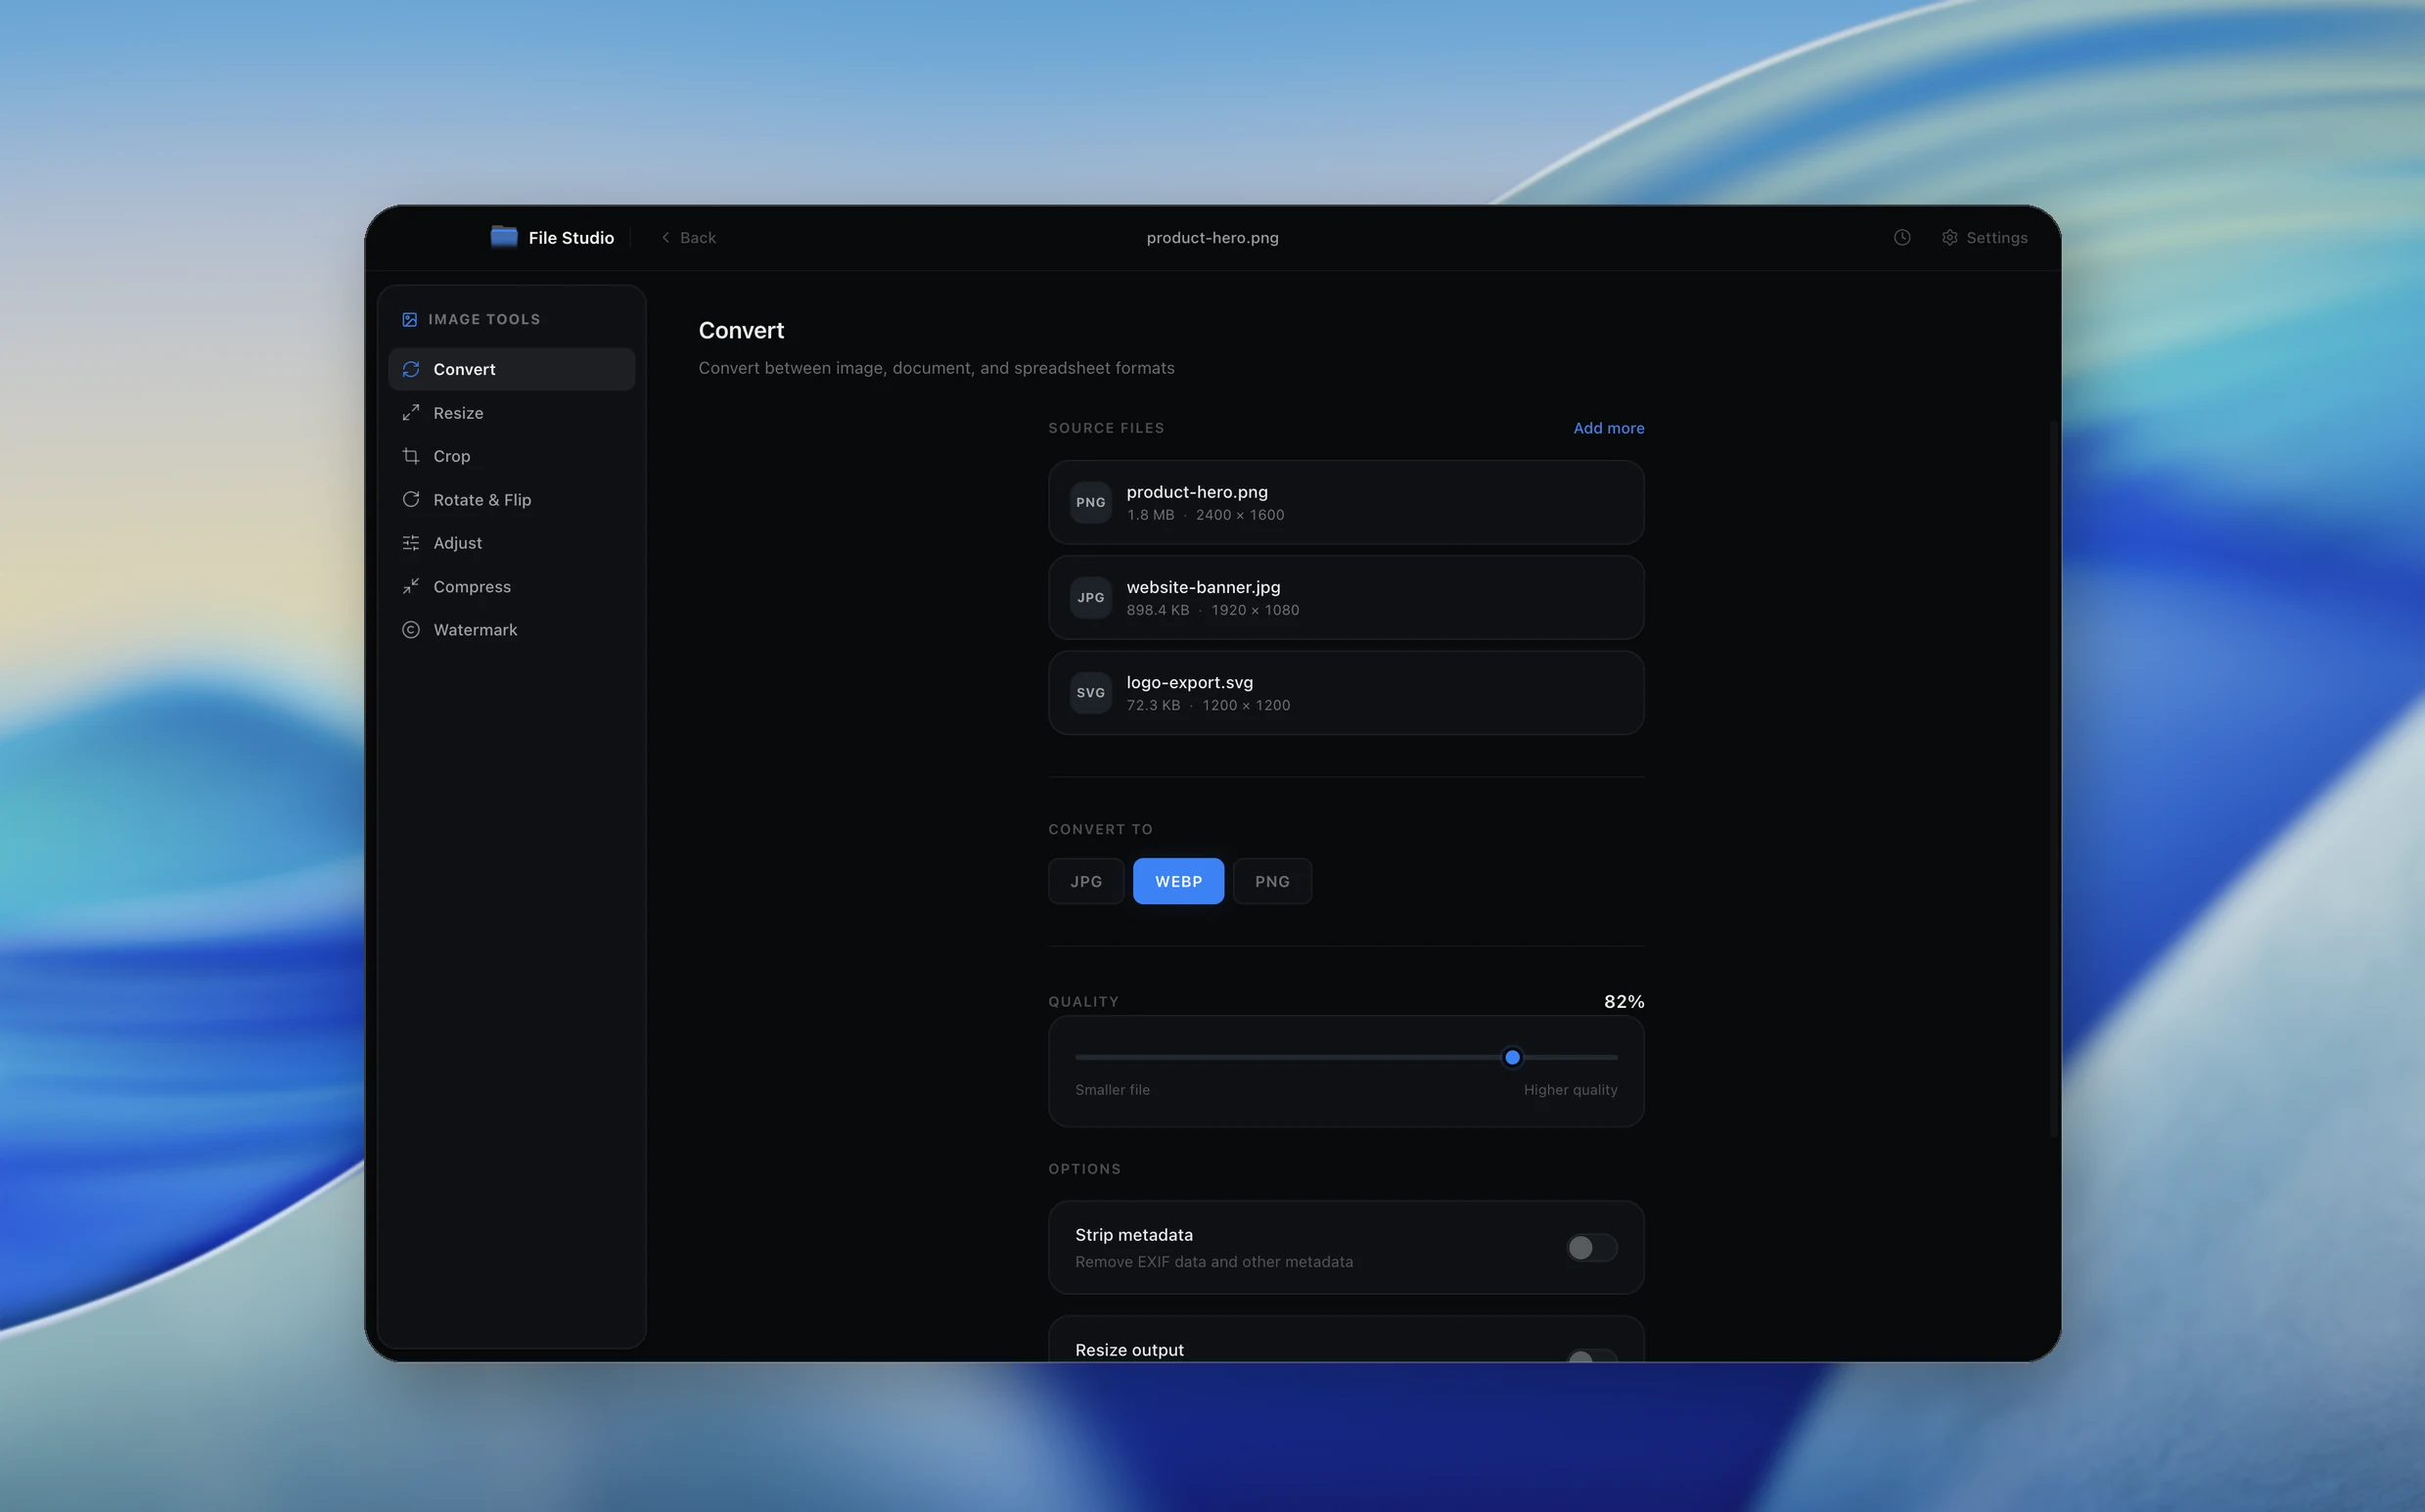
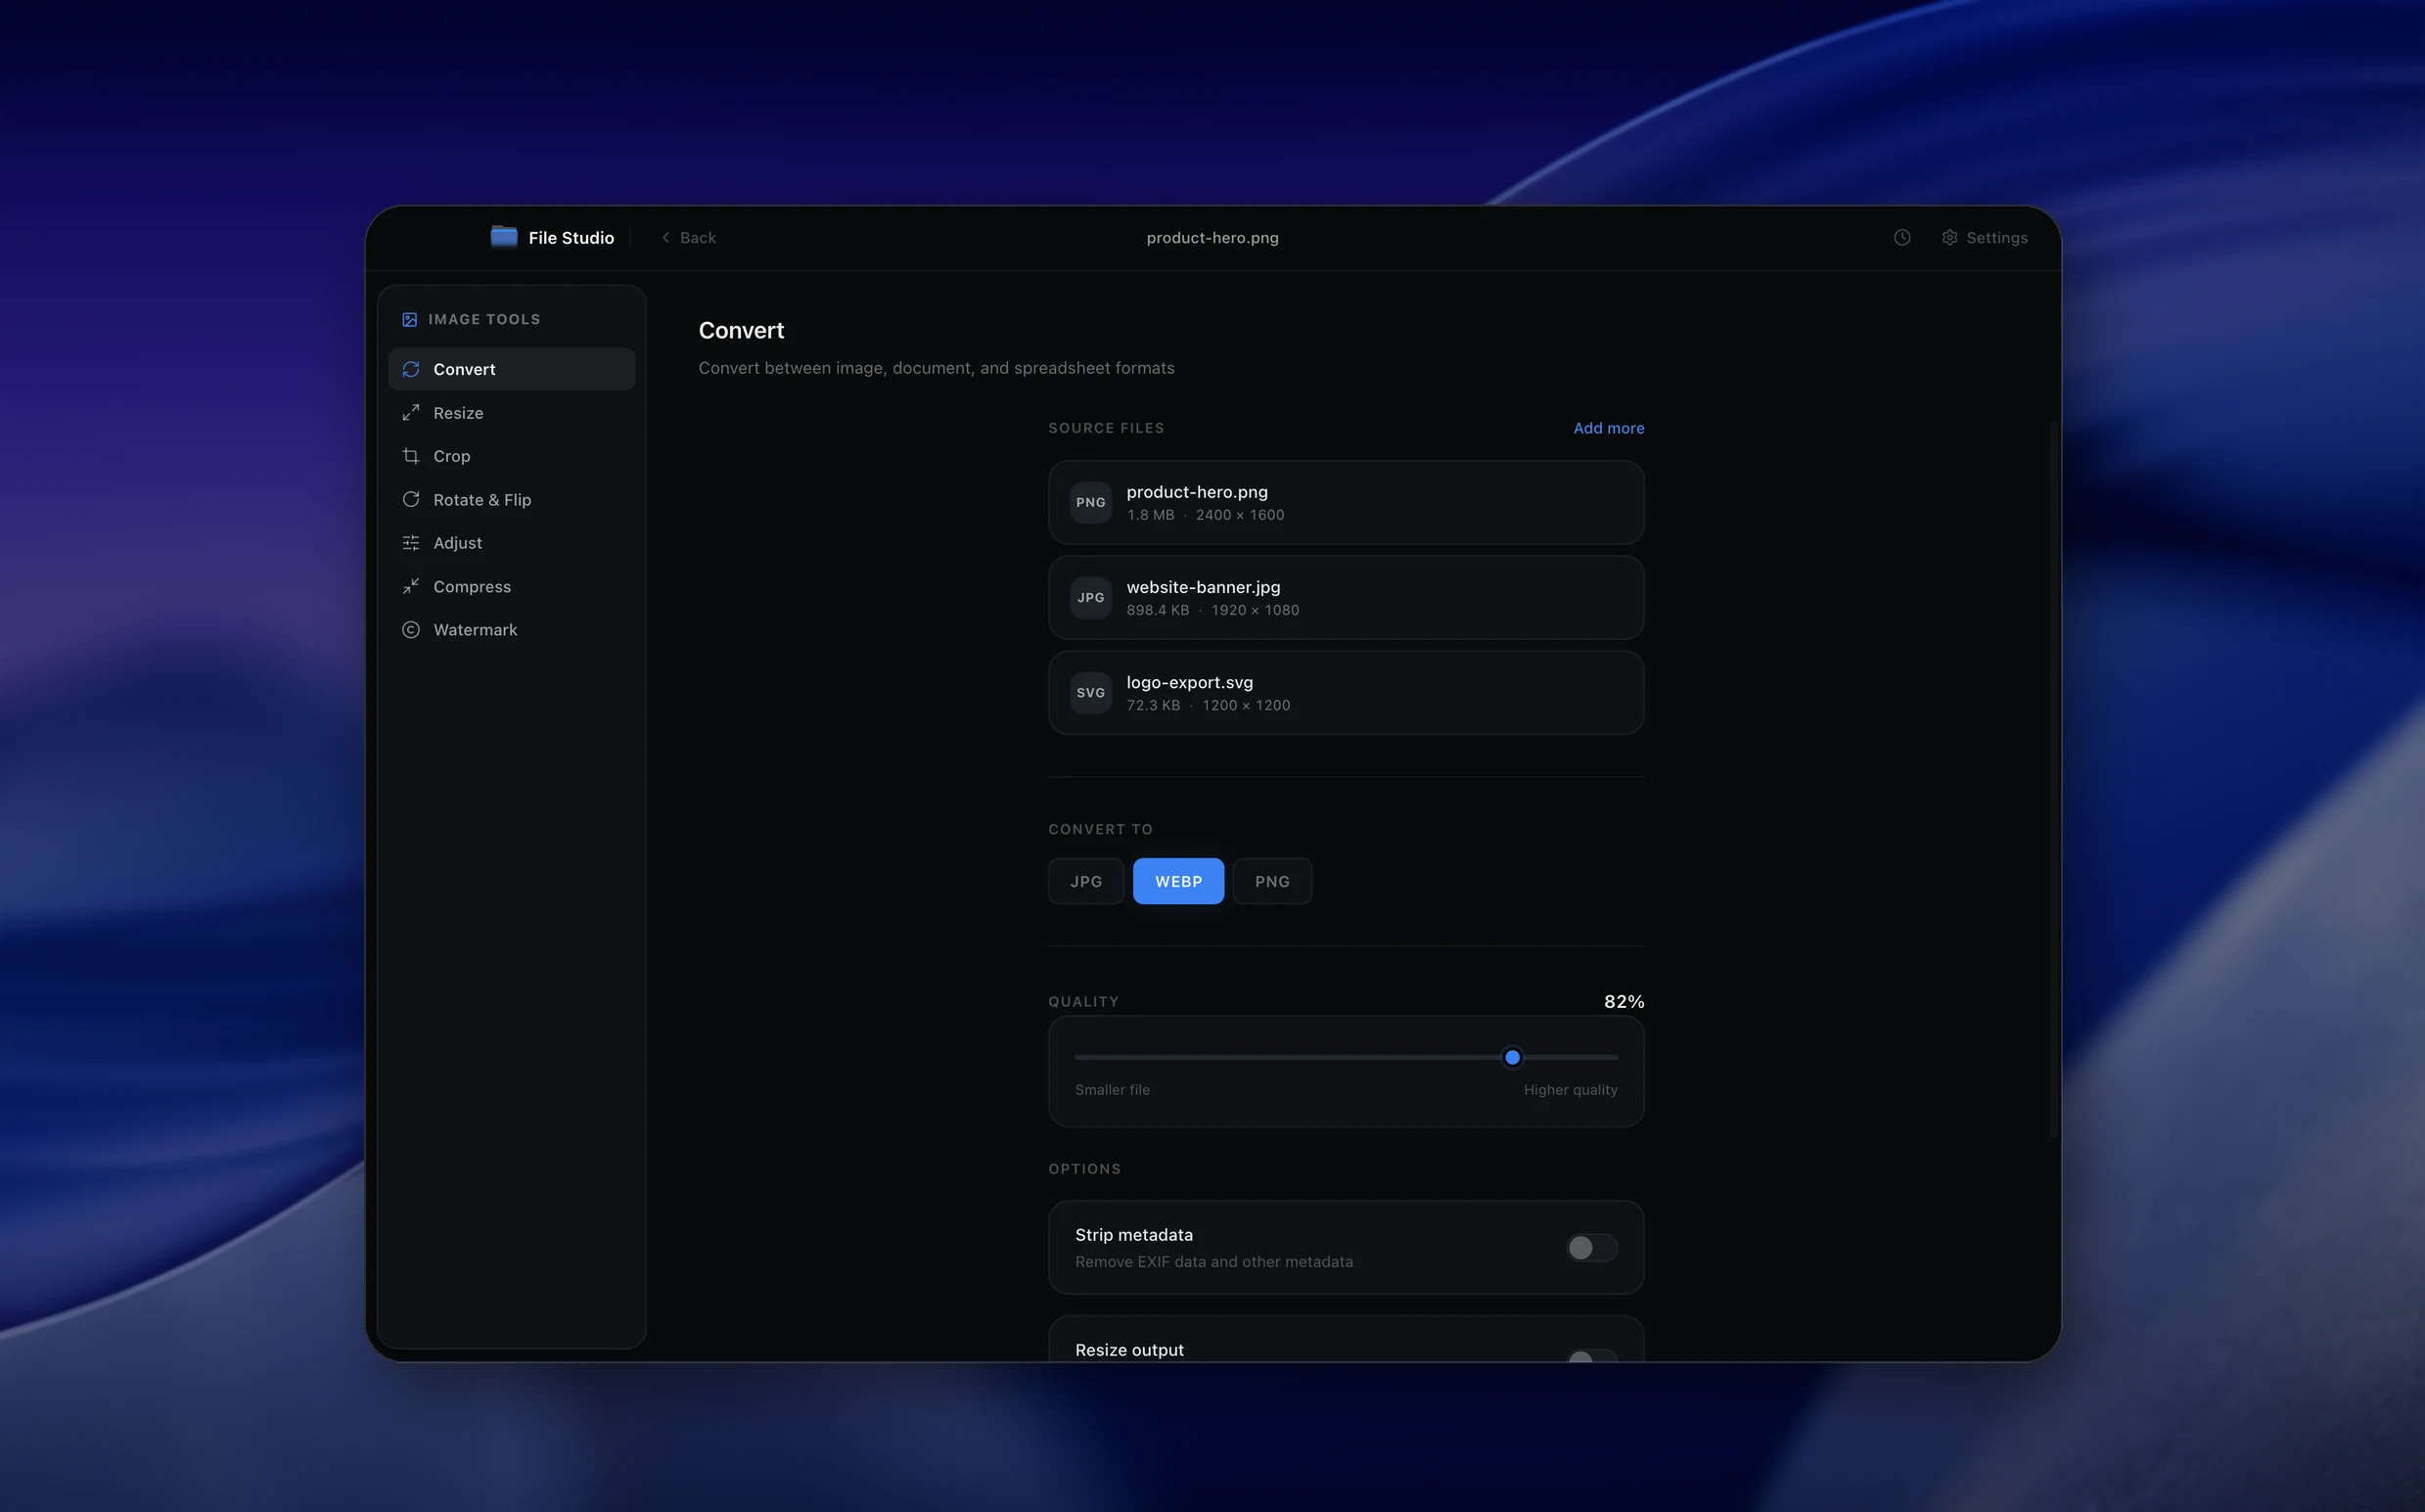
Real File Studio interface, shown in light and dark mode.
Understanding image adjustments and filters
Image adjustments modify pixel values to change the appearance of a photo without changing its dimensions or content. Brightness, contrast, saturation, sharpness, and color balance are the foundational adjustments, mirroring controls that existed in chemical photography (exposure compensation, contrast paper grades, color filters). Modern image editors implement these as mathematical operations applied per pixel: brightness adds a constant, contrast multiplies around a midpoint, saturation scales chroma values in HSL or HSV space, and so on.
Filters are pre-configured combinations of adjustments that produce a stylized look in one click. A vintage filter might combine reduced contrast, warmer color balance, vignette darkening, and slight desaturation. Instagram's original filters (X-Pro II, Valencia, Lo-Fi) popularized the concept on mobile, and similar filter packs ship with every major photo app. Behind the scenes, each filter is a recipe of parameter values applied to the underlying adjustment operations.
Color adjustments work in different color spaces depending on the operation. RGB adjustments treat the red, green, and blue channels independently and are computationally cheap. HSL and HSV operations separate hue, saturation, and luminance, making it easier to adjust colors without changing brightness. Lab color is device-independent and matches human perception more accurately, used by professional editors for color critical work. Modern image editors usually convert between color spaces automatically based on which adjustment is being applied.
How it works
Convert Images to Filtered Images in four simple steps.
The flow mirrors the main File Studio experience: install the app, drop in your files, pick the right tool, and export clean, ready-to-share output. All without sending anything to the cloud.
Install File Studio
Download the app, move it to Applications, and open it. No sign-ups or accounts required.
Add your Images files
Drag-and-drop your images files into the window or click to browse from disk.
Choose Images → Filtered Images
Pick the dedicated tool, then adjust resolution, quality, and page range until the preview feels right.
Export & keep working
Select an output folder and run the conversion. Your originals stay untouched on your device.
Best practices for cleaner results
- ·Group related files into folders before converting so your output stays organized and easy to archive.
- ·Use higher resolution presets when you know the result will be printed, zoomed in, or reused in design tools.
- ·Keep an unedited copy of your original Images files for audits, record-keeping, or compliance workflows.
- ·Combine this tool with other File Studio actions like compress, merge, or split to streamline entire document pipelines.
Why File Studio
Built for trustworthy, everyday Images to Filtered Images work.
You get precise control over the output, predictable file names, and a private workflow that keeps sensitive documents on your own machine.
Features tuned for this conversion
- ·Non-destructive editing with real-time preview.
- ·Professional sliders for 10+ adjustment parameters.
- ·Batch apply the same adjustments to multiple images.
Why use File Studio for this conversion?
- ·Adjust brightness, contrast, saturation, and exposure.
- ·Fine-tune hue, temperature, and tint for color correction.
- ·Preview changes in real-time before exporting.
Real-world ways people use it
- ·Brighten dark photos before printing or sharing.
- ·Boost saturation on product photos for better visual impact.
- ·Correct white balance on photos with color casts.
Settings guide
Understanding your conversion options
Brightness
Adds a constant value to every pixel, lightening or darkening the entire image uniformly. Range is typically -100 to +100. Heavy brightness increases can clip highlights to pure white, losing detail in bright areas. Use exposure adjustment (which works in linear space) for more natural results.
Contrast
Multiplies pixel values around a midpoint (usually 128 for 8-bit images), making bright pixels brighter and dark pixels darker. Increases visual punch but can crush shadows and clip highlights. Use the curves tool for fine control over the contrast curve at specific tonal ranges.
Saturation
Scales the chroma component of each pixel, making colors more or less vivid. Zero saturation produces grayscale; values above 100 percent push colors beyond their original intensity. Vibrance is a related control that boosts only undersaturated colors, protecting already-saturated areas from oversaturation.
Hue Shift
Rotates the hue of every pixel by a number of degrees on the color wheel (0 to 360). Small shifts (5 to 15 degrees) subtly recolor the image; larger shifts produce surreal effects. Selective hue adjustment shifts only specific color ranges, useful for changing leaf color from green to autumn orange without affecting other content.
Sharpness / Clarity
Sharpness boosts edge contrast using unsharp mask or high-pass techniques. Clarity boosts midtone contrast for a punchier look without affecting highlights and shadows. Both have a radius parameter (in pixels) controlling the size of edges affected; small radius (0.5 to 1.5) for fine detail, larger radius (3 to 10) for broad clarity.
Industry standards and requirements
Color management in professional photo editing follows ICC (International Color Consortium) profile standards. Source images carry an embedded profile (sRGB IEC61966-2.1 for web cameras, Adobe RGB 1998 or ProPhoto RGB for high-end DSLRs) that tells the editor how to interpret pixel values as colors. Adjustments must be applied in a consistent working space, and the final export should be tagged with the destination profile to render correctly across devices.
Photojournalism and news photography enforce strict limits on adjustments to preserve authenticity. The Associated Press, Reuters, and the National Press Photographers Association all forbid composite changes, content removal, and aggressive color or contrast manipulation. Permitted adjustments are limited to global brightness, contrast, color balance, and crop, applied as if developing a film negative. Heavy filter application would disqualify an image from news use.
E-commerce product photography follows industry guidelines from Amazon, Shopify, and major retailers. Product images must be on pure white backgrounds (RGB 255,255,255), with accurate color matching the physical product, no shadows other than natural product shadows, and consistent exposure across an entire product line. Color critical work uses calibrated monitors (Eizo, NEC) with X-Rite or Datacolor calibration tools to ensure adjustments match the physical reality of the product.
Troubleshooting
Common issues and how to fix them
Increasing brightness washes out the image→
Brightness is a linear add and clips highlights when pushed too far. Use exposure (which works in stops, like camera exposure compensation) instead, or use curves to brighten midtones while protecting highlights. Reduce brightness back and try increasing shadows or fill light separately.
Saturation makes colors look unnatural or radioactive→
Saturation pushes all colors equally, including ones that are already vivid. Switch to vibrance, which boosts only undersaturated colors and leaves already-saturated areas alone. For skin tones, watch for orange and red oversaturation; reduce saturation in those specific hues using HSL adjustment.
Adjustments cause banding in gradients→
8-bit images have only 256 levels per channel. Heavy adjustments push tonal values together, creating visible banding in smooth areas like skies. Edit in 16-bit if the source supports it (RAW, TIFF), then convert to 8-bit only for final export. Add slight noise (1 to 3 percent) to break up bands in the final output.
Filter looks great in preview but exports differently→
Preview may apply lower precision or different color management. Verify the export color profile matches the preview profile (sRGB for web, Adobe RGB or ProPhoto for print). Export at the same resolution as preview to confirm; sharpening filters look different at different sizes due to resampling.
Pricing
Simple, fair pricing.
All tools included. No hidden fees. Processing stays on your device.
Yearly
For short-term projects.
- 1 year of updates
- Image, PDF, SVG, and spreadsheet tools
- Works on Mac & Windows
- All processing done on device
Lifetime
One purchase. Keep it forever.
- Unlimited conversions forever
- 1 year of major updates
- Image, PDF, SVG, and spreadsheet tools
- Watch Folders & Automation
- macOS Notch Drop Zone
- Works on Mac & Windows
Team & Bulk Pricing
Lifetime seats with volume discounts. More seats, bigger discount.
15
lifetime seats
You save
$60
15% off the individual price
Enterprise
50+ seats with custom pricing, centralized license management, and priority support.
FAQ
Frequently asked questions
What adjustments can I make?→
Brightness, contrast, saturation, exposure, highlights, shadows, temperature, tint, vibrance, and sharpness.
Can I see changes before saving?→
Yes. All adjustments preview in real-time so you can fine-tune settings before committing to the export.
Are the adjustments non-destructive?→
Your original file is never modified. Adjustments are applied when you export, creating a new file.
Can I reset adjustments to start over?→
Yes. A reset button returns all sliders to their default positions so you can try different approaches.
Can I save adjustment presets?→
You can apply the same adjustment values to multiple images by batch processing them together.
Does this work with RAW files?→
File Studio supports RAW format adjustments, giving you control over exposure and color before converting.
Looking for something else? Explore more offline conversions with File Studio: