

Image Cropper
Images to Cropped Images - Crop images with precision using an interactive canvas.
File Studio's visual cropping tool lets you drag, resize, and position crop areas exactly where you want them - then export pixel-perfect results.
Free trial · No account required · Files stay on your device
All conversions happen locally on your computer. No uploads, no subscriptions, and no background syncing.
Images → Cropped Images
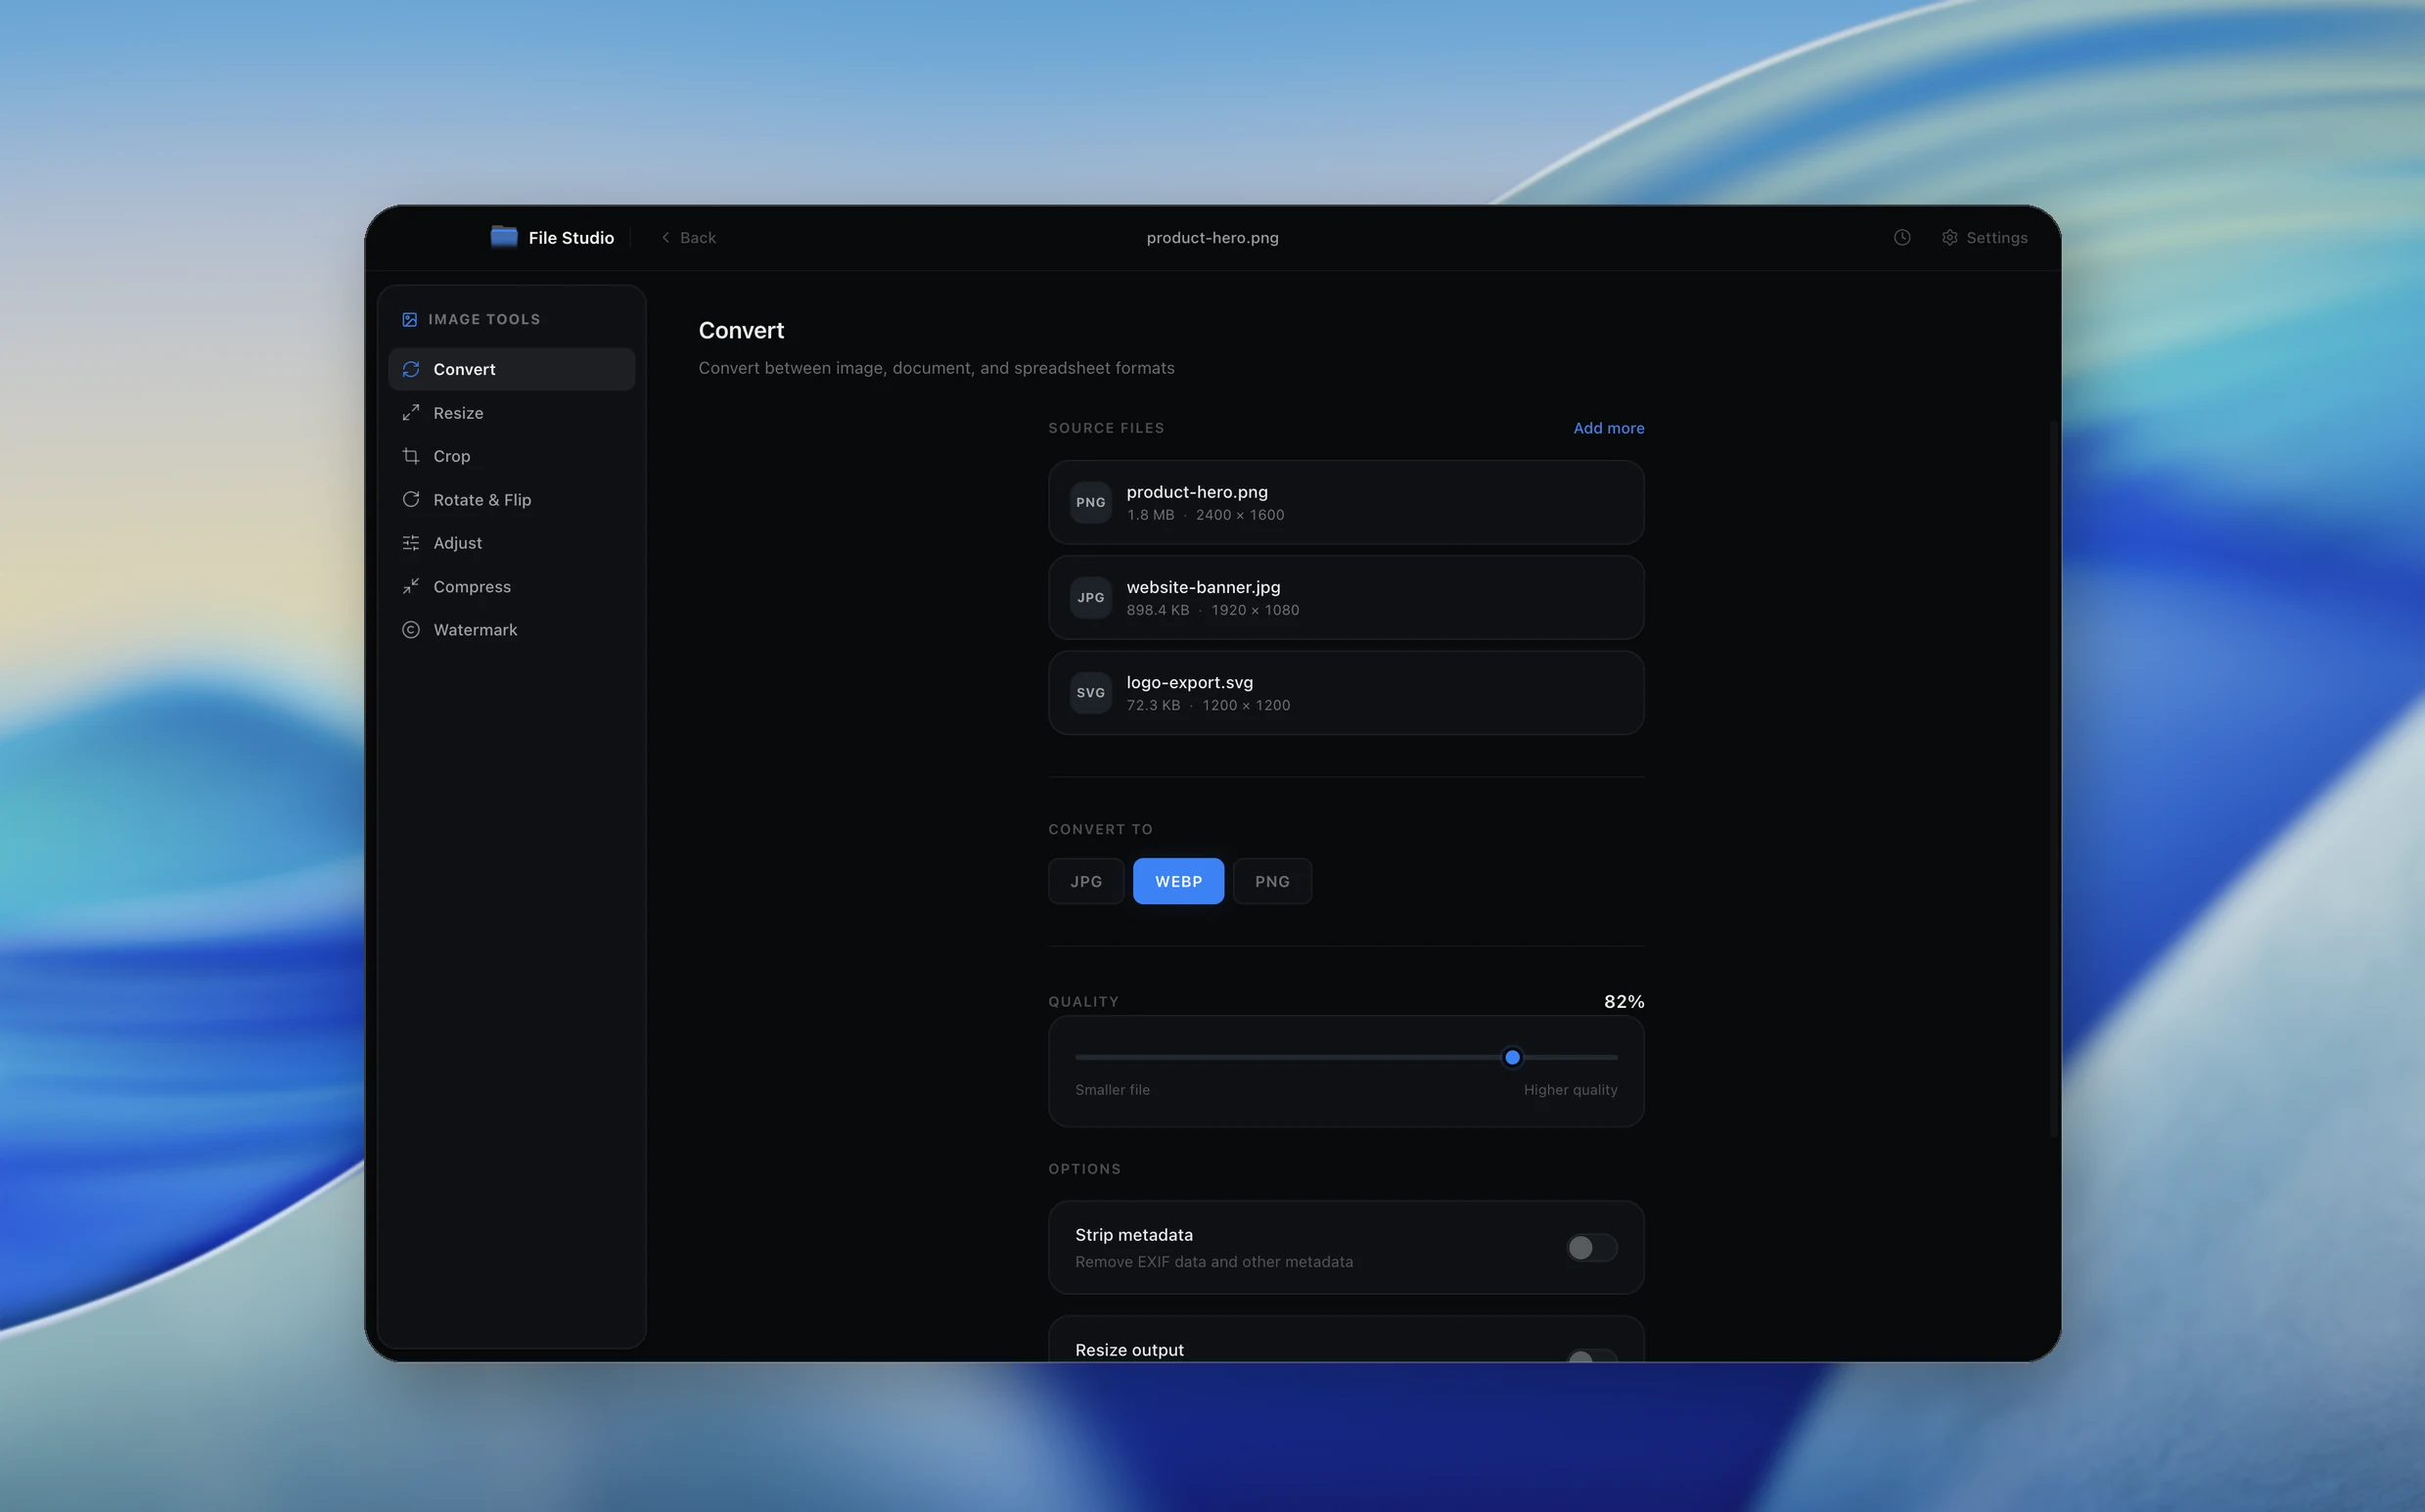
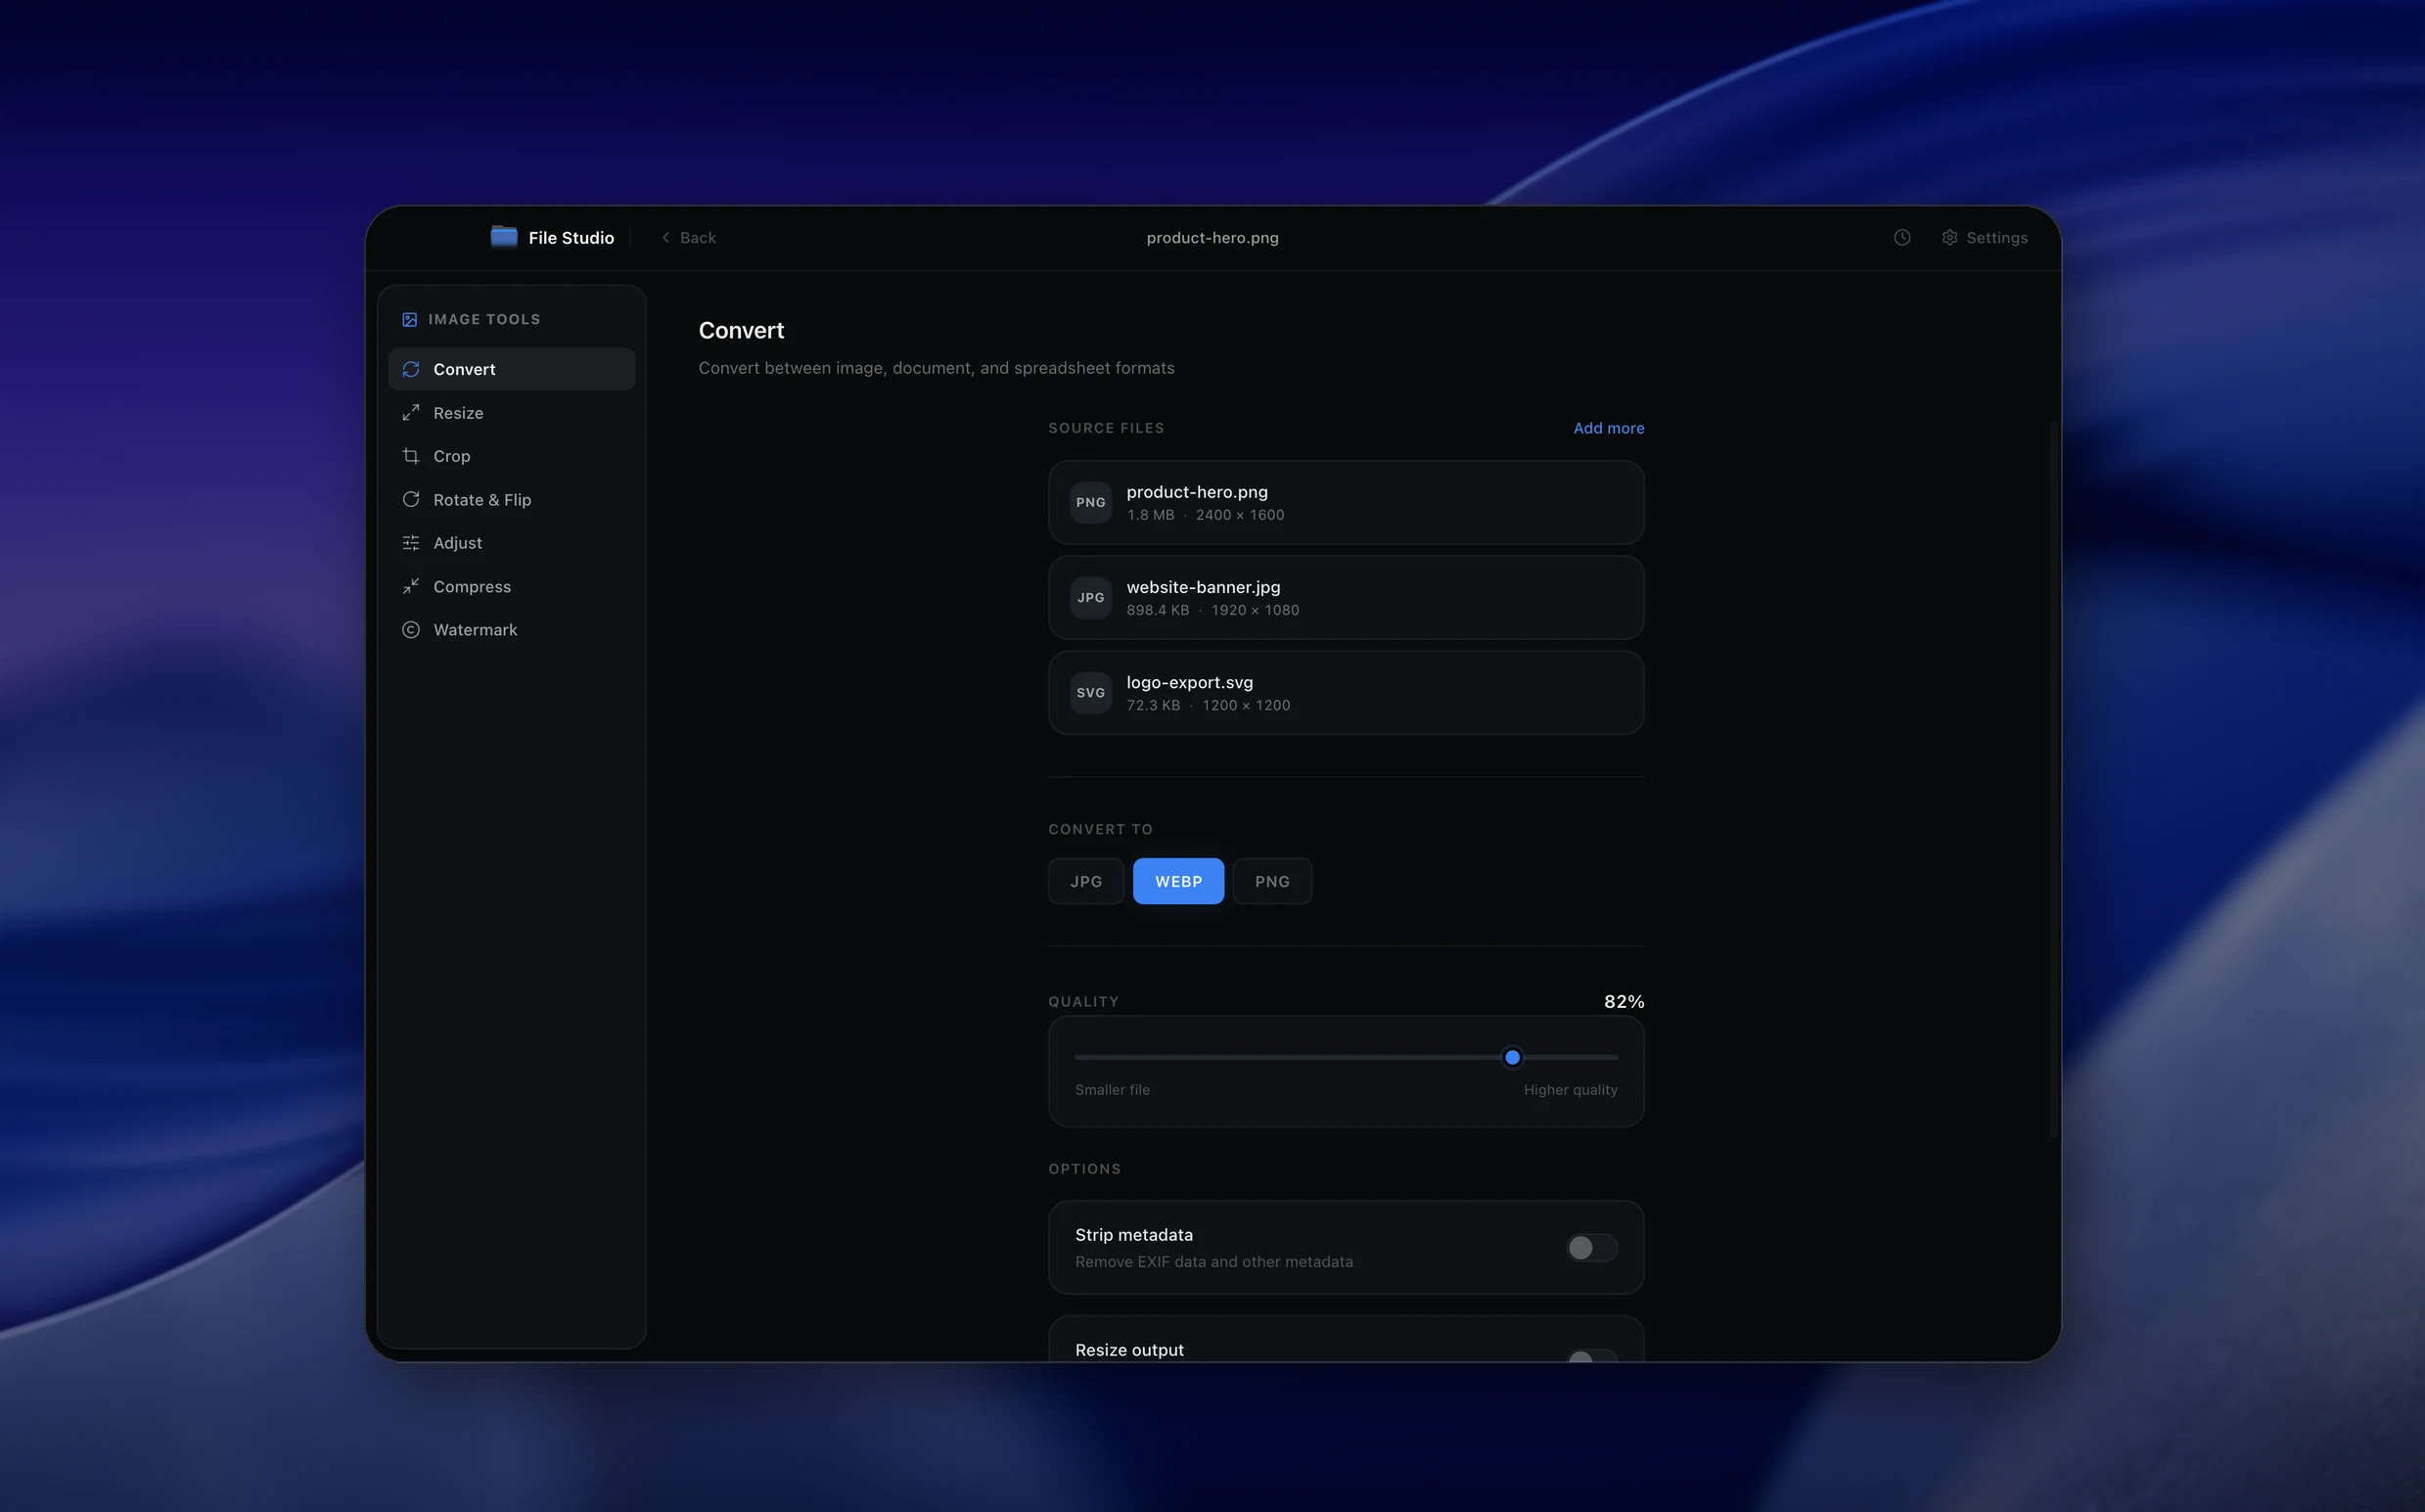
Real File Studio interface, shown in light and dark mode.
Understanding image cropping
Cropping is the act of removing portions of an image around the edges to change its composition, aspect ratio, or focus. It is one of the oldest and most fundamental image editing operations, performed in darkrooms long before digital photography by trimming photographic prints with scissors or an enlarger easel. Digital cropping is non-destructive when applied as metadata (EXIF crop coordinates) and destructive when the cropped pixels are discarded from the saved file.
Technically, cropping is a coordinate operation: the user defines a rectangular region by specifying its top-left corner (x, y) and dimensions (width, height), and the tool extracts only the pixels inside that rectangle. The result is a new image with smaller dimensions. No interpolation is involved (unlike resizing), so the cropped pixels are bit-for-bit identical to the original within the cropped region. Quality is preserved exactly, but the total pixel count decreases.
Composition principles guide where to crop. The rule of thirds places key subjects on the intersections of a 3x3 grid; the golden ratio (1.618:1) places them on logarithmic spiral focal points. Aspect ratio matters as much as composition: a 1:1 square crop works for Instagram, 16:9 for video and widescreen, 3:2 for traditional photo prints, and 4:5 for portrait prints. Cropping to a fixed aspect ratio constrains the crop region to maintain the chosen ratio while the user adjusts position and scale.
How it works
Convert Images to Cropped Images in four simple steps.
The flow mirrors the main File Studio experience: install the app, drop in your files, pick the right tool, and export clean, ready-to-share output. All without sending anything to the cloud.
Install File Studio
Download the app, move it to Applications, and open it. No sign-ups or accounts required.
Add your Images files
Drag-and-drop your images files into the window or click to browse from disk.
Choose Images → Cropped Images
Pick the dedicated tool, then adjust resolution, quality, and page range until the preview feels right.
Export & keep working
Select an output folder and run the conversion. Your originals stay untouched on your device.
Best practices for cleaner results
- ·Group related files into folders before converting so your output stays organized and easy to archive.
- ·Use higher resolution presets when you know the result will be printed, zoomed in, or reused in design tools.
- ·Keep an unedited copy of your original Images files for audits, record-keeping, or compliance workflows.
- ·Combine this tool with other File Studio actions like compress, merge, or split to streamline entire document pipelines.
Why File Studio
Built for trustworthy, everyday Images to Cropped Images work.
You get precise control over the output, predictable file names, and a private workflow that keeps sensitive documents on your own machine.
Features tuned for this conversion
- ·Visual crop preview with real-time dimension display.
- ·Preset ratios: 1:1, 4:3, 16:9, 3:2, and custom.
- ·Snap-to-grid option for precise alignment.
Why use File Studio for this conversion?
- ·Interactive drag-and-resize cropping canvas.
- ·Preset aspect ratios for social media and common sizes.
- ·Free-form cropping for complete creative control.
Real-world ways people use it
- ·Crop profile photos to perfect squares for social media.
- ·Remove distracting backgrounds from product shots.
- ·Adjust framing on scanned documents before sharing.
Settings guide
Understanding your conversion options
Aspect Ratio
Free crop allows any rectangle. Fixed ratios constrain to common shapes: 1:1 square, 4:3 standard, 3:2 photo, 16:9 widescreen, 9:16 portrait video. Pick a ratio that matches the destination (Instagram, print size, video frame). Fixed ratios prevent unintended distortion when the cropped image is later resized to the target.
Crop Region
Defined by drag handles on the image. Adjust by clicking and dragging the corners or edges. Type exact pixel coordinates for precise crops. Most tools display the current crop dimensions in pixels and as a percentage of the original.
Composition Guides
Overlay guides help you place subjects on compositional sweet spots. Rule of thirds (3x3 grid), golden ratio (phi grid or spiral), diagonals, and triangles are common options. These guides appear over the crop region while you adjust and disappear in the output.
Rotate / Straighten
Many crop tools include a straighten control that rotates the image by a small angle (typically -45 to +45 degrees) to align the horizon. Straightening rotates the source image and then auto-crops to remove the triangular white corners. The rotation is one bilinear or bicubic interpolation pass, so quality loss is minimal.
Output Resolution
Cropping reduces total pixels. Decide whether to keep the cropped region at its native resolution or upscale to match the source. Upscaling introduces interpolation and reduces sharpness, so the standard practice is to keep the cropped pixels at their native size and only upscale when the destination requires a specific dimension.
Industry standards and requirements
Print fulfillment services use specific aspect ratios for standard print sizes: 2:3 for 4x6 prints, 4:5 for 8x10 prints, 5:7 for 5x7 prints, 11:14 for 11x14 prints. Submitting a photo with the wrong aspect ratio results in either auto-cropping (which may cut off subjects) or white borders. Professional photographers crop to the target print ratio before submitting orders, leaving small bleed margins for trim variation.
Stock photography platforms (Shutterstock, Adobe Stock, iStock) require submissions in specific minimum resolutions, typically 4 megapixels or higher. Cropping reduces the resolution, so contributors must start with high-megapixel sources to allow creative cropping while staying above the minimum. Most platforms also reject images with visible borders, distracting elements at the edges, or off-center compositions.
Broadcast and video standards specify exact aspect ratios that source stills must match: 16:9 for HD and 4K (1920x1080, 3840x2160), 17:9 for DCI cinema (4096x2160), and 2.35:1 or 2.39:1 for anamorphic widescreen. Film production cropping must respect these ratios with no rounding error, and safe action and title areas are smaller than the full frame to account for overscan on different displays.
Troubleshooting
Common issues and how to fix them
Crop removes the subject I wanted to keep→
Reposition the crop region by dragging it before applying. If the tool supports composition guides, use them to align the subject with thirds intersections. For batch cropping, use a tool that detects faces or saliency to keep important content centered automatically.
Cropped image is too small for printing→
Cropping reduces pixel count. A 24 megapixel image cropped in half becomes 12 megapixels, which is still enough for an 11x14 inch print at 300 DPI. Check the cropped resolution against the print requirement: print width in inches times 300 DPI gives the minimum pixel width.
Aspect ratio constraint will not allow the desired crop→
The locked aspect ratio prevents arbitrary crops. Either switch to free crop mode and accept any ratio, or change the target ratio to one that fits your subject. Some tools let you swap orientation (landscape to portrait) without changing the ratio.
Straightened image has white triangular borders→
Auto-crop after rotation should remove these. If borders remain, manually crop tighter to eliminate them, or fill the borders with content-aware fill (Photoshop) or generative fill in modern AI tools. The straightening rotation sacrifices some pixels at the edges.
Pricing
Simple, fair pricing.
All tools included. No hidden fees. Processing stays on your device.
Yearly
For short-term projects.
- 1 year of updates
- Image, PDF, SVG, and spreadsheet tools
- Works on Mac & Windows
- All processing done on device
Lifetime
One purchase. Keep it forever.
- Unlimited conversions forever
- 1 year of major updates
- Image, PDF, SVG, and spreadsheet tools
- Watch Folders & Automation
- macOS Notch Drop Zone
- Works on Mac & Windows
Team & Bulk Pricing
Lifetime seats with volume discounts. More seats, bigger discount.
15
lifetime seats
You save
$60
15% off the individual price
Enterprise
50+ seats with custom pricing, centralized license management, and priority support.
FAQ
Frequently asked questions
Can I crop to exact pixel dimensions?→
Yes. You can enter specific width and height values, or use aspect ratio presets and adjust the crop area visually.
Does cropping reduce image quality?→
Cropping removes pixels but doesn't recompress the remaining image, so quality stays high within the cropped area.
Can I batch crop multiple images?→
You can apply the same crop coordinates to multiple images if they have identical dimensions and framing.
Are there presets for social media sizes?→
Yes. Common aspect ratios like 1:1 (Instagram), 16:9 (YouTube), and 4:3 (Facebook) are built in.
Can I undo a crop after previewing?→
Absolutely. The crop preview is non-destructive - you can adjust or cancel before exporting.
Does the crop tool work with all image formats?→
Yes. You can crop JPG, PNG, WebP, HEIC, and other supported formats with the same interactive tool.
Looking for something else? Explore more offline conversions with File Studio: