

JPG to PNG converter
JPG to PNG - Convert JPGs to lossless PNGs for editing and archiving.
Need to edit a JPG without adding more compression artifacts? Convert to PNG for lossless editing, then export however you need.
Free trial · No account required · Files stay on your device
All conversions happen locally on your computer. No uploads, no subscriptions, and no background syncing.
JPG → PNG
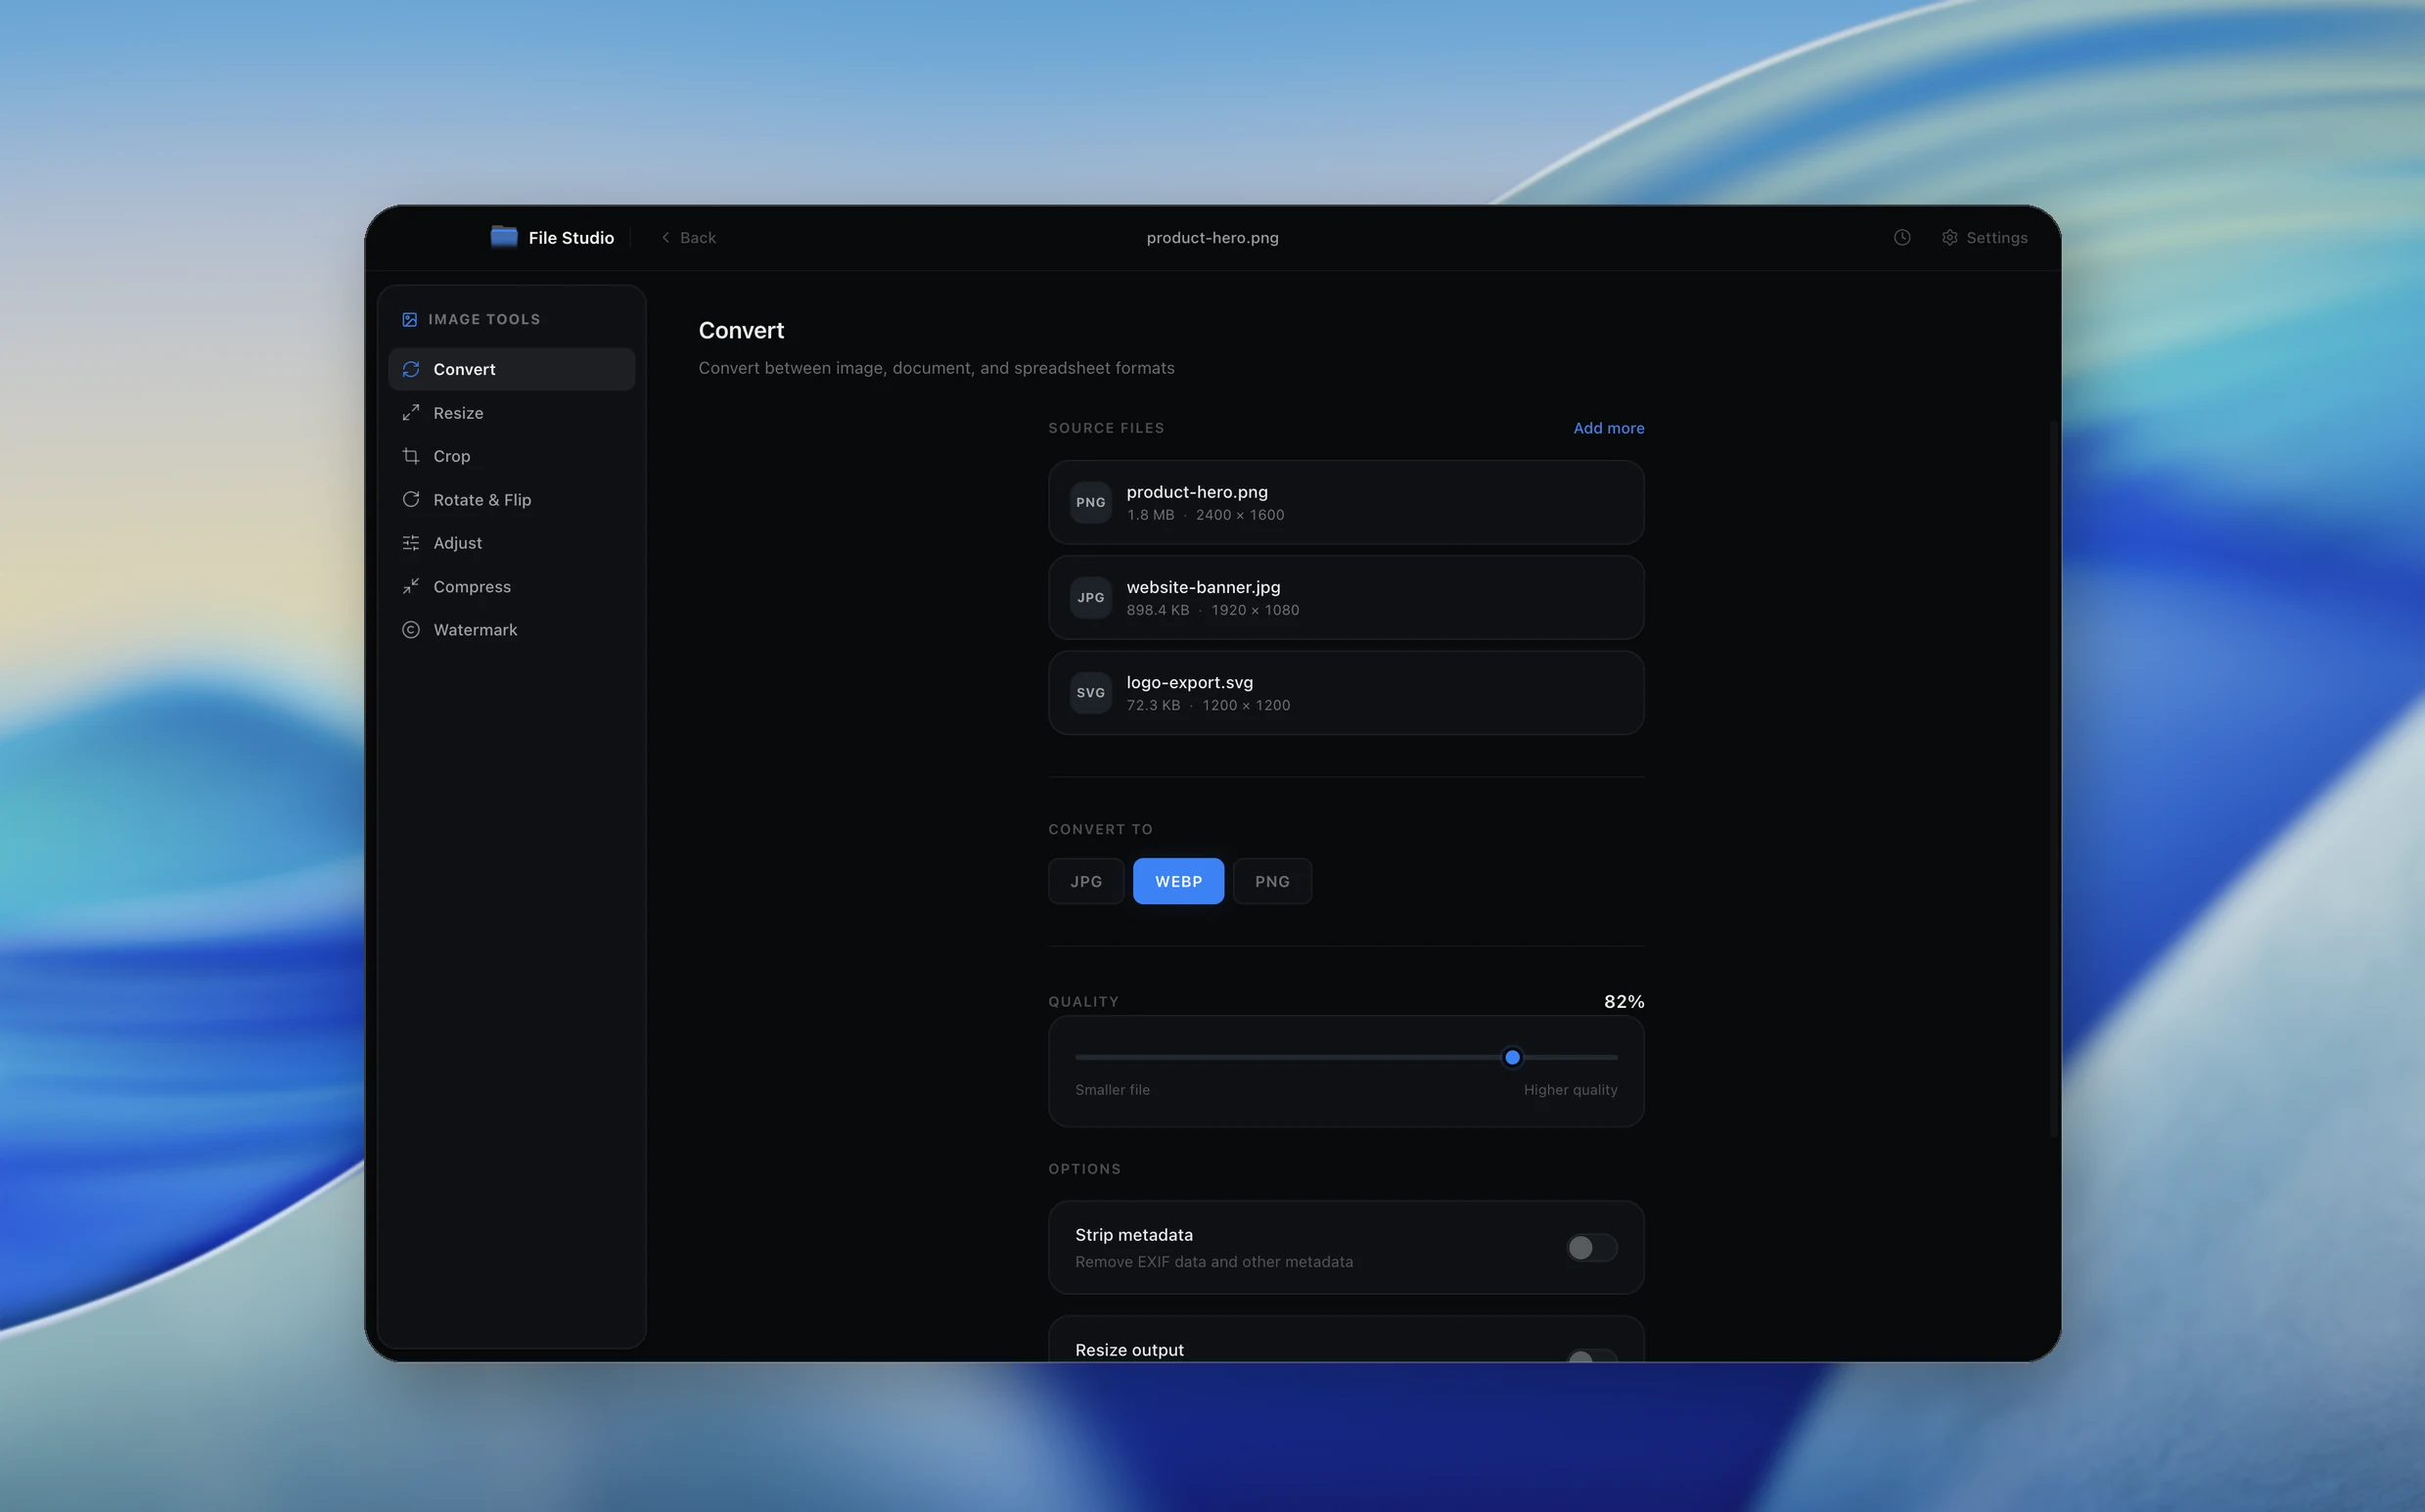
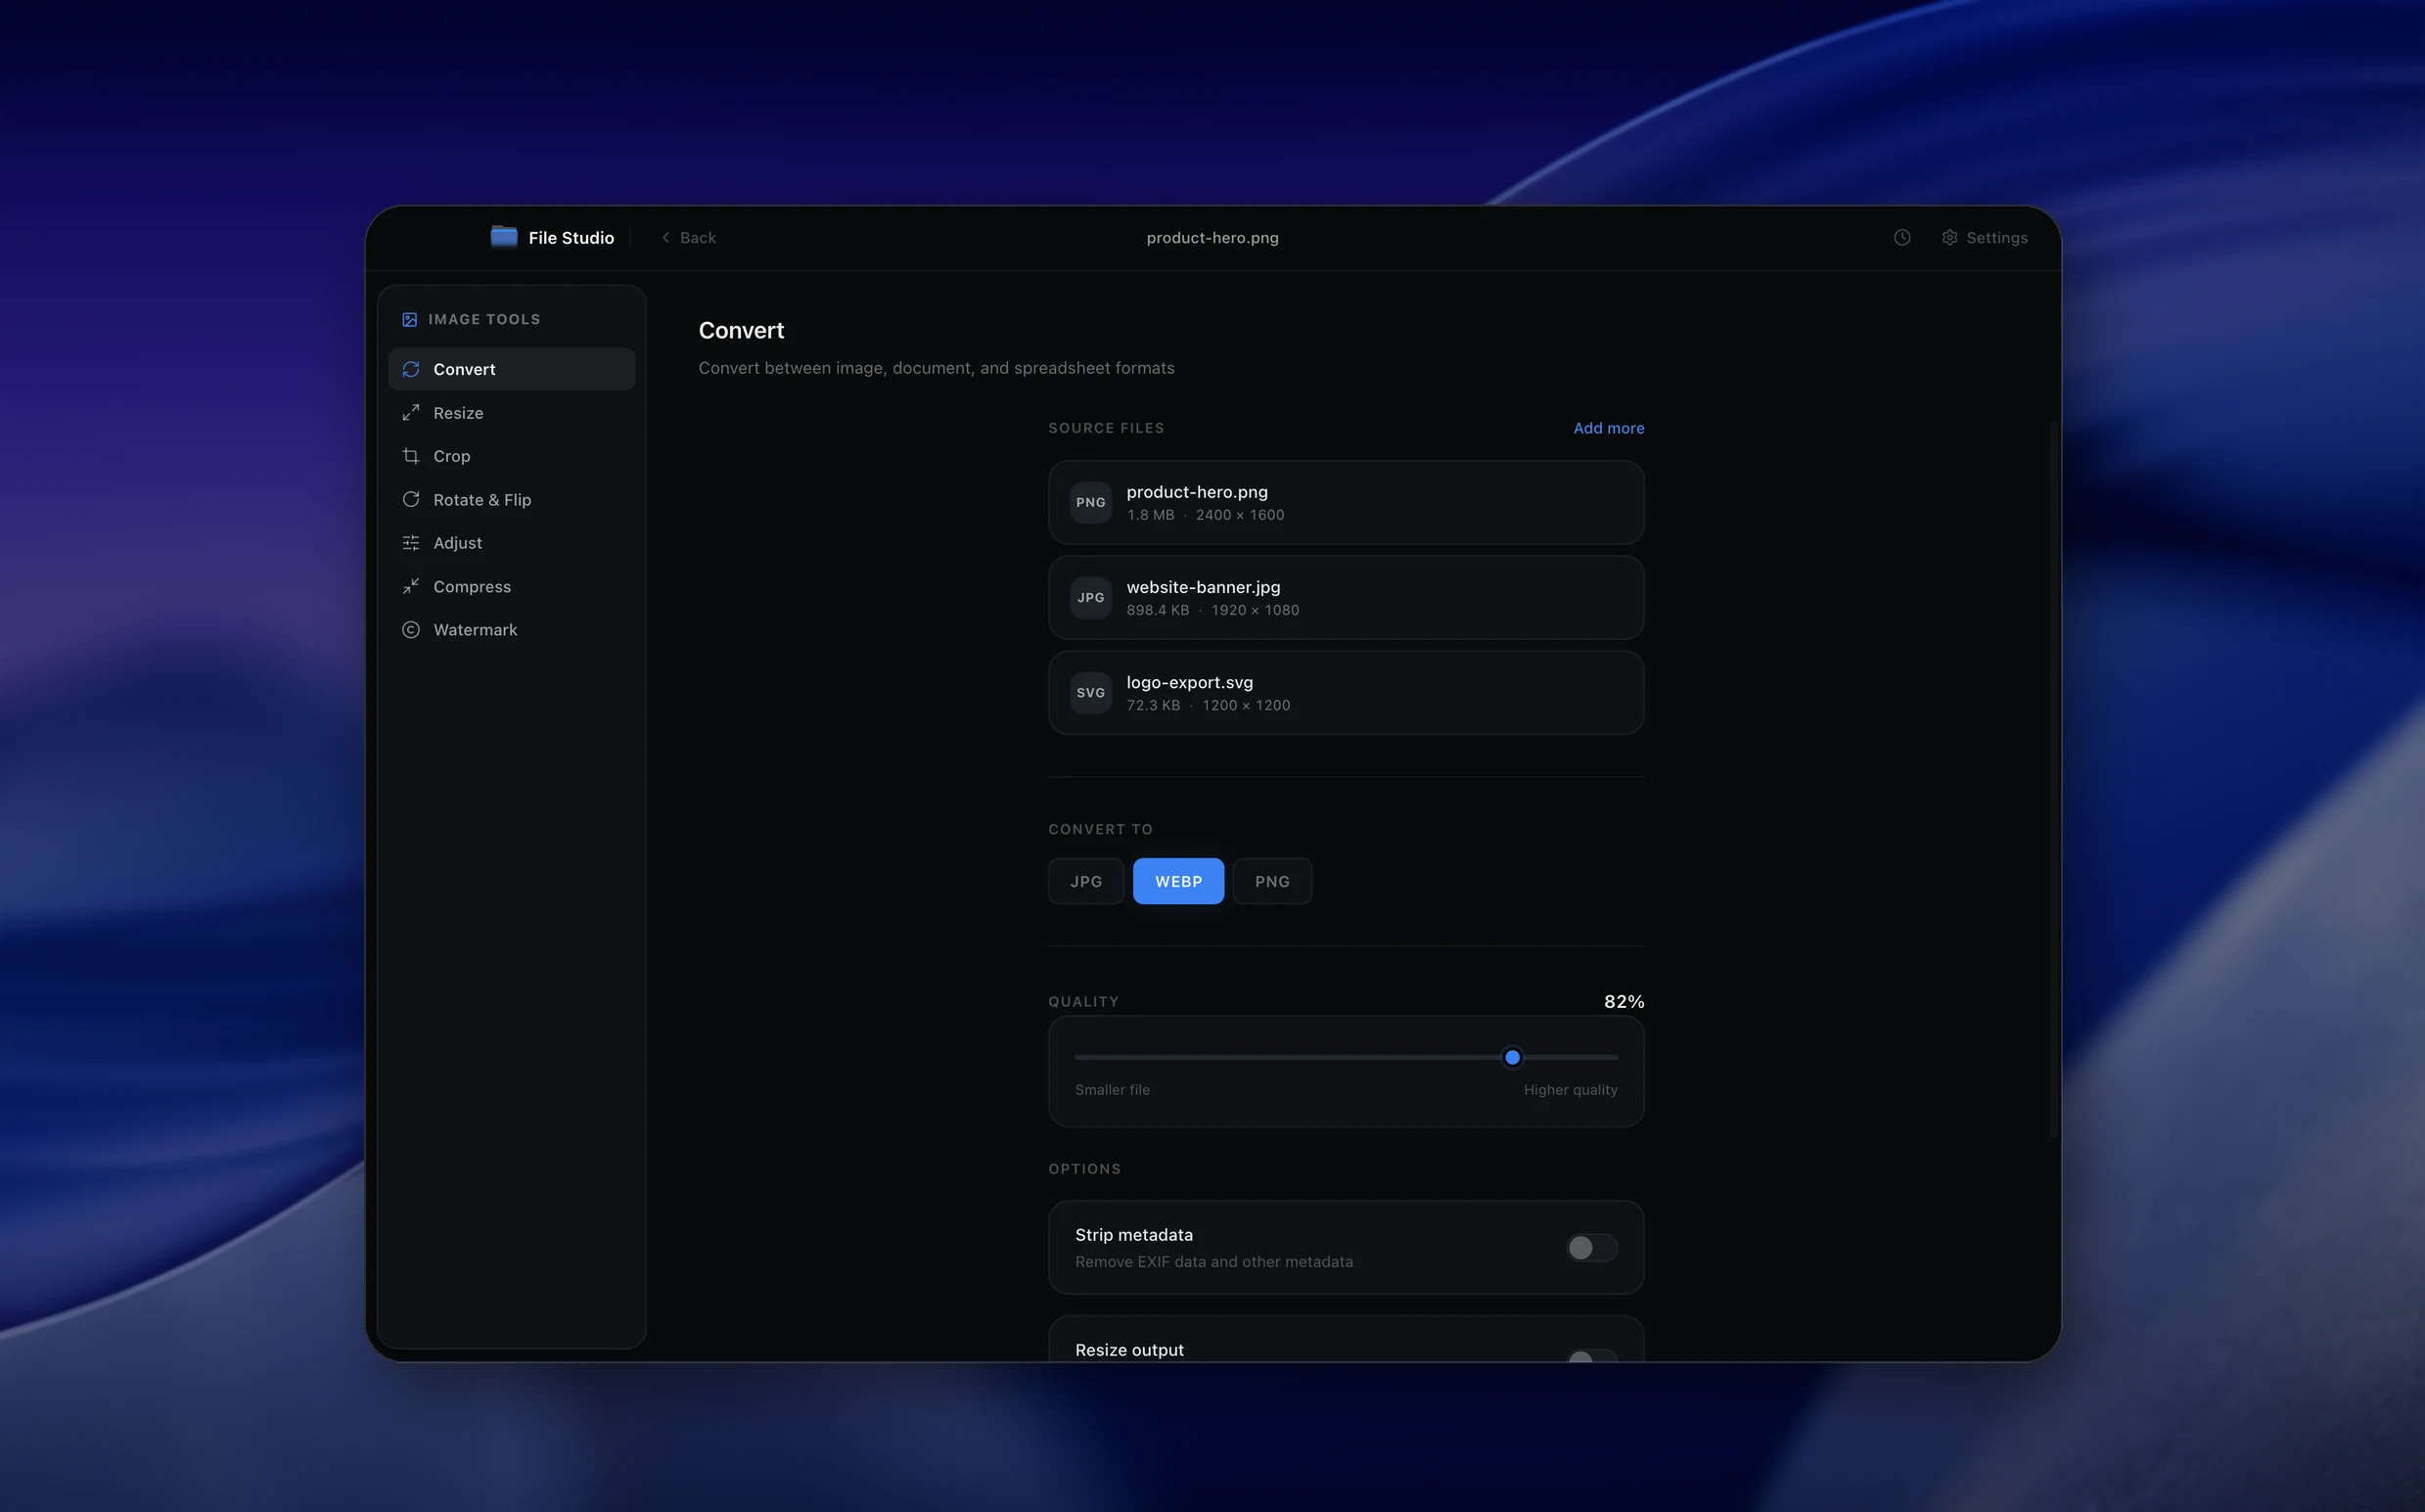
Real File Studio interface, shown in light and dark mode.
Understanding the PNG format
PNG (Portable Network Graphics) was published in 1996 as a patent-free replacement for GIF and was later standardized as ISO/IEC 15948. It is a lossless raster format that uses the DEFLATE compression algorithm (the same one used in zip and gzip) combined with five optional row prefilters that improve compressibility. PNG supports grayscale, indexed, RGB, and RGBA modes at bit depths of 1, 2, 4, 8, and 16, along with an 8 or 16 bit alpha channel for full transparency.
Converting from JPG to PNG cannot recover any information that JPG already discarded. The DCT artifacts, chroma subsampling errors, and quantization noise present in the source JPG will be preserved exactly in the PNG output. In other words, JPG-to-PNG is not an upscaling or restoration step; it is a format change. The reason to perform it is that downstream tooling or platforms require PNG, not because the resulting image will look better.
Legitimate reasons to convert include preparing images for systems that reject JPG (some print drivers, certain federal document portals, older medical imaging pipelines), preserving intermediate edits without further generation loss, adding transparency through subsequent editing, and standardizing a mixed library to a single format. Expect PNG output to be three to ten times larger than the source JPG for photographic content, since lossless compression cannot match DCT efficiency on natural images.
How it works
Convert JPG to PNG in four simple steps.
The flow mirrors the main File Studio experience: install the app, drop in your files, pick the right tool, and export clean, ready-to-share output. All without sending anything to the cloud.
Install File Studio
Download the app, move it to Applications, and open it. No sign-ups or accounts required.
Add your JPG files
Drag-and-drop your jpg files into the window or click to browse from disk.
Choose JPG → PNG
Pick the dedicated tool, then adjust resolution, quality, and page range until the preview feels right.
Export & keep working
Select an output folder and run the conversion. Your originals stay untouched on your device.
Best practices for cleaner results
- ·Group related files into folders before converting so your output stays organized and easy to archive.
- ·Use higher resolution presets when you know the result will be printed, zoomed in, or reused in design tools.
- ·Keep an unedited copy of your original JPG files for audits, record-keeping, or compliance workflows.
- ·Combine this tool with other File Studio actions like compress, merge, or split to streamline entire document pipelines.
Why File Studio
Built for trustworthy, everyday JPG to PNG work.
You get precise control over the output, predictable file names, and a private workflow that keeps sensitive documents on your own machine.
Features tuned for this conversion
- ·Lossless PNG output preserves all existing detail.
- ·Optional transparency support (add alpha channel).
- ·Batch conversion with consistent settings.
Why use File Studio for this conversion?
- ·Convert to PNG for lossless editing workflows.
- ·Stop accumulating JPG compression artifacts.
- ·Batch convert folders of JPG images.
Real-world ways people use it
- ·Prepare JPG photos for heavy editing without quality loss.
- ·Archive images in lossless format for long-term storage.
- ·Convert product photos for platforms requiring PNG.
Settings guide
Understanding your conversion options
Color mode
RGB (24-bit) is the standard for photographic JPGs and produces the most accurate output. RGBA (32-bit) adds an alpha channel that you can use later for masking or compositing. Indexed (8-bit) restricts the palette to 256 colors and produces the smallest files, but causes posterization on photographs. Use indexed only when the source is already a screenshot of flat-color UI.
Compression level
PNG compression level ranges from 0 (store) to 9 (maximum DEFLATE effort). Visual output is identical at all levels because PNG is lossless; only file size and encoding time vary. Level 6 is the practical default. Level 9 saves an additional 1 to 5 percent at significantly higher CPU cost. Tools such as zopflipng can squeeze out a few more percent by trying alternate filter strategies.
Interlacing (Adam7)
Adam7 interlacing stores pixels in seven progressive passes so a low-resolution preview appears before the full image loads. It increases file size by roughly 20 percent and is rarely worth using on modern broadband. Leave it off unless you specifically need progressive rendering on slow connections.
Metadata handling
JPG metadata (EXIF, IPTC, XMP) does not map cleanly into PNG. Choose whether to embed it as eXIf chunks (PNG specification 1.5 or later), as iTXt text chunks, or to strip it entirely. Most browsers and editors read eXIf chunks correctly, but older software may ignore them.
ICC color profile
Embed the source JPG's ICC profile in the PNG output via the iCCP chunk. Without this, color-managed applications will fall back to sRGB, which can shift colors noticeably for images authored in Display P3, Adobe RGB, or ProPhoto RGB.
Industry standards and requirements
Government and legal document portals frequently require PNG. The U.S. Patent and Trademark Office accepts PNG drawings at 300 to 600 DPI for utility patent applications, and many state court e-filing systems require PNG or PDF for exhibit images. PNG is preferred in these contexts because it cannot accumulate generational loss during processing.
Software documentation and developer portals such as MDN, Apple Developer, and Microsoft Learn rely on PNG for code samples, UI screenshots, and architectural diagrams. The lossless nature of PNG ensures that pixel-precise UI tests and visual regression suites produce stable hashes across runs. Converting source JPGs to PNG before integration helps unify screenshot pipelines.
For long-term archival, the Library of Congress lists PNG as a recommended preservation format for raster images alongside TIFF and JPEG 2000. The 16-bit-per-channel mode is particularly valuable for archival because it provides headroom for future tone mapping without quantization. JPG converted to 8-bit PNG provides format stability but does not gain any of these archival advantages, since the source data is already 8-bit and lossy.
Troubleshooting
Common issues and how to fix them
PNG output is much larger than the source JPG→
This is expected behavior. PNG cannot match JPG compression on photographic content. To reduce size, run a PNG optimizer (oxipng, pngquant, zopflipng) after conversion, or reconsider whether PNG is required at all. Quantizing to 8-bit indexed color cuts size dramatically but introduces visible posterization.
JPG compression artifacts are still visible→
Lossless conversion cannot remove existing artifacts. If artifacts are unacceptable, the source JPG must be re-rendered from the original (camera RAW, design file, vector source). No format conversion can recover information that was discarded by DCT quantization.
Colors look slightly different in some applications→
Confirm that the ICC profile from the JPG is being copied into the PNG iCCP chunk. Applications without color management assume sRGB, so wide-gamut images appear desaturated. Most modern browsers honor iCCP correctly.
Transparency is missing after conversion→
JPG never stored transparency, so there is none to copy. To add transparency, you need to edit the PNG after conversion in an image editor that supports masking, then export to RGBA.
Pricing
Simple, fair pricing.
All tools included. No hidden fees. Processing stays on your device.
Yearly
For short-term projects.
- 1 year of updates
- Image, PDF, SVG, and spreadsheet tools
- Works on Mac & Windows
- All processing done on device
Lifetime
One purchase. Keep it forever.
- Unlimited conversions forever
- 1 year of major updates
- Image, PDF, SVG, and spreadsheet tools
- Watch Folders & Automation
- macOS Notch Drop Zone
- Works on Mac & Windows
Team & Bulk Pricing
Lifetime seats with volume discounts. More seats, bigger discount.
15
lifetime seats
You save
$60
15% off the individual price
Enterprise
50+ seats with custom pricing, centralized license management, and priority support.
FAQ
Frequently asked questions
Will converting JPG to PNG improve image quality?→
It won't restore quality lost to JPG compression, but it prevents further quality loss during future edits and saves.
Why are PNG files larger than JPG?→
PNG uses lossless compression, which preserves all pixel data. This results in larger files but no quality degradation.
Can I add transparency to a JPG by converting to PNG?→
Converting creates a PNG with a solid background. You'd need to edit the image afterward to add actual transparency.
When should I convert JPG to PNG?→
When you need lossless editing, want to prevent further quality loss, or need PNG format for specific platforms.
Does the conversion process modify my original JPG?→
Never. File Studio creates new PNG files and leaves your original JPGs completely untouched.
Can I batch convert JPG to PNG?→
Yes. Process entire folders of JPG images in a single operation.
Looking for something else? Explore more offline conversions with File Studio: