

Image resizer
Images to Images - Resize entire folders of images with predictable, clean results.
Set exact widths, heights, or longest‑edge limits and let File Studio handle the rest - keeping your images sharp and ready to share.
Free trial · No account required · Files stay on your device
All conversions happen locally on your computer. No uploads, no subscriptions, and no background syncing.
Images → Images
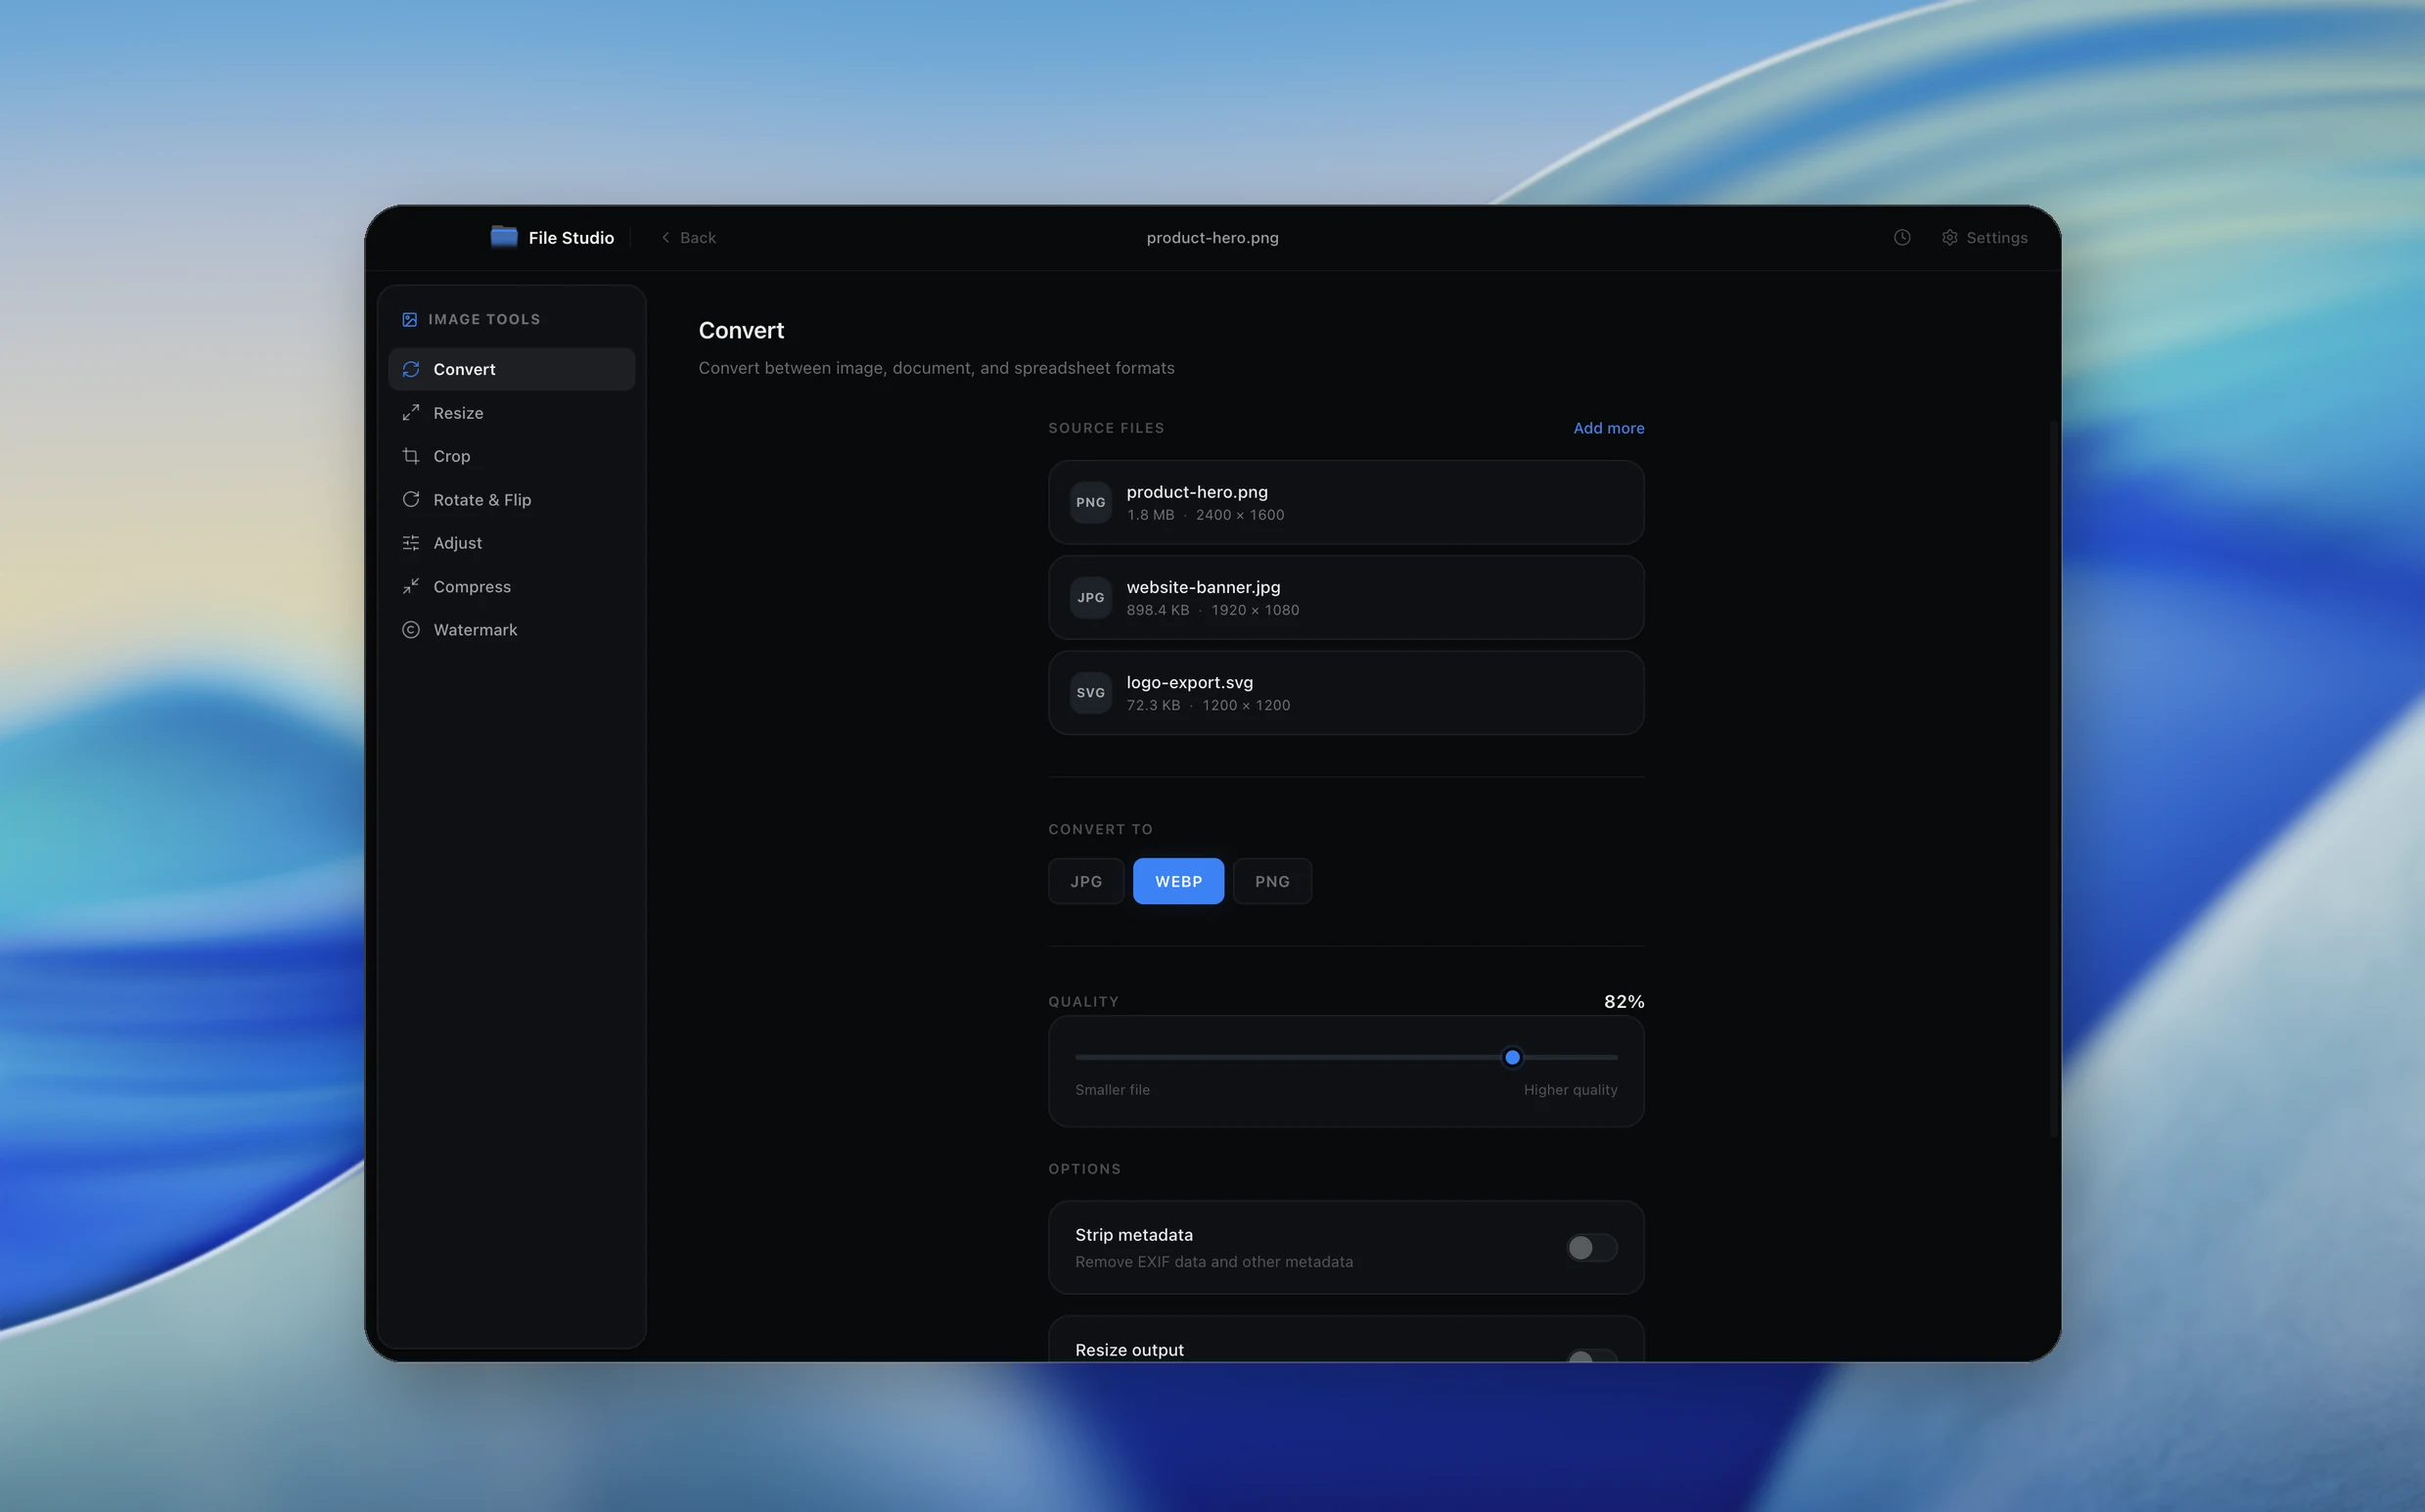
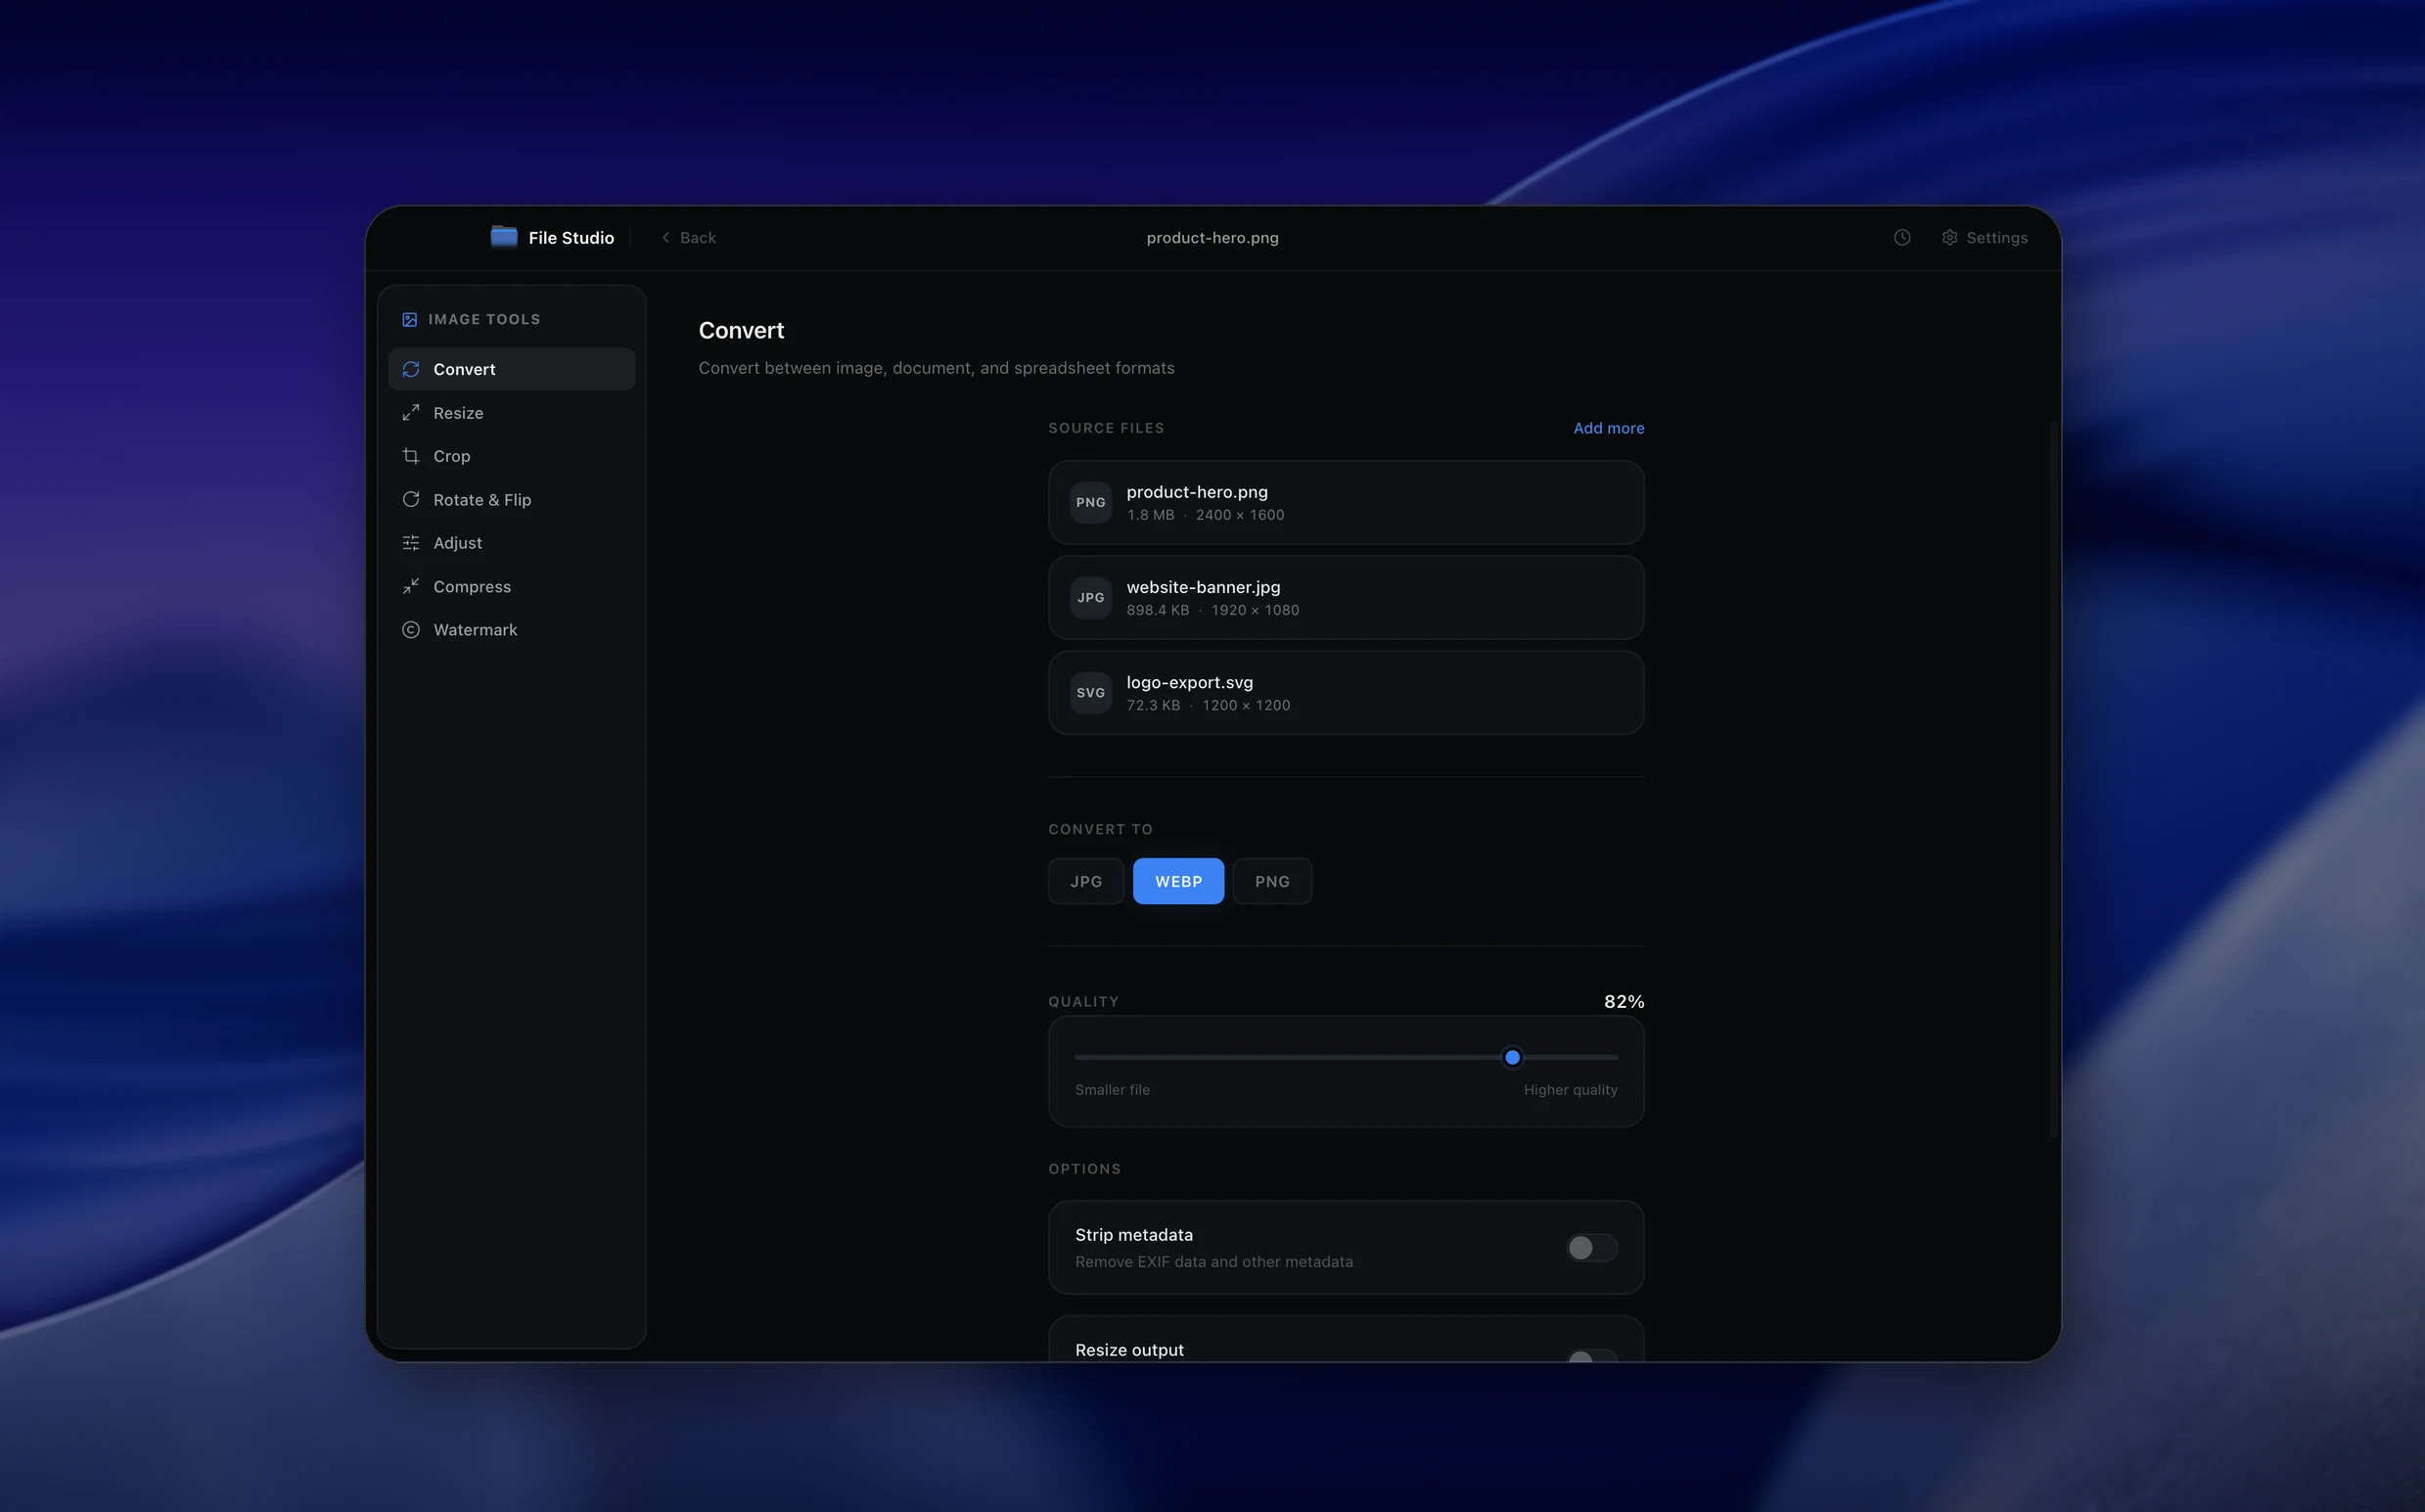
Real File Studio interface, shown in light and dark mode.
Understanding image resizing and resampling
Image resizing changes the pixel dimensions of an image, making it larger or smaller. When reducing size (downsampling), the software combines multiple source pixels into fewer output pixels. When enlarging (upsampling), the software interpolates new pixel values between existing ones. The resampling algorithm used has a significant impact on the quality of the result.
Common resampling methods include Nearest Neighbor (fastest, but produces blocky results), Bilinear (smooth but can soften details), Bicubic (good balance of sharpness and smoothness), and Lanczos (highest quality for downsampling, preserves fine detail). Modern tools may also offer AI-powered upscaling that uses neural networks to add plausible detail when enlarging images.
Resizing is one of the most frequently needed image operations. Web developers resize images to specific dimensions for responsive layouts. Social media managers resize photos to meet platform requirements. Print designers resize images to match physical dimensions at a target DPI. Getting the dimensions and resampling method right prevents blurry thumbnails, oversized page loads, and distorted photos.
How it works
Convert Images to Images in four simple steps.
The flow mirrors the main File Studio experience: install the app, drop in your files, pick the right tool, and export clean, ready-to-share output. All without sending anything to the cloud.
Install File Studio
Download the app, move it to Applications, and open it. No sign-ups or accounts required.
Add your Images files
Drag-and-drop your images files into the window or click to browse from disk.
Choose Images → Images
Pick the dedicated tool, then adjust resolution, quality, and page range until the preview feels right.
Export & keep working
Select an output folder and run the conversion. Your originals stay untouched on your device.
Best practices for cleaner results
- ·Group related files into folders before converting so your output stays organized and easy to archive.
- ·Use higher resolution presets when you know the result will be printed, zoomed in, or reused in design tools.
- ·Keep an unedited copy of your original Images files for audits, record-keeping, or compliance workflows.
- ·Combine this tool with other File Studio actions like compress, merge, or split to streamline entire document pipelines.
Why File Studio
Built for trustworthy, everyday Images to Images work.
You get precise control over the output, predictable file names, and a private workflow that keeps sensitive documents on your own machine.
Features tuned for this conversion
- ·Resize by pixels, percentage, or longest edge for flexible control.
- ·Apply smart sharpening so downsized images stay crisp.
- ·Export to multiple output folders based on size presets.
Why use File Studio for this conversion?
- ·Resize by width, height, or longest edge to fit any spec.
- ·Export to JPG or PNG with tuned compression settings.
- ·Preview file sizes before committing to a batch run.
Real-world ways people use it
- ·Prepare a portfolio of images for your personal website.
- ·Resize screenshots before posting them in documentation.
- ·Standardize image sizes for slide decks and reports.
Settings guide
Understanding your conversion options
Target Dimensions
Specify the desired width and height in pixels, or enter one dimension and let the tool calculate the other automatically to maintain the aspect ratio. Common web sizes include 1920x1080 for hero images and 800x600 for blog thumbnails.
Aspect Ratio Lock
Locking the aspect ratio prevents distortion by ensuring width and height scale proportionally. Unlock it only when you intentionally need to stretch or squash an image to fit a specific frame.
Resampling Algorithm
Lanczos produces the sharpest results for downscaling and is recommended for most uses. Bicubic is a reliable default. Nearest Neighbor should only be used for pixel art or when you want to preserve hard edges without anti-aliasing.
DPI Metadata
Changing the DPI metadata does not alter pixel count but tells printers and layout software what physical size the image represents. Set to 300 DPI for print, 72 DPI for web. This only matters when physical dimensions (inches/cm) are relevant.
Output Format
Resizing is a good opportunity to change formats. For example, resize a large PNG to a smaller JPG for web use, or resize and convert a JPG to WebP for modern browsers. Choose the format that best fits the image content and destination.
Industry standards and requirements
Social media platforms each have specific image size requirements. Instagram recommends 1080x1080 for square posts, 1080x1350 for portrait, and 1080x566 for landscape. Facebook cover photos should be 820x312 pixels. LinkedIn banners are 1584x396. Resizing images to these exact dimensions prevents cropping and ensures the best visual presentation.
For e-commerce, product images typically need to be square (1000x1000 or 2000x2000 pixels) with a white background. Amazon requires a minimum of 1000 pixels on the longest side for zoom functionality. Batch resizing tools are essential for sellers managing hundreds or thousands of product listings.
In responsive web design, developers often generate multiple sizes of the same image (e.g., 400w, 800w, 1200w, 1600w) and use srcset attributes to let the browser choose the optimal size. Automated resize pipelines save significant time compared to manually exporting each size from a design tool.
Troubleshooting
Common issues and how to fix them
Resized image looks blurry→
Use the Lanczos or Bicubic Sharper resampling algorithm instead of Bilinear. If upscaling, keep enlargements under 200% of the original size. Beyond that, even the best algorithms produce noticeably soft results without AI enhancement.
Image appears stretched or squashed→
The aspect ratio was not locked during resizing. Undo the resize and enable 'Maintain aspect ratio' or 'Lock proportions' before entering new dimensions.
File size increased after resizing down→
This can happen if you converted from a lossy format to a lossless one (e.g., JPG to PNG) during the resize, or if the output compression is set very low. Check your output format and compression settings.
Pricing
Simple, fair pricing.
All tools included. No hidden fees. Processing stays on your device.
Yearly
For short-term projects.
- 1 year of updates
- Image, PDF, SVG, and spreadsheet tools
- Works on Mac & Windows
- All processing done on device
Lifetime
One purchase. Keep it forever.
- Unlimited conversions forever
- 1 year of major updates
- Image, PDF, SVG, and spreadsheet tools
- Watch Folders & Automation
- macOS Notch Drop Zone
- Works on Mac & Windows
Team & Bulk Pricing
Lifetime seats with volume discounts. More seats, bigger discount.
15
lifetime seats
You save
$60
15% off the individual price
Enterprise
50+ seats with custom pricing, centralized license management, and priority support.
FAQ
Frequently asked questions
Does resizing overwrite my original images?→
No. File Studio writes resized copies to a separate destination so your originals remain untouched.
Can I mix formats when resizing?→
Yes. You can drop in JPG, PNG, HEIC, and more, then choose a single output format or preserve each file’s original type.
How do I resize images for a specific website or marketplace?→
You can set exact pixel dimensions or longest-edge sizing to match a site’s requirements, then save those settings as a preset you reuse later.
Will resizing make my images blurry?→
File Studio uses high‑quality resizing and optional sharpening so downsized images stay crisp while keeping file sizes small.
Can I create presets for different platforms (web, email, print)?→
Yes. You can reuse your favorite combinations of size and quality, making it easy to keep images consistent across websites and documents.
Does the image resizer support very large photos from modern cameras?→
File Studio is built for high‑resolution files and can downscale large RAW exports or DSLR shots into web‑ready images quickly.
Looking for something else? Explore more offline conversions with File Studio: