SVG to JPG converter
SVG to JPG - Render vector SVGs as compact JPG images at any size, entirely offline.
Need a JPG version of your SVG artwork for email, a slide deck, or a platform that does not accept vectors? File Studio renders your SVG at the resolution you specify and outputs a clean JPG, all on your local machine with no cloud dependency.
Works 100% offline on both Windows and Mac.
All conversions happen locally on your computer. No uploads, no subscriptions, and no background syncing.
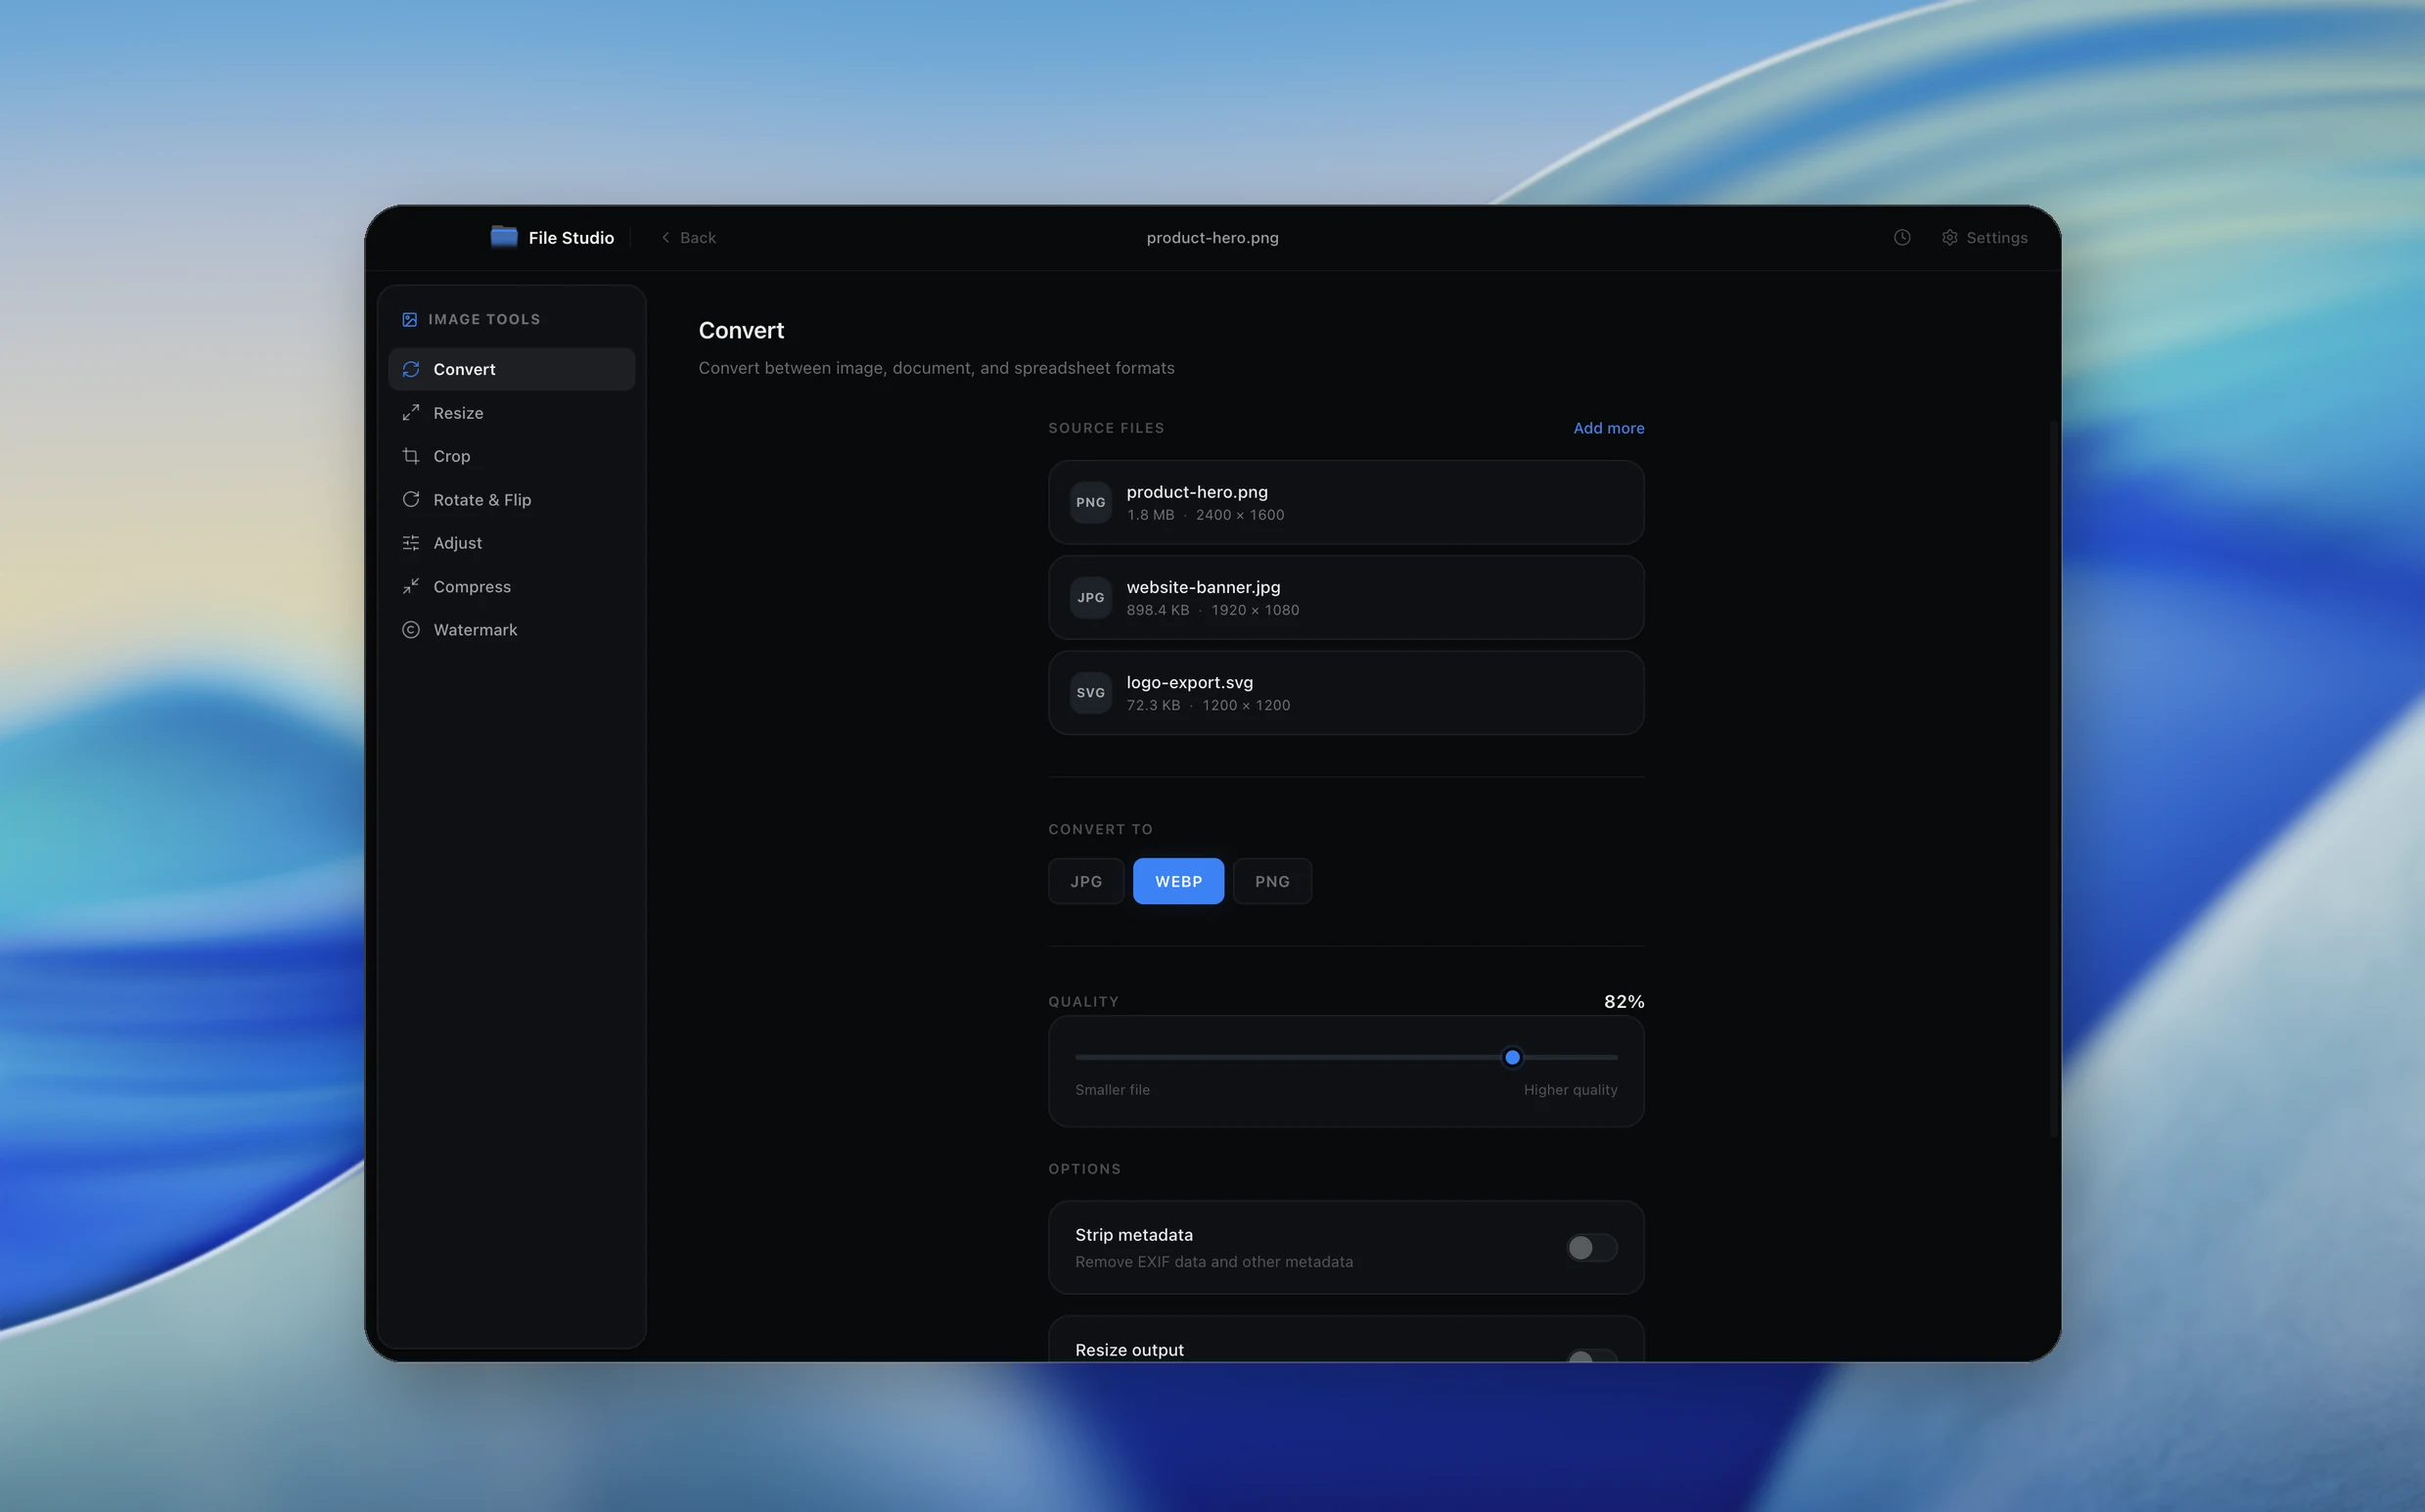
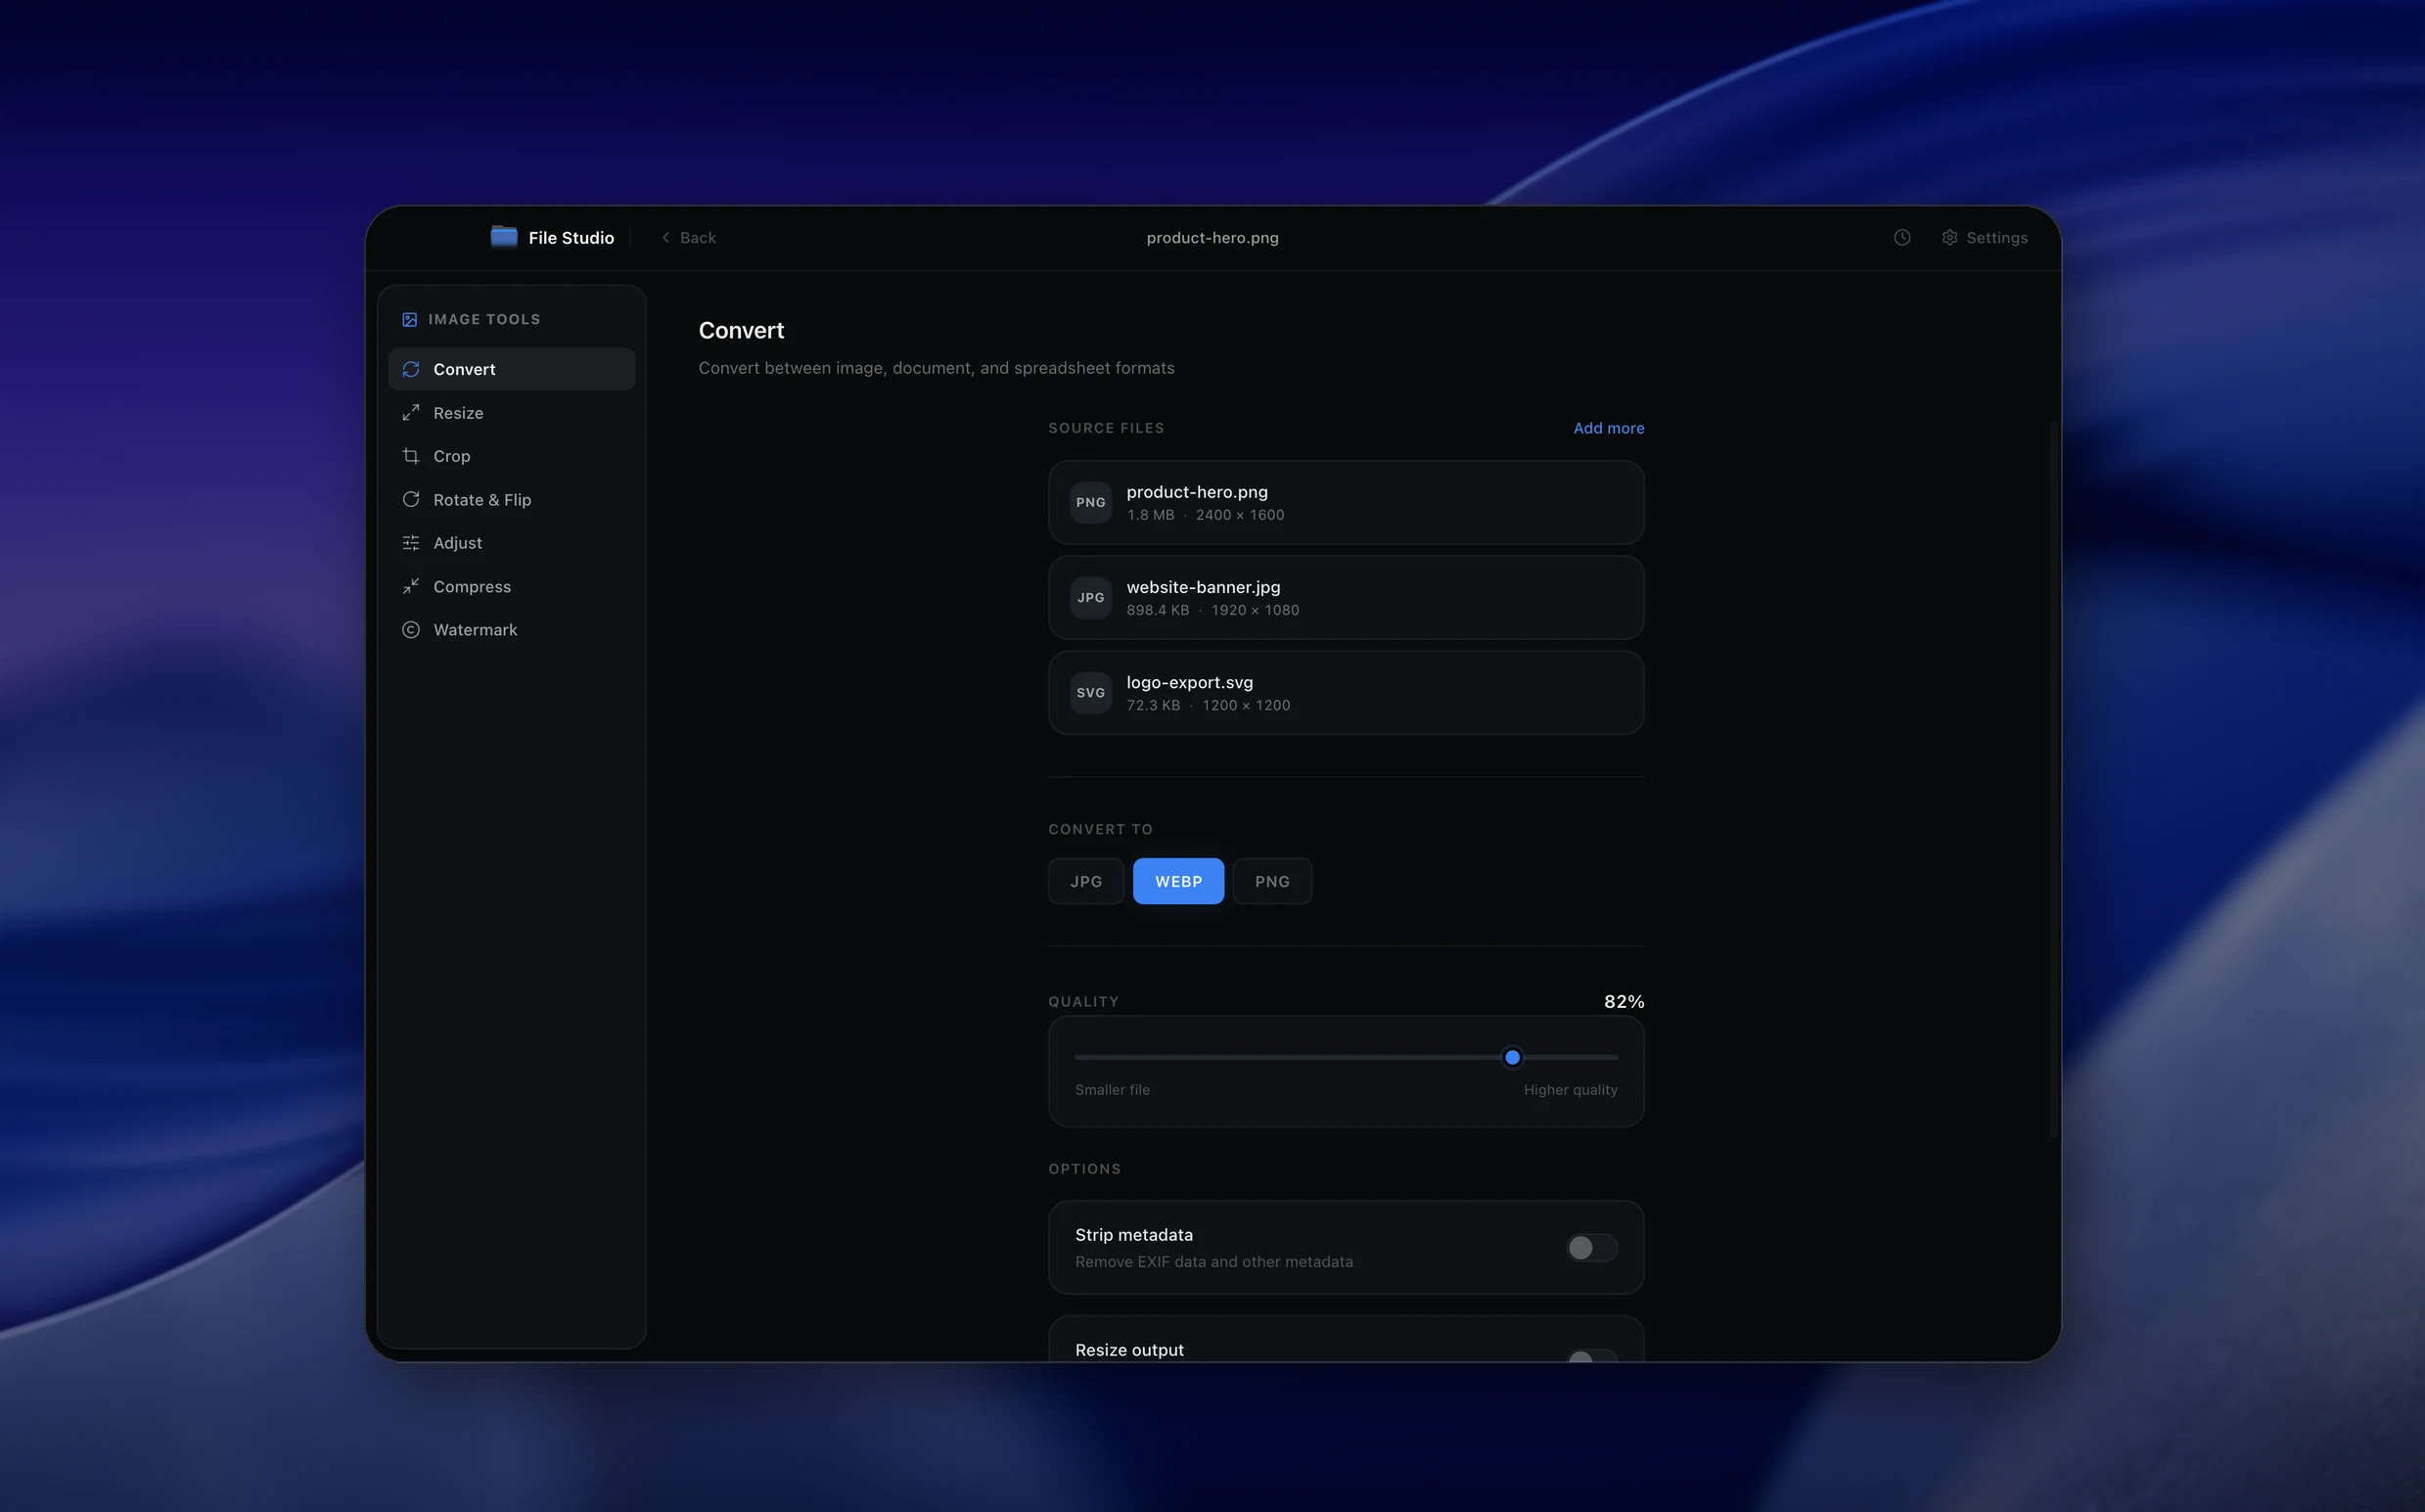
SVG → JPG
Real File Studio interface, shown in light and dark mode.
Understanding SVG to JPG rasterization
SVG is a resolution-independent vector format that stores images as XML-described shapes, paths, gradients, and text. JPG is a lossy raster format that uses discrete cosine transform (DCT) compression to store photographic images compactly. Converting SVG to JPG rasterizes the vector description at a chosen pixel size and then encodes the resulting bitmap with JPG compression. Two distinct quality decisions are involved: the rasterization resolution and the JPG quality factor.
Unlike PNG, JPG has no transparency channel. Any transparent regions in the source SVG must be flattened against a background color (typically white) before JPG encoding. JPG also handles flat color regions less efficiently than PNG, so logo-style SVGs with large solid blocks often produce visible ringing around edges when saved as JPG. For this reason, JPG is best reserved for SVG sources that contain photographic gradients, complex shading, or imported raster content.
JPG remains the most universal interchange format for photographic images, and many publishing systems, document templates, and email workflows expect JPG specifically. Rasterizing an SVG to JPG produces a file that opens reliably in any image viewer, embeds cleanly into Word, PowerPoint, and Google Docs, and uploads to platforms that reject SVG for security reasons.
How it works
Convert SVG to JPG in four simple steps.
The flow mirrors the main File Studio experience: install the app, drop in your files, pick the right tool, and export clean, ready-to-share output. All without sending anything to the cloud.
Install File Studio
Download the app, move it to Applications, and open it. No sign-ups or accounts required.
Add your SVG files
Drag-and-drop your svg files into the window or click to browse from disk.
Choose SVG → JPG
Pick the dedicated tool, then adjust resolution, quality, and page range until the preview feels right.
Export & keep working
Select an output folder and run the conversion. Your originals stay untouched on your device.
Best practices for cleaner results
- ·Group related files into folders before converting so your output stays organized and easy to archive.
- ·Use higher resolution presets when you know the result will be printed, zoomed in, or reused in design tools.
- ·Keep an unedited copy of your original SVG files for audits, record-keeping, or compliance workflows.
- ·Combine this tool with other File Studio actions like compress, merge, or split to streamline entire document pipelines.
Why File Studio
Built for trustworthy, everyday SVG to JPG work.
You get precise control over the output, predictable file names, and a private workflow that keeps sensitive documents on your own machine.
Features tuned for this conversion
- ·Configurable background color (since JPG does not support transparency).
- ·High-quality anti-aliasing for smooth edges at any output size.
- ·Adjustable JPG compression to balance quality and file size.
Why use File Studio for this conversion?
- ·Render SVGs at custom pixel dimensions for sharp, purpose-built JPGs.
- ·Choose background color for areas that are transparent in the SVG.
- ·Offline rendering keeps proprietary vector designs confidential.
Real-world ways people use it
- ·Generate JPG versions of SVG diagrams for email newsletters.
- ·Create high-resolution JPGs from SVG marketing graphics for print ads.
- ·Produce JPG thumbnails of SVG illustrations for content management systems.
Settings guide
Understanding your conversion options
Output Resolution
Specify the target pixel width and height for rasterization. Unlike a fixed-size source, SVG can be rendered at any resolution. Choose a size matching the intended display or print use, then add a 2x multiplier for HiDPI screens.
JPG Quality
Quality is set on a 0 to 100 scale. Use 90 or higher for SVG sources to minimize ringing artifacts around sharp edges. Values below 80 introduce visible blockiness, especially on text and line art that originated as crisp vectors.
Background Color
Because JPG cannot store transparency, transparent regions are filled with a background color before encoding. White is the default. Match the color of the page or template where the JPG will appear to avoid a visible rectangle outline.
Chroma Subsampling
4:4:4 subsampling preserves full color resolution and is recommended for SVG sources, which often contain saturated brand colors and sharp edges. 4:2:0 reduces file size but softens red and orange edges noticeably in vector content.
Anti-aliasing
Subpixel anti-aliasing during rasterization smooths diagonal and curved edges. JPG compression interacts poorly with hard aliased edges, so high-quality anti-aliasing both improves visible quality and slightly reduces file size.
Industry standards and requirements
Print workflows commonly require 300 DPI JPGs at the final print size. To produce a 5 inch by 7 inch print from an SVG, rasterize at 1500 by 2100 pixels minimum and save at JPG quality 90 or higher. Many commercial printers reject submissions below this threshold.
For social media open graph and Twitter card images, JPG at 1200 by 630 pixels remains the most reliable format. Rasterizing SVG marketing graphics to this exact size at quality 85 produces files that load quickly, render correctly across all platforms, and stay under the typical 5 MB upload limits.
Document embedding in office software favors JPG for photographic content because Word and PowerPoint sometimes scale and recompress SVG inconsistently across versions. A pre-rasterized JPG behaves predictably during document export to PDF and avoids surprises in printed output.
Troubleshooting
Common issues and how to fix them
Halos or color bleeding around sharp edges→
Increase JPG quality to 92 or higher and switch chroma subsampling to 4:4:4. Ringing artifacts are inherent to DCT compression on hard edges. PNG is a better target if the source is primarily flat colors and crisp lines.
Background appears as an unexpected color→
Set the background color explicitly during conversion. Some renderers default to black or transparent (which JPG cannot store), producing unintended results when the destination assumes white.
Text edges look fuzzy→
Increase the rasterization resolution. Small text rendered at low DPI does not have enough pixels for clean anti-aliasing, and JPG compression amplifies the blurriness.
Embedded raster images inside the SVG look degraded→
JPG re-encoding compounds any compression already present in embedded raster content. Increase JPG quality and ensure the rasterization resolution matches or exceeds the native size of the embedded images.
Pricing
Simple, fair pricing.
All tools included. No hidden fees. Processing stays on your device.
Yearly
For short-term projects.
- 1 year of updates
- Image, PDF, SVG, and spreadsheet tools
- Works on Mac & Windows
- All processing done on device
Lifetime
One purchase. Keep it forever.
- Unlimited conversions forever
- 1 year of major updates
- Image, PDF, SVG, and spreadsheet tools
- Watch Folders & Automation
- macOS Notch Drop Zone
- Works on Mac & Windows
Team & Bulk Pricing
Lifetime seats with volume discounts. More seats, bigger discount.
15
lifetime seats
You save
$60
15% off the individual price
Enterprise
50+ seats with custom pricing, centralized license management, and priority support.
FAQ
Frequently asked questions
Why convert SVG to JPG instead of PNG?→
JPG produces smaller files than PNG for photographic or complex gradient content. If your SVG uses lots of gradients or embedded photos, JPG may be the more efficient choice. For graphics with sharp edges, text, or transparency, PNG is typically better.
What happens to transparent areas in my SVG?→
JPG does not support transparency, so File Studio fills transparent areas with a background color. White is the default, but you can choose any color before rendering.
Can I control the output size?→
Yes. You specify the pixel width and height, and File Studio renders the SVG at that exact resolution. Since SVG is vector-based, the output is sharp at any size.
Does this handle SVG text and fonts?→
Yes. Text in SVGs is rendered using the specified fonts (or fallback fonts if the originals are unavailable) and rasterized into the JPG output.
Is this offline?→
Yes. All rendering and encoding happens on your Mac or Windows machine. No SVG files or design assets are sent to any server.
Looking for something else? Explore more offline conversions with File Studio: