

Add Watermark
Images to Watermarked Images - Protect your images with custom text or logo watermarks.
File Studio lets you add professional watermarks to your photos - whether it's your brand logo, copyright text, or custom graphics - all processed locally.
Free trial · No account required · Files stay on your device
All conversions happen locally on your computer. No uploads, no subscriptions, and no background syncing.
Images → Watermarked Images
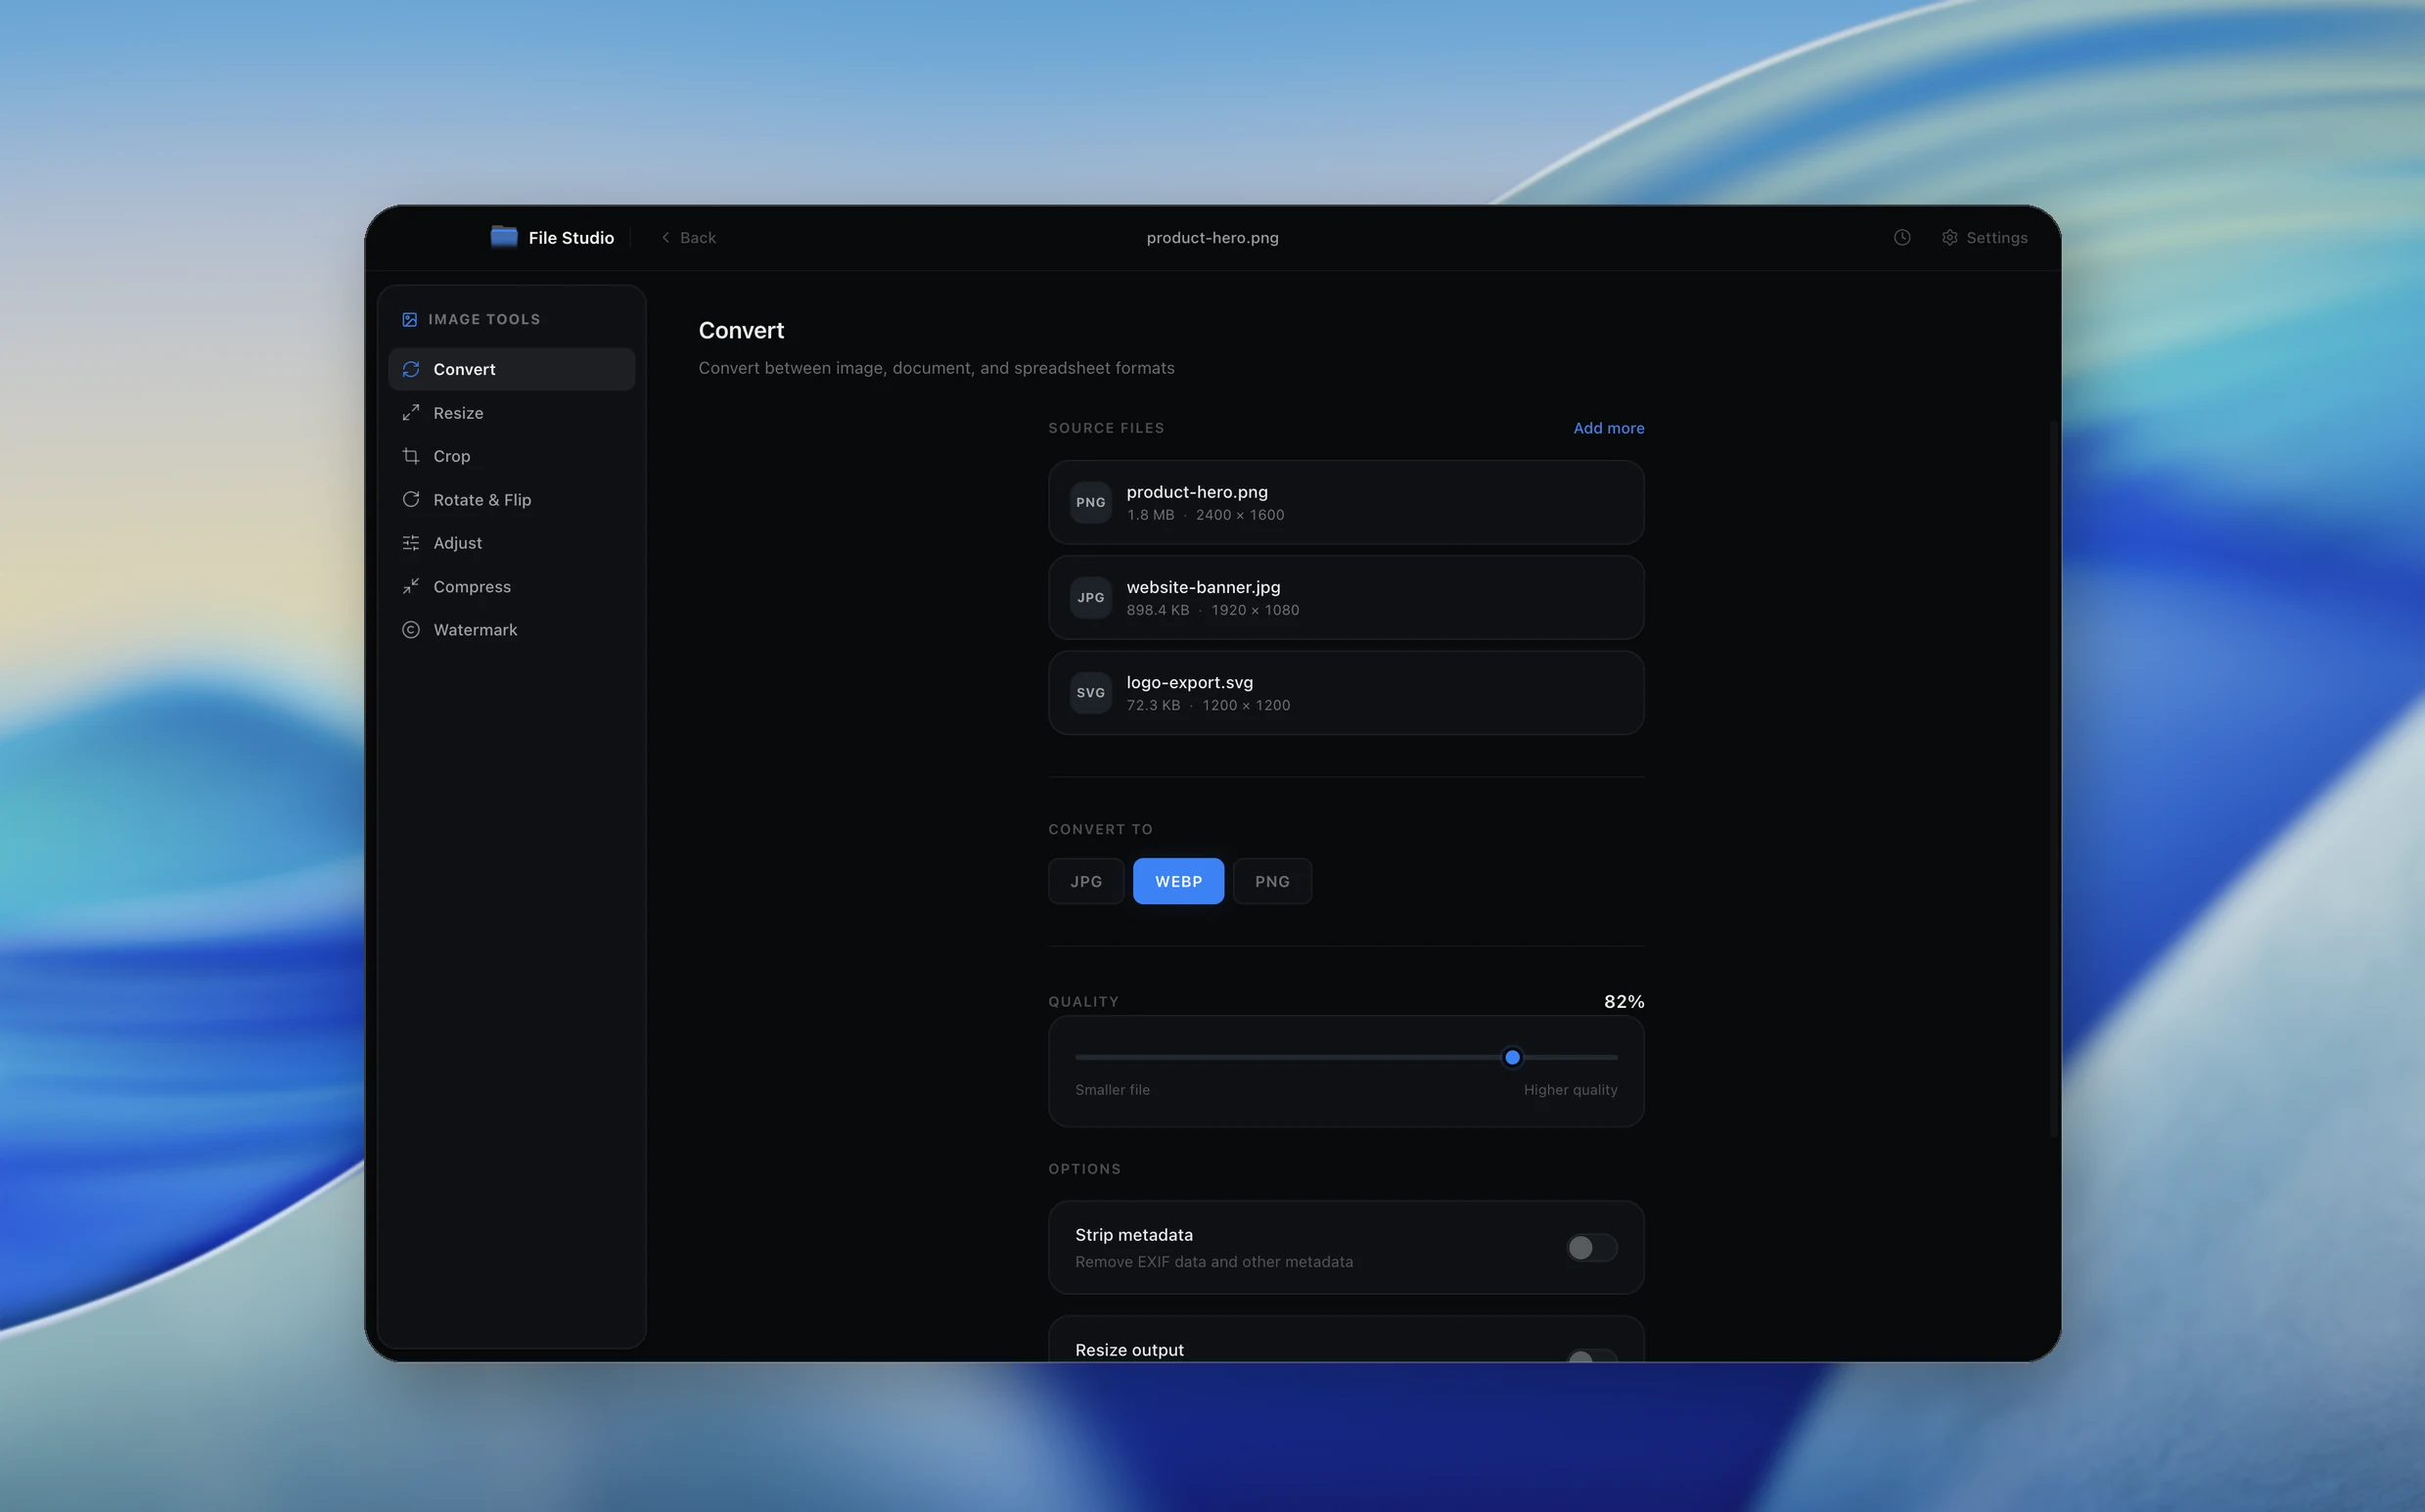
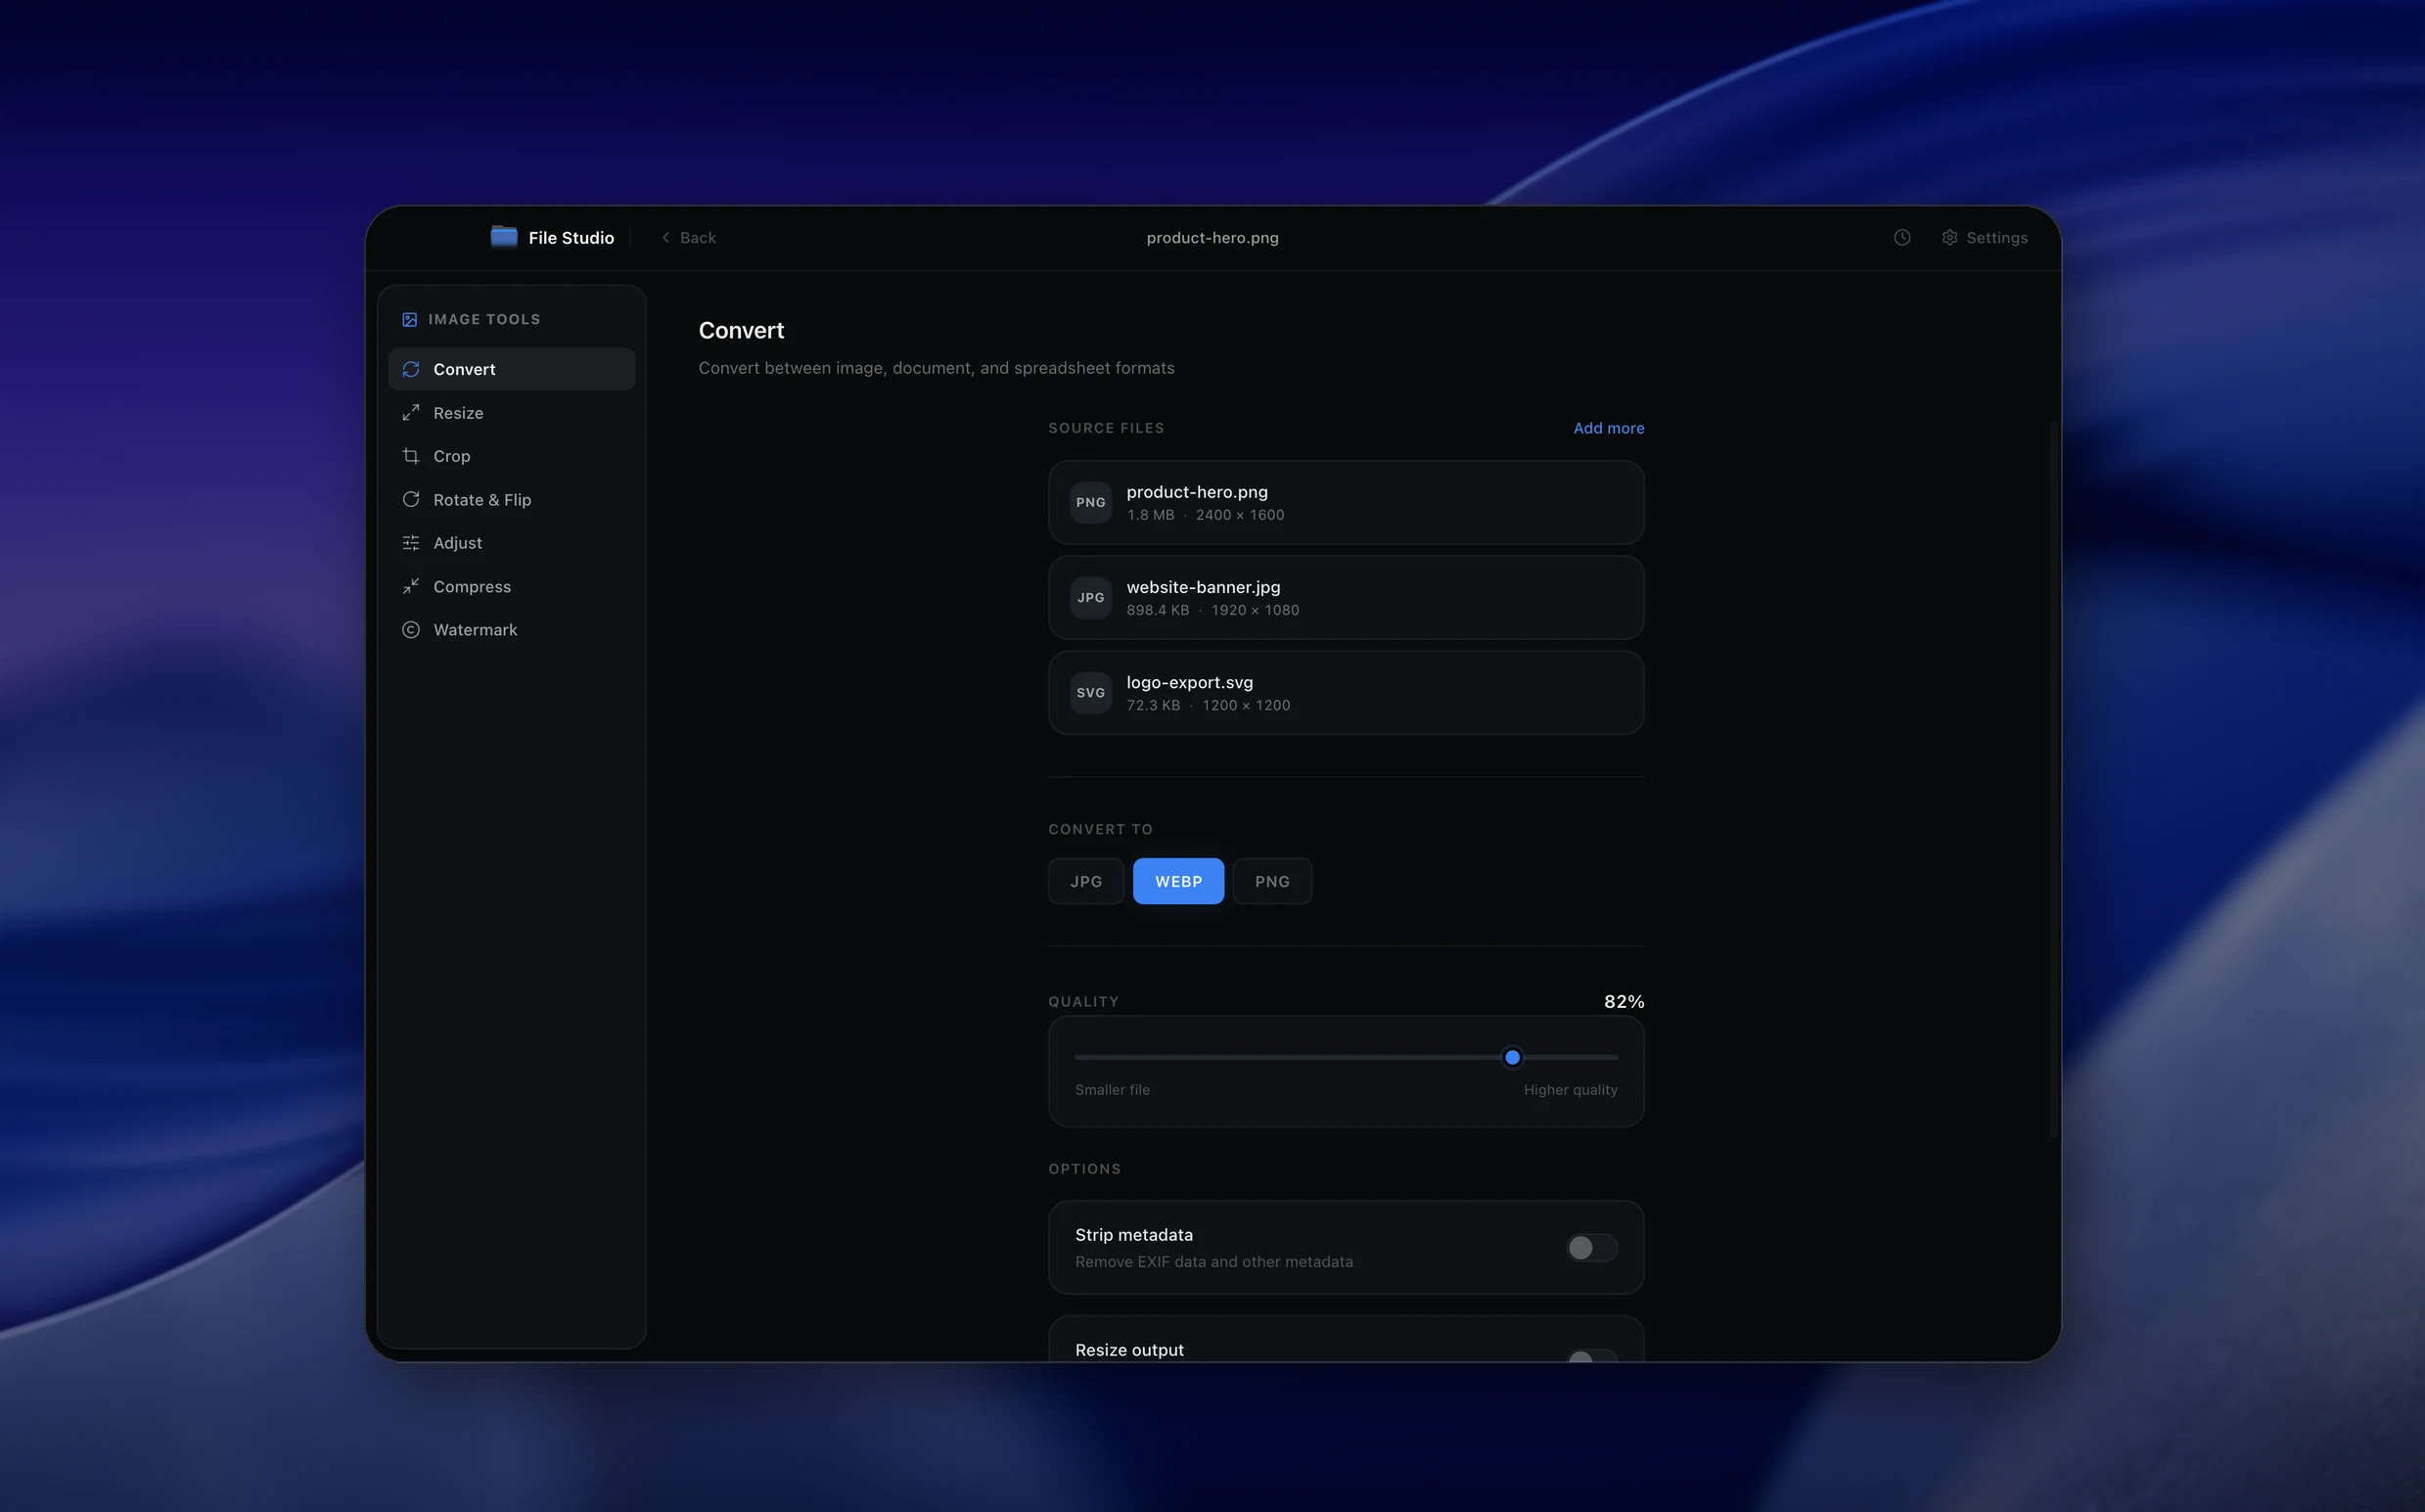
Real File Studio interface, shown in light and dark mode.
Understanding watermarks
A watermark is an overlay applied to an image or document to identify its source, claim ownership, or convey status (Draft, Confidential, Sample). Watermarks predate digital media by centuries: the term originally referred to a translucent mark embedded into paper during manufacturing, visible when held to light. Digital watermarks serve the same purpose but use image compositing instead of paper fibers.
There are two broad categories: visible watermarks and invisible (steganographic) watermarks. Visible watermarks are text or images overlaid on the content with reduced opacity, intended to be seen by anyone viewing the file. Invisible watermarks encode information in the file's pixel values or metadata using techniques imperceptible to the human eye but detectable by special software. Visible watermarks deter casual misuse; invisible watermarks support forensic tracing.
Applying a visible watermark to an image is a compositing operation: the watermark layer is blended with the base image using a blend mode (usually normal, multiply, or screen) and an opacity value. For PDFs, the watermark is added as a content stream operation on each page, either as a text object or as an embedded image. Both can be applied to existing pages without altering the underlying content, which means the watermark can theoretically be removed if the original is preserved.
How it works
Convert Images to Watermarked Images in four simple steps.
The flow mirrors the main File Studio experience: install the app, drop in your files, pick the right tool, and export clean, ready-to-share output. All without sending anything to the cloud.
Install File Studio
Download the app, move it to Applications, and open it. No sign-ups or accounts required.
Add your Images files
Drag-and-drop your images files into the window or click to browse from disk.
Choose Images → Watermarked Images
Pick the dedicated tool, then adjust resolution, quality, and page range until the preview feels right.
Export & keep working
Select an output folder and run the conversion. Your originals stay untouched on your device.
Best practices for cleaner results
- ·Group related files into folders before converting so your output stays organized and easy to archive.
- ·Use higher resolution presets when you know the result will be printed, zoomed in, or reused in design tools.
- ·Keep an unedited copy of your original Images files for audits, record-keeping, or compliance workflows.
- ·Combine this tool with other File Studio actions like compress, merge, or split to streamline entire document pipelines.
Why File Studio
Built for trustworthy, everyday Images to Watermarked Images work.
You get precise control over the output, predictable file names, and a private workflow that keeps sensitive documents on your own machine.
Features tuned for this conversion
- ·Position watermarks anywhere - corners, center, or custom.
- ·Batch watermark entire folders with consistent branding.
- ·Adjust opacity for subtle or prominent watermarks.
Why use File Studio for this conversion?
- ·Add text watermarks with custom fonts and styling.
- ·Overlay image watermarks like logos and signatures.
- ·Control opacity, position, size, and rotation.
Real-world ways people use it
- ·Protect portfolio images before sharing publicly.
- ·Add brand logos to product photos for marketing.
- ·Insert copyright notices on photos before distribution.
Settings guide
Understanding your conversion options
Watermark Source
Choose between text watermark (typed text rendered with a font) and image watermark (uploaded PNG, ideally with transparency). Text is faster and resolution-independent. Image watermarks support logos, signatures, and complex graphics that would be difficult to recreate as text.
Position
Standard positions are the four corners, the four edges, and the center. Tiled mode repeats the watermark across the entire image to make removal harder. For document watermarks (Draft, Confidential), diagonal center is conventional and immediately visible.
Opacity
Controls how transparent the watermark appears. 30 to 50 percent is typical for visible but unobtrusive marks. Higher opacity (70 to 100 percent) is appropriate for warning labels (Confidential, Do Not Distribute) where legibility matters more than aesthetics. Lower opacity (10 to 20 percent) is used for subtle branding.
Size and Rotation
Size is usually expressed as a percentage of the base image width (10 to 30 percent is common for corner watermarks, 50 to 80 percent for diagonal center). Rotation in degrees applies a transform; 45 degrees diagonal is the convention for full-page document watermarks.
Blend Mode
Normal blend draws the watermark over the base image at the chosen opacity. Multiply darkens the result and works well on light backgrounds. Screen lightens and works on dark backgrounds. Overlay combines both behaviors based on luminance. Choose multiply for white text on photos and overlay for adaptive contrast.
Industry standards and requirements
Stock photography agencies (Getty, Shutterstock, Adobe Stock) watermark preview images with large diagonal center marks to deter unauthorized use. The watermark is usually the agency name or logo at 20 to 40 percent opacity, diagonally rotated. Once a license is purchased, the customer receives the unmarked original. This pattern is the industry standard for any preview-and-license business model.
Legal and corporate document workflows commonly use Draft, Confidential, or Attorney-Client Privileged watermarks. These typically use 30 to 50 percent opacity diagonal text in red, applied to every page. The American Bar Association recommends watermarks on draft documents to prevent accidental reliance on outdated versions. Adobe Acrobat and most enterprise PDF tools provide preset watermark templates for these use cases.
Photography contracts often require the photographer's name or studio logo on delivery proofs. The watermark must be visible on every page or image but not so obtrusive that it interferes with client review. Industry conventions place small logo watermarks in the bottom right corner at 50 to 70 percent opacity, using a color that contrasts with most images while remaining readable. Wedding and event photographers commonly automate this with batch watermarking during export.
Troubleshooting
Common issues and how to fix them
Watermark is invisible or hard to see→
Increase opacity, change the blend mode, or adjust the watermark color for contrast. White text on light backgrounds and black text on dark backgrounds will both disappear. Add a contrasting outline or drop shadow to make the watermark visible against any background.
Watermark looks pixelated→
The source watermark image is too low resolution for the output size. Use a watermark image at least as large as the area it will cover, ideally 2x for retina displays. Vector formats (SVG) scale to any size without quality loss; raster watermarks should be PNG at the final display resolution.
Watermark overlaps important content→
Move the watermark to a corner or edge that does not contain critical information. For documents, place watermarks in margins. For images, choose a position based on the subject location (rule of thirds analysis can identify safe areas automatically).
Watermark can be easily removed→
Visible watermarks can always be removed with effort by skilled editors using clone stamp tools or AI inpainting. Use tiled or large center watermarks to make removal time-consuming, and consider invisible steganographic watermarks for high-value assets where forensic tracking matters more than visible deterrence.
Pricing
Simple, fair pricing.
All tools included. No hidden fees. Processing stays on your device.
Yearly
For short-term projects.
- 1 year of updates
- Image, PDF, SVG, and spreadsheet tools
- Works on Mac & Windows
- All processing done on device
Lifetime
One purchase. Keep it forever.
- Unlimited conversions forever
- 1 year of major updates
- Image, PDF, SVG, and spreadsheet tools
- Watch Folders & Automation
- macOS Notch Drop Zone
- Works on Mac & Windows
Team & Bulk Pricing
Lifetime seats with volume discounts. More seats, bigger discount.
15
lifetime seats
You save
$60
15% off the individual price
Enterprise
50+ seats with custom pricing, centralized license management, and priority support.
FAQ
Frequently asked questions
Can I use my own logo as a watermark?→
Yes. You can import PNG, JPG, or SVG logos and position them anywhere on your images.
What text customization options are available?→
Choose from system fonts, adjust size, color, opacity, rotation, and add shadows or outlines for visibility.
Can I watermark multiple images at once?→
Yes. Batch watermarking applies your watermark settings to entire folders of images in one run.
Where can I position the watermark?→
Preset positions include all corners and center. You can also drag to any custom position on the image.
Will the watermark be removable by others?→
The watermark is permanently embedded in the exported image. Original files remain untouched.
Can I make watermarks semi-transparent?→
Yes. The opacity slider lets you create subtle watermarks that don't overpower your images.
Looking for something else? Explore more offline conversions with File Studio: