

How to Convert GIF to JPG: Simple Steps & Best Tools

Ayush Soni
Founder, File Studio
On this page
- Why You Need to Convert a GIF to a JPG
- Static GIFs and animated GIFs are different jobs
- Why JPG often fits better
- The Quickest Method for Single-Image GIFs
- When a web converter is fine
- Where the quick method falls apart
- A better decision test
- Extracting the Perfect Frame from an Animated GIF
- Choose the frame based on purpose
- How to extract one frame cleanly
- When one frame is not enough
- A Secure Offline Workflow with File Studio
- A practical offline process
- Why offline matters for serious work
- What to look for in an offline app
- How to Preserve Quality and Manage Export Settings
- The quality slider decides whether the conversion looks usable
- Export settings that change the result
- Transparency needs a deliberate choice
- Troubleshooting Common GIF to JPG Conversion Issues
- Why did my animated GIF become only one image
- Why does the JPG look rough or strange
- Why did the transparent background disappear
- Why are the colors off in batch conversion
- How do I convert a lot of GIFs without wasting time
You usually run into this problem at the worst time. A job portal rejects your image. A CMS won't accept a GIF for a featured image. A colleague sends an animated reaction GIF, but you only need one clean still for a deck, document, or product page.
That's when “convert GIF to JPG” sounds like a simple click. Sometimes it is. Often it isn't. The result depends on whether your GIF is a static image or an animation, how much quality you can afford to lose, and whether you're comfortable uploading the file to somebody else's server.
If you want the short version, this is the rule I use: static GIFs are usually easy to turn into JPGs, but animated GIFs aren't being “converted” in the usual sense. You're extracting a frame. That distinction matters, especially if the file is sensitive or if the exact frame matters.
Why You Need to Convert a GIF to a JPG
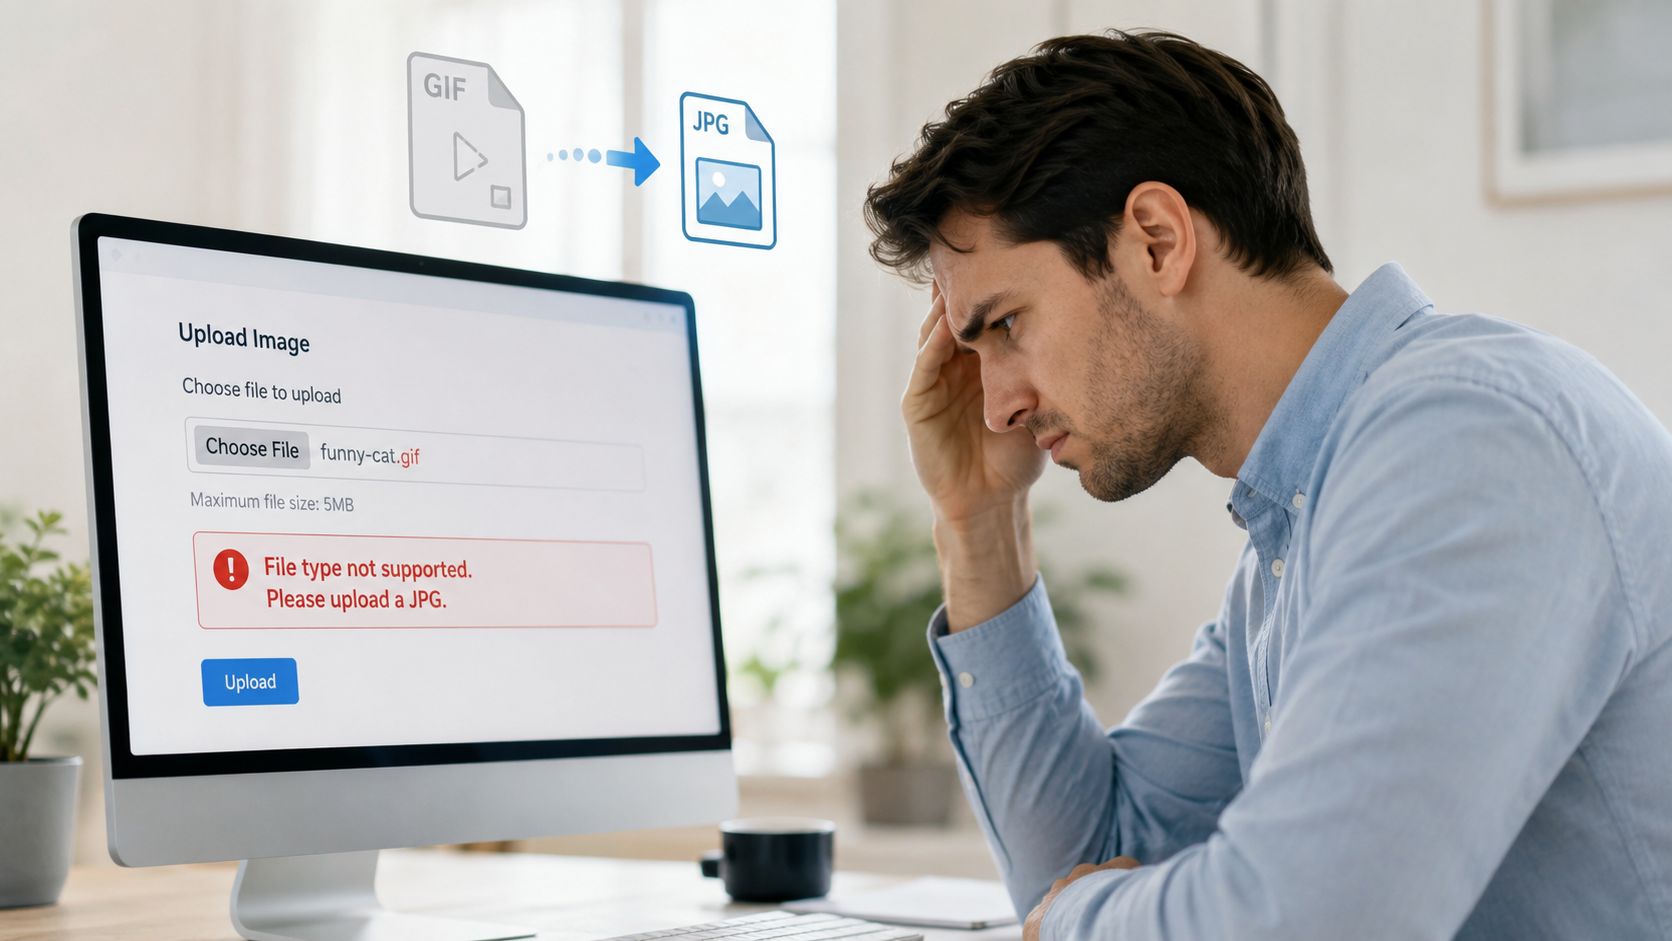
The most common reason is simple. Something you're uploading doesn't accept GIF, but it does accept JPG. That happens with forms, profile editors, marketplaces, internal portals, and content systems that expect a standard photo format.
What matters is that this isn't just a file extension swap. GIF and JPG were built for different jobs. GIF was introduced in 1987 and uses lossless compression for 8-bit color images with 256 colors, while JPEG was established in 1992 and supports 24-bit color with over 16.7 million colors. For a static GIF, converting to JPG can reduce file size by 50% to 90% according to this technical explanation from Microsoft's Tech Community.
Static GIFs and animated GIFs are different jobs
A static GIF is just one image. Converting that to JPG is straightforward. You open it, export it, and adjust quality if your tool allows it.
An animated GIF is a sequence of frames. JPG cannot store animation. So if you convert an animated GIF to JPG, you are choosing one frame or exporting all frames as separate JPG files. That's a very different workflow.
Practical rule: If the movement matters, don't ask “How do I convert this GIF to JPG?” Ask “Which frame do I need?”
Why JPG often fits better
JPG is better suited to photos, gradients, and anything that needs smoother color transitions. GIF is better known for simple graphics and animation, but it's constrained by that limited palette. If your original file contains a photographic scene, a screenshot with soft gradients, or a richer visual, JPG usually gives you a more usable output.
If you're still deciding which format belongs where, this image format comparison guide is a useful reference for picking the right output before you export.
The Quickest Method for Single-Image GIFs
If your GIF is not animated, the fastest path is usually an online converter. For a one-off, non-sensitive file, the workflow is familiar.
- Upload the GIF.
- Choose JPG as the output.
- Download the converted image.
- Open it and check for color shifts, halos, or rough compression.
That's the convenience people like. No install, no setup, and no learning curve.
When a web converter is fine
A basic online tool is acceptable when the file is disposable. A meme for a chat thread. A rough image for a draft post. A low-stakes asset where privacy, metadata, and exact quality don't matter much.
If the GIF is static and simple, many web tools will get you a usable JPG in less than a minute.
Where the quick method falls apart
The problem is that many guides make this sound universal. It isn't. Adobe's own conversion page highlights a gap that a lot of tutorials ignore: many guides suggest online tools but fail to explain that converting an animated GIF only extracts a single static frame, losing all animation, and they rarely address privacy concerns for users who can't upload sensitive files, such as people working in legal or HR, as noted on Adobe Express's GIF to JPG page.
That matters even for static files. Once you upload a file to a browser-based converter, you're trusting somebody else's server, retention policy, and processing behavior. You often don't know how aggressively the tool compresses the output. You usually can't inspect what metadata was kept, removed, or added.
A quick converter is a convenience tool, not a professional workflow.
A better decision test
Use an online converter only if all three are true:
- The file isn't sensitive: No contracts, IDs, internal assets, HR records, or client materials.
- You only need one output: No batch work, no repeatable workflow, no version control.
- You can accept “good enough”: You're not depending on exact frame choice or careful export settings.
If any of those fail, the “free and fast” route usually becomes the messy route.
Extracting the Perfect Frame from an Animated GIF
You open an animated GIF that looked fine in motion, export it as a JPG, and end up with a weak still. The subject is mid-blink, the text is half-transitioned, or the screen capture lands between states. That is the primary task here. You are not converting animation into another animation format. You are choosing one frame that can stand on its own.
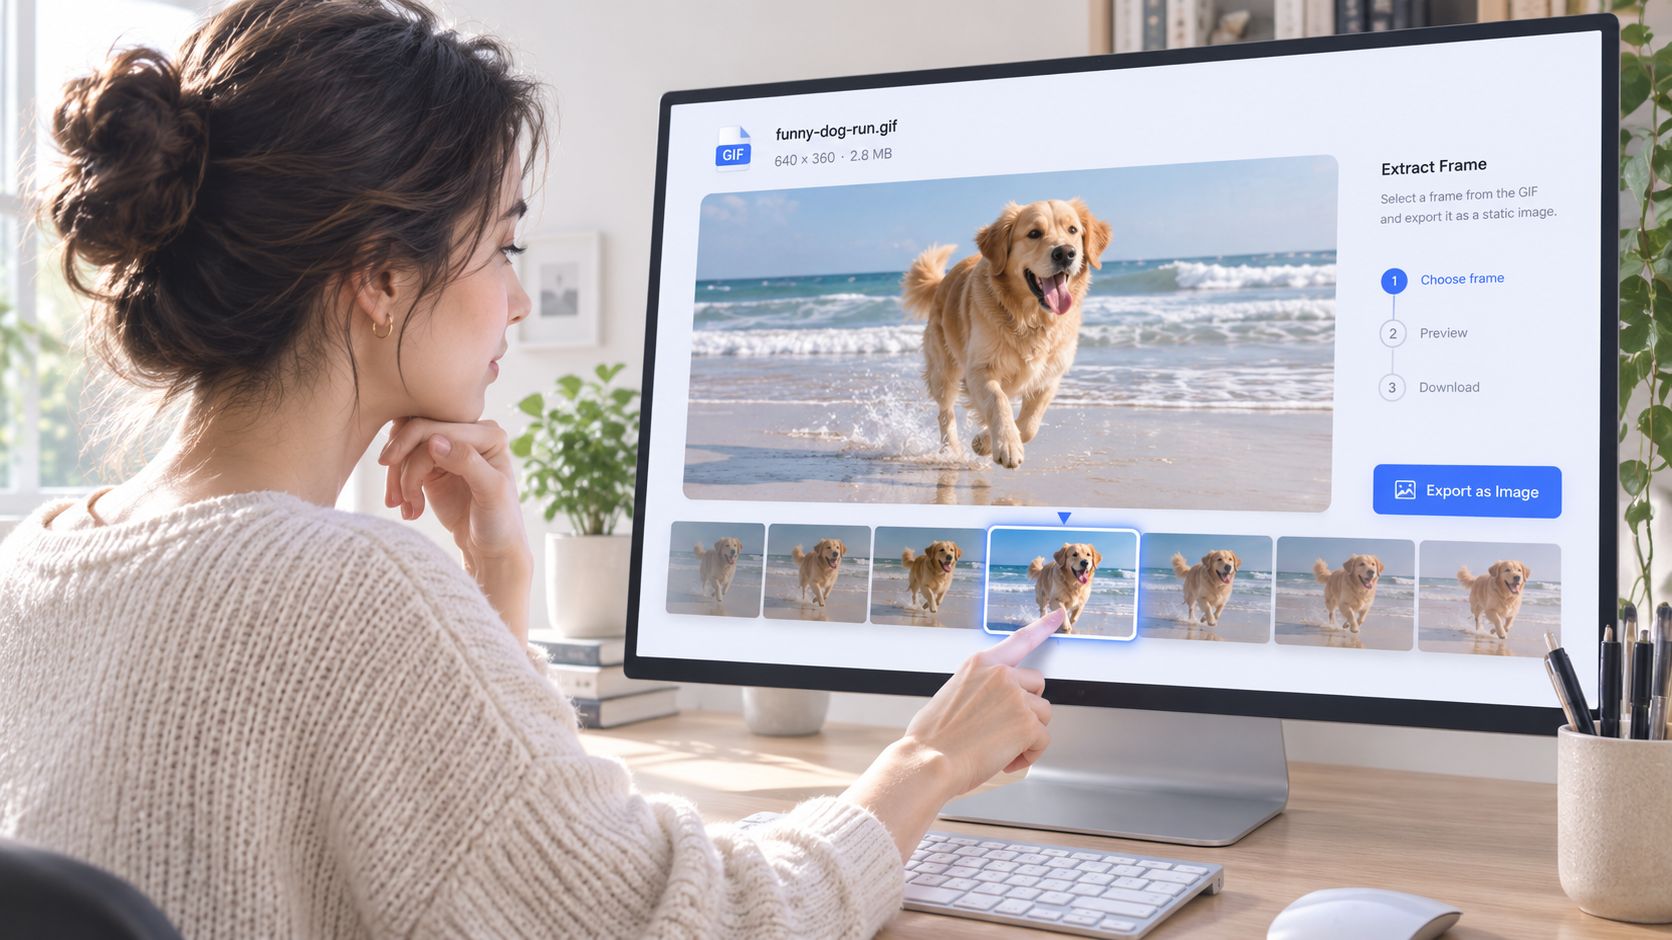
A lot of lightweight converters skip that decision and grab the first frame. That shortcut causes problems fast. Opening frames are often placeholders, fade-ins, or setup shots that only make sense once the animation continues.
Choose the frame based on purpose
The right frame depends on where the JPG will be used and what has to stay readable after motion is gone.
| Need | Best frame choice |
|---|---|
| Thumbnail or preview | The clearest moment with a readable subject |
| Presentation slide | The frame with the strongest action or expression |
| Legal or review context | The exact frame that documents the relevant event |
| Social post still | The frame that works even without motion |
For editorial work, I check frames that hold for a beat instead of frames caught in transition. For UI demos, the best still usually appears after menus finish animating and before the next click changes the screen. For review or compliance work, accuracy matters more than aesthetics. The correct frame is the one that records the exact state you need to show.
How to extract one frame cleanly
Use a tool that lets you scrub frame by frame, not just play and pause. That single feature makes the difference between a usable export and a lucky guess.
A practical process looks like this:
- Open the GIF in a viewer or editor with frame controls.
- Step through until the subject, text, or interface is fully visible.
- Export only that frame as JPG.
- Zoom in and check edges, small type, and flat color areas for compression damage.
That final review matters. GIFs already have color and detail limits, and JPG adds compression on top. If the frame includes screenshots, labels, or gradients, inspect the export at full size before you send it to a client or drop it into a CMS.
When one frame is not enough
Some teams need the whole sequence as numbered stills. That happens in QA reviews, training documentation, design audits, and evidence capture. In those cases, frame order matters as much as image quality.
If you export every frame, keep filenames consistent and store the set in its own folder. Otherwise the sequence becomes hard to review, especially once someone downloads, renames, or reuploads the files into another system. A privacy-first file conversion workflow also makes more sense here, because sequence exports can include internal interfaces, customer data, or unreleased assets that should not leave your machine.
Serious users should also decide whether JPG is even the right output for every extracted frame. JPG is fine for photographic content or simple previews. If the frame contains sharp UI text, icons, or line art, another format may preserve edges better. A good tool for content creators can help with downstream publishing, but the frame choice still has to happen first.
Treat animated GIF conversion as an editing decision. Pick the frame that carries the message without motion, then export it with enough quality to survive real use.
A Secure Offline Workflow with File Studio
If you handle confidential files, repeat conversions often, or care about exact control, an offline workflow is the one that makes sense. Browser tools are built around uploads. Professional workflows are built around local control.
I prefer desktop workflows for three reasons. You keep the files on your machine, you avoid browser limits, and you can process more than one image without turning the job into repetitive clicking.
A practical offline process
For a static GIF, the workflow is simple:
- Add the GIF to the app.
- Choose JPG as the output format.
- Set the destination folder.
- Adjust quality if needed.
- Export and review the result.
For an animated GIF, the process changes slightly:
- Preview the animation: Open the file and move through frames visually.
- Pick the exact frame: Choose the still that matches your actual use case.
- Export as JPG: Save the selected frame as a standalone image.
- Name it clearly: If this image will be shared with a team, use descriptive naming instead of generic defaults.
That frame-selection step is what most lightweight tools miss. If you work with creative assets, product captures, training materials, or compliance reviews, that precision saves time later.
Why offline matters for serious work
The privacy side is obvious. If the GIF contains internal UI, employee information, customer records, or legal evidence, uploading it to a web converter may be unacceptable.
The workflow side is just as important. Desktop tools are better when you need to process folders, reuse the same export settings, or keep outputs organized in a way a team can follow. For people building content pipelines, pairing a local conversion app with a separate tool for content creators can also help when the image you extract is headed into a broader publishing or design workflow.
Local conversion is less glamorous than browser convenience, but it's the workflow teams trust when the files matter.
What to look for in an offline app
Not every desktop converter is worth using. The good ones share a few traits:
- Frame visibility: You can see the animation and choose a still, not guess.
- Batch handling: Whole folders can be processed in one run.
- Export control: Quality, destination, naming, and overwrite behavior are adjustable.
- Metadata management: You can inspect and remove sensitive data locally.
- No cloud dependency: The app works even when you're offline or inside a restricted environment.
If privacy is part of your buying criteria, this overview of privacy-first file conversion lays out what local processing changes in practice.
How to Preserve Quality and Manage Export Settings
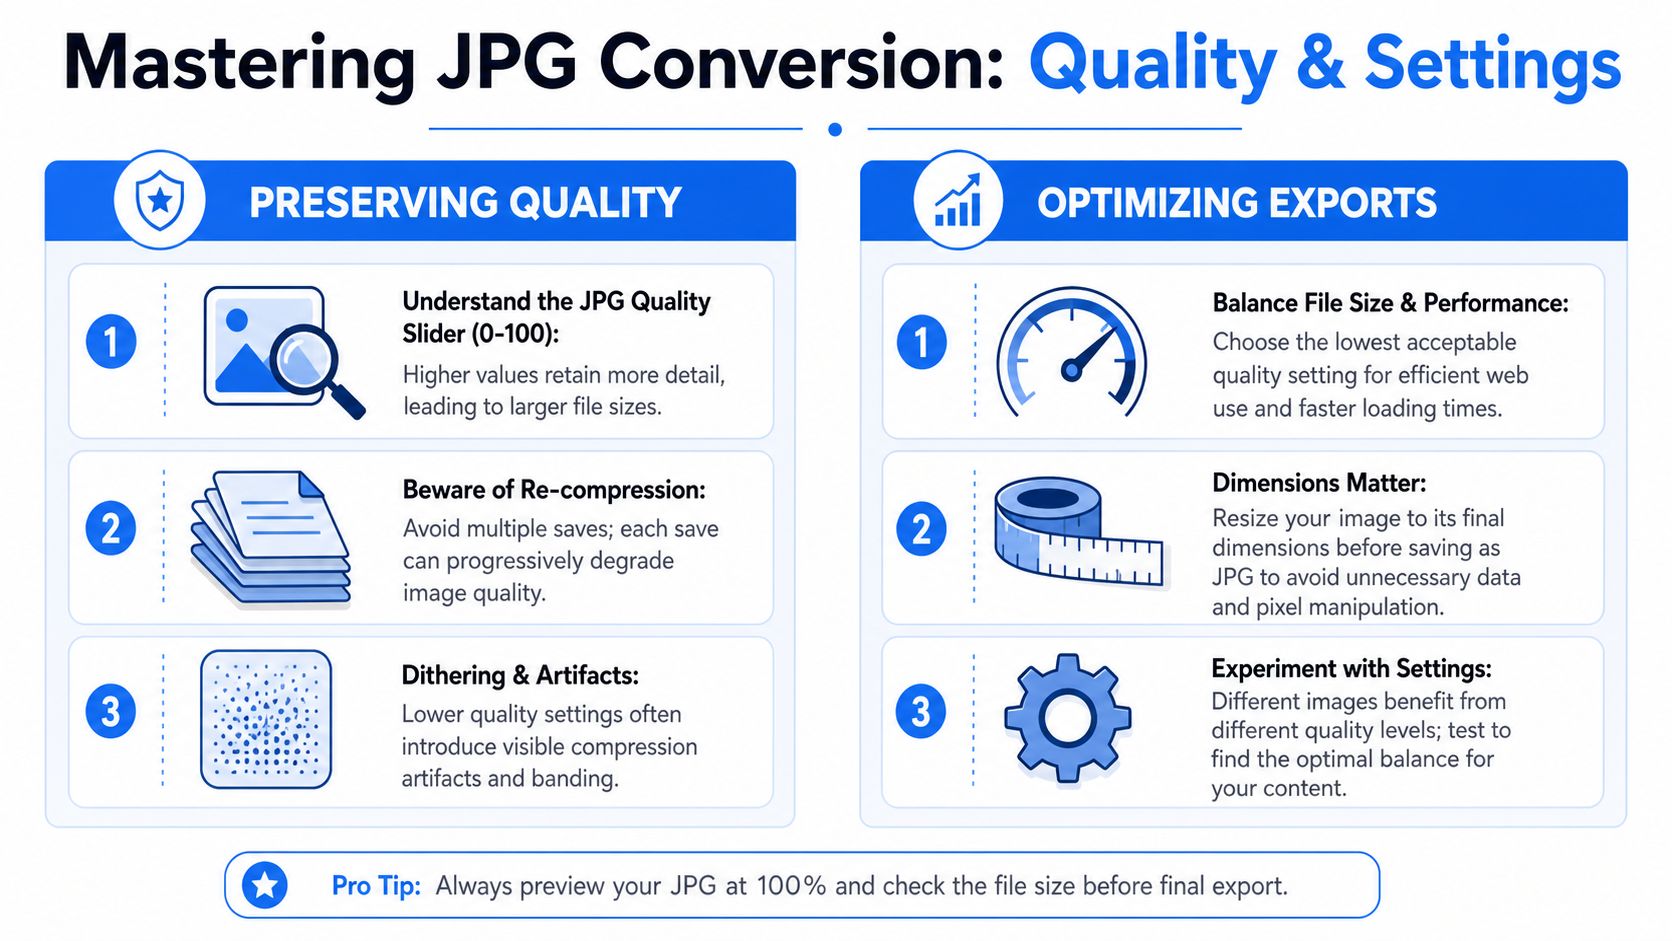
Bad JPGs usually come from rushed exports, not from the original GIF. The file gets converted with default settings, dropped into a CMS or slide deck, and only then do the compression artifacts, color breaks, and ugly background fills show up.
The quality slider decides whether the conversion looks usable
GIF is already a limited format. It uses a restricted color palette, so subtle gradients, shadows, and soft edges may already be compromised before export starts. If you then save that frame as a heavily compressed JPG, the damage gets worse fast. Banding becomes obvious. Text edges get crunchy. Flat areas pick up blocky noise.
A practical starting point is a high JPG quality setting, then a visual check at full size. For web graphics, product screenshots, and UI stills, I usually start around the upper end of the quality range and only reduce it after checking backgrounds, logos, and small text. The goal is not the smallest possible file. The goal is a file that still looks clean where people notice defects.
Export settings that change the result
Three settings deserve attention every time:
- Quality: Start high, then reduce carefully if file size matters more than fine detail.
- Pixel dimensions: Resize to the final use case before export. A homepage thumbnail and a presentation slide should not use the same dimensions.
- Color mode: Keep the export in RGB. That avoids unnecessary color shifts and prevents batch presets from forcing the wrong output profile.
Metadata deserves a check too. A JPG can carry more than pixels, and that matters if the file includes internal material or is headed outside your organization. If you plan to shrink files after export, this guide on compressing images without losing quality covers the safest way to reduce size without wrecking the image.
Good habit: Export from the original frame again instead of re-saving the same JPG multiple times. Each new save can add another layer of compression loss.
Transparency needs a deliberate choice
JPG cannot keep transparency. Any transparent area in the GIF has to be flattened onto a solid background during export. White is common, but some apps use black or the current matte color in the preset. That choice can make a logo, sticker, or product cutout look wrong immediately.
Set the background color on purpose before exporting. Match it to the page, slide, or layout where the JPG will be used. If the asset still needs a transparent background, JPG is the wrong destination, and forcing the conversion creates extra cleanup work later.
Some teams also convert a GIF frame because it is only an intermediate asset. If that still image is headed into motion work afterward, Seedance's image-based video creation may fit that next step better than flattening everything into a final JPG too early.
Troubleshooting Common GIF to JPG Conversion Issues
Most conversion problems come from choosing the wrong workflow, not from the tool itself.
Why did my animated GIF become only one image
Because JPG can't hold animation. The conversion pulled out a single frame. If you wanted a specific moment, reopen the GIF in a tool with frame preview and export that frame manually. If you need the whole sequence, export all frames as separate files in order.
Why does the JPG look rough or strange
Two things are usually happening. First, the original GIF may already have limited color detail. Second, the JPG export may be too compressed. Re-export with a higher quality setting and inspect gradients, edges, and text at full size.
Why did the transparent background disappear
JPG doesn't support transparency. The converter flattened transparent areas onto a solid background. If you need transparency, keep the image in a format that supports it instead of forcing a JPG.
Why are the colors off in batch conversion
Check the export preset. If the workflow is aimed at print settings or a mismatched color mode, the JPG can shift. GIF sources are RGB, so your export should stay there unless you have a very specific reason to change it.
How do I convert a lot of GIFs without wasting time
Use a desktop app that supports batch processing, consistent naming, and local export controls. That matters less for three files and a lot more for a folder full of assets, evidence stills, or content-library cleanup.
The best results come from one simple mindset. Don't treat GIF to JPG as a mechanical format swap. Decide whether the source is static or animated, choose the right frame when motion is involved, and control the export instead of accepting whatever the default gives you.
If you want a private, repeatable way to handle this kind of work, File Studio is built for it. It converts GIFs to JPG entirely offline on Mac and Windows, supports batch processing, gives you control over output quality and metadata, and avoids the upload risks that come with browser-based converters.