

How to Convert PSD to JPG: A Complete 2026 Guide

Ayush Soni
Founder, File Studio
On this page
- Why You Need to Convert PSD to JPG
- Compatibility matters more than people think
- Core Conversion Methods for Single Files
- Using Photoshop the right way
- Using GIMP if you need a free option
- Mastering Export Settings for Perfect Results
- Set JPEG quality with intent
- Handle color, size, and cleanup before export
- How to Batch Convert Multiple PSD Files
- Photoshop Image Processor for built-in batch work
- When a dedicated offline batch workflow makes more sense
- Avoiding Common Pitfalls and Privacy Risks
- Flattening mistakes that change the final image
- Repeated JPG saves gradually reduce image quality
- Metadata leakage is the part many teams miss
- Choosing the Right Conversion Workflow for You
You've finished the design. The PSD looks perfect in Photoshop. Then the practical problem shows up. The file is too large to email cleanly, the client can't open it, the upload form rejects it, or you need a quick JPG for review in the next five minutes.
That's when format choice stops being a design detail and becomes a workflow decision.
A PSD is your working file. A JPG is your delivery file. Converting between them is easy in the basic sense, but the details matter more than most quick tutorials admit. If you save carelessly, you can flatten the wrong layers, bake in visible artifacts, or pass along metadata you never meant to share. If you're handling legal, HR, finance, or client-sensitive files, that last part matters a lot.
Why You Need to Convert PSD to JPG
Users often encounter this problem when a finished design is trapped inside a file that only design software handles well. PSD is built for editing. It keeps layers, masks, smart objects, and all the working detail you need while designing. That's exactly why it becomes awkward when you need to share the result quickly.
JPG exists for the opposite job. It's flat, lightweight, and broadly compatible. JPEG compression typically reduces file size by 80% to 90% compared with PSD, which is why a standard 10MB layered PSD can become a 1MB JPG for easier web sharing, according to Adobe Community guidance on PSD to JPG size reduction. That difference is often the line between “sent successfully” and “file too large.”
If you create visuals for product pages, campaigns, or mockups, you've probably seen the same pattern in adjacent workflows. You build in an editable source format, then publish a simplified output that other systems can use. That's also why resources like WearView's product with model workflow are useful for merch or ecommerce teams. The editable production asset and the shareable final image serve different purposes.
Compatibility matters more than people think
A PSD is great inside Photoshop. Outside Photoshop, it becomes friction.
Email clients, CMS upload fields, social platforms, internal chat tools, and review portals all expect standard image formats. If you need a quick reference on where formats fit best, this image format comparison guide gives a useful high-level view of when JPG makes sense versus heavier or more editable formats.
Practical rule: keep the PSD as the master, and export JPGs only for delivery, review, upload, or publishing.
The key point isn't just that you need to convert. It's that how you convert affects the result. A rushed export can hurt gradients, soften edges, or carry hidden metadata into the final file. Good conversion is less about clicking “Save As” and more about controlling quality, consistency, and privacy.
Core Conversion Methods for Single Files
A single-file export feels low risk until the wrong version goes out. The usual failure points are simple: a hidden layer is still visible, the JPG gets saved again later and loses more detail, or the exported file carries metadata you did not mean to share. For client proofs, internal reviews, or sensitive creative, the safer approach is one clean export from the master PSD, then leave that JPG alone.
Using Photoshop the right way
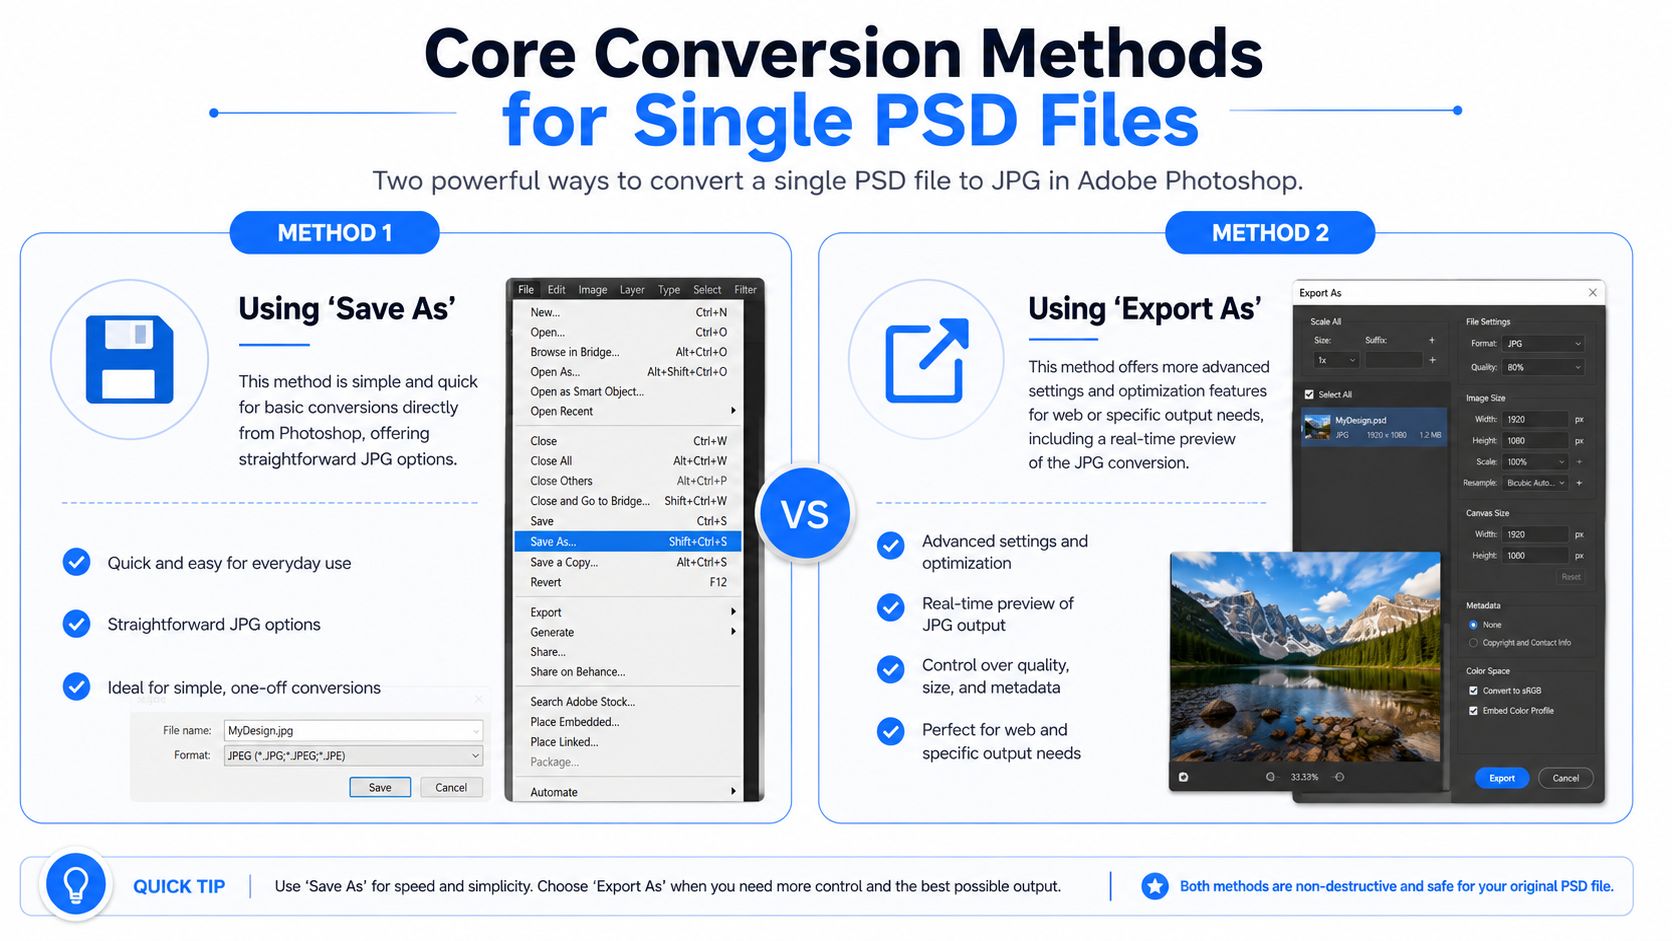
Photoshop gives you two practical options for a one-off conversion: Save As and Export As. Both can produce a usable JPG. Export As is usually the better choice if the file is headed to email, web upload, or client review, because it gives tighter control over output before you write the final file.
Use this sequence in Photoshop:
- Open the PSD.
- Check layer visibility before you export. Hidden comments, alternate artboards, watermark tests, and draft text are easy to miss.
- Confirm the crop and canvas size.
- Go to File > Export > Export As.
- Choose JPG as the format.
- Set the quality for the actual destination, not for fear. A review proof does not need the same output as a print handoff.
- Review dimensions, color profile, and filename.
- Export once, then keep that exported JPG as the delivery copy instead of re-saving it repeatedly.
That last step matters more than many designers realize. JPG is a lossy format, so repeated saves can soften edges, damage gradients, and create compression artifacts over time. If you need a second version, go back to the PSD and export again. Do not keep editing and re-saving the same JPG.
Save As still has a place. It is useful for a fast internal reference or a quick handoff when optimization does not matter much. The trade-off is less visibility into what you are about to ship.
| Method | Best for | Main trade-off |
|---|---|---|
| Save As | Fast internal or one-off exports | Less control over final delivery details |
| Export As | Client proofs, web upload, and polished delivery files | Takes a little longer to set up |
I use Export As for anything leaving the team. It catches more mistakes before they become someone else's problem.
Using GIMP if you need a free option
If Photoshop is not available, GIMP is the most practical free desktop option for single PSD files.
The workflow is straightforward:
- Open the PSD in GIMP.
- Inspect text, masks, blend modes, and layer effects before exporting.
- Flatten or merge visible layers if you want a predictable final render.
- Choose File > Export As.
- Change the extension to .jpg.
- Export and choose the JPEG quality.
GIMP can handle many PSDs well, but it is not a perfect Photoshop substitute. Smart objects, advanced effects, and some adjustment layers may shift on import. Check the result at full size, especially around small type, glows, soft shadows, and transparent edges.
A few habits save time and prevent leaks:
- Export from the PSD, not from a prior JPG: each new JPG save can lower quality.
- Audit what is visible: comments, hidden comps, and old layers sometimes get turned on during revision work.
- Check metadata before sending sensitive files: author info, copyright fields, and editing history can travel with exported assets depending on the app and settings.
- Name the output by purpose:
campaign-proof.jpgandcampaign-web.jpgare safer thanfinal2.jpg.
If privacy is part of the job, offline tools deserve extra weight in the decision. A local workflow gives you more control over both the image and the information attached to it. That is often the better fit for client work, unreleased campaigns, and any file you would not want passing through a web service.
Mastering Export Settings for Perfect Results
A PSD can look perfect in your working file and still fall apart at export. That usually happens in two places. Compression gets pushed too hard, or the file leaves with extra information attached that nobody meant to share.
Set JPEG quality with intent
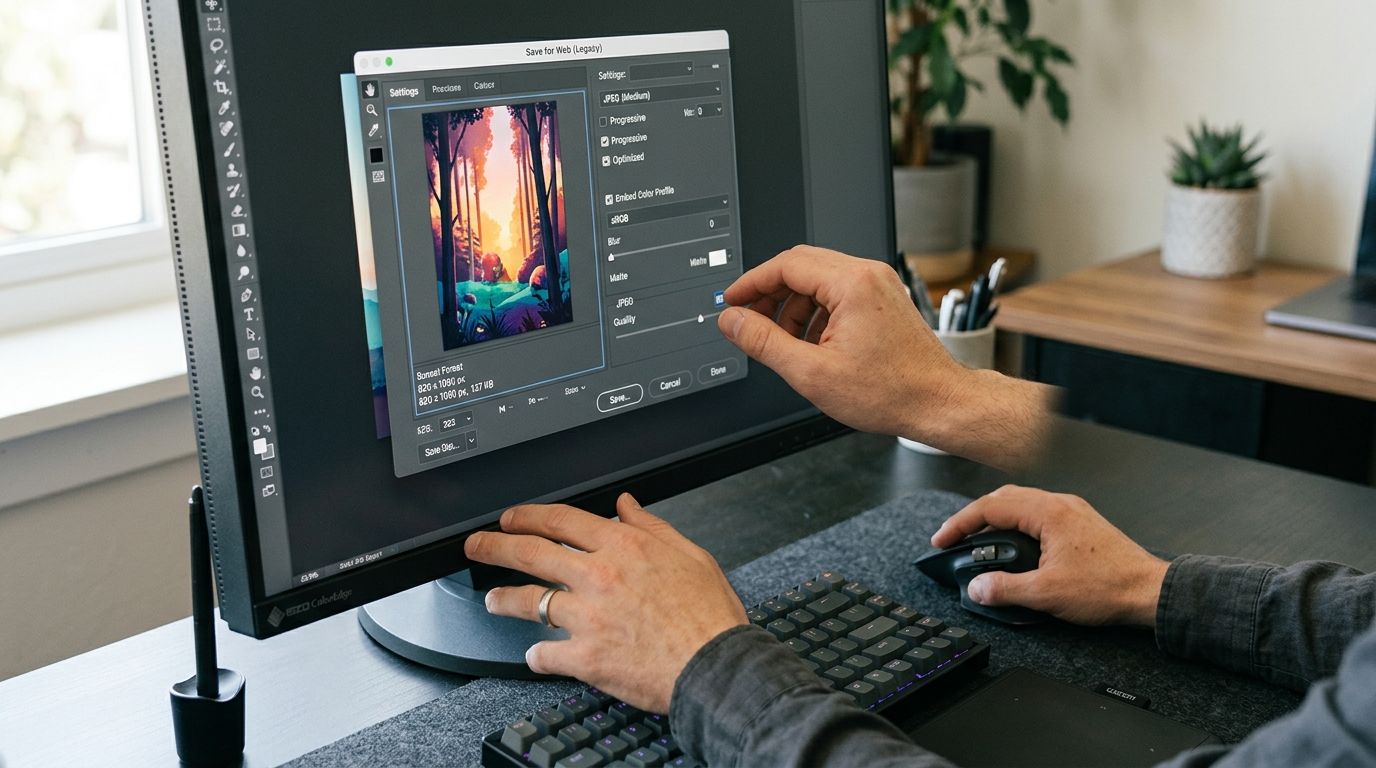
The quality slider controls a real trade-off between file size and visible damage. For everyday delivery, I usually start around 80% to 90%. That range keeps files practical without introducing obvious blocking, mosquito noise, or rough edges around text and product cutouts.
At 100%, the file often gets much larger with little visible improvement. Below 80%, problems start showing up fast in gradients, skin, soft shadows, and any artwork with subtle tonal transitions. Save a few test exports and compare them at 100% zoom before you settle on a preset. One glance at a sky gradient or a shadow edge tells you more than the slider label does.
Use this as a working reference:
| Quality range | Good for | Watch for |
|---|---|---|
| 80% to 90% | Web pages, client proofs, email, social uploads | Usually the safest default |
| 100% | Final delivery where file size does not matter much | Larger files, limited visible gain |
| Below 80% | Small previews or aggressive size limits | Compression artifacts and broken gradients |
One more habit matters here. Export from the PSD each time. Do not keep reopening and re-saving an old JPG, because every additional save can add another round of compression loss.
Handle color, size, and cleanup before export
JPG is a delivery format, not a working format. It flattens your image and strips away editing flexibility, so finish retouching, compositing, and color decisions before you export.
Color depth is part of that. JPG only supports 8-bit output, so a 16-bit PSD will be reduced during export. You may not notice the difference in a simple graphic, but you can see it in soft gradients, beauty work, heavy grading, and large background washes. If those areas matter, inspect the JPG closely after export instead of assuming the conversion held up.
A few settings deserve a final check:
- Color profile: Use an RGB profile that matches the destination. sRGB is the safe default for web and general screen use.
- Pixel dimensions: Export for the actual use case. A review proof, marketplace upload, and homepage hero should not all be the same size.
- Sharpening: Compression can make edges look brittle. If small type or product outlines look harsh, reduce compression first. Do not try to fix a damaged JPG with more sharpening.
- Metadata: Remove author details, copyright notes, location data, and other embedded fields if the file is leaving your team.
That last point gets missed.
A clean-looking JPG can still expose internal information through metadata. For client work, unreleased campaigns, and sensitive product imagery, I prefer an offline workflow that gives direct control over export settings and file cleanup. If you want a local process built for consistent output across many assets, this batch image converter workflow guide is a useful reference.
A reliable export comes from restraint. Set the quality for the job, size the file for the destination, check the result at full view, and strip anything that should not travel with the image.
How to Batch Convert Multiple PSD Files
A batch job usually fails for boring reasons. A hidden revision exports with the live artwork. File names get scrambled. Someone runs a second JPG export on last week's JPGs instead of the original PSDs and wonders why the gradients look worse.
That is why batch conversion needs a tighter process than single-file export. The goal is speed, but the primary win is consistency. You want every file to come out at the right size, with the right quality setting, and without carrying information that should stay inside the team.
Photoshop Image Processor for built-in batch work
If you already have Photoshop open, start with File > Scripts > Image Processor. It is the fastest built-in option for turning a folder of PSDs into JPGs without opening each file by hand.
Use this setup:
- Put the source PSD files in one folder.
- Open Photoshop.
- Go to File > Scripts > Image Processor.
- Select the source folder.
- Select the output folder.
- Check Save as JPEG.
- Set the JPG quality level.
- Run the batch.
Image Processor is reliable when the PSDs were built the same way and are already approved for export. It is less forgiving when the folder contains mixed project files from different designers, older templates, or half-cleaned review comps.
I check three things before running a large batch in Photoshop:
- Source type: Export from original PSDs, not previously saved JPGs
- Layer visibility: Confirm the final comp is the version that should flatten
- Destination folder: Send exports to a new folder so originals and outputs never mix
That last step saves a lot of cleanup. It also prevents accidental re-compression, which is one of the easiest ways to lower JPG quality across repeated handoffs.
When a dedicated offline batch workflow makes more sense
Photoshop is strong for design work. It is not always the best production line for repetitive conversion.
A separate desktop tool makes more sense when the job is operational rather than creative. Examples include weekly marketplace uploads, client proof packs, archived campaign exports, or internal teams converting large folders without touching the PSD itself.
In those cases, a dedicated workflow usually gives you better control over:
- Repeatable presets: The same output settings every run
- Predictable naming: Cleaner handoff and fewer duplicate files
- Folder-based processing: Better for recurring jobs
- Local handling of files: Safer for confidential artwork and internal documents
If you want a process built around repeatable local exports instead of one-off Photoshop actions, this offline batch image converter workflow is a useful reference.
Here is the practical trade-off:
| Workflow | Best fit | Friction point |
|---|---|---|
| Photoshop Image Processor | Designers already working inside Adobe | Easy to misapply if folders contain mixed PSD states or exports from prior rounds |
| Offline batch conversion app | Repeated conversion jobs, shared team workflows, sensitive files | Requires one more tool and a standard process |
I separate editing from conversion whenever possible. Make creative changes in the PSD. Run delivery exports through a controlled batch process. That keeps output settings stable, reduces the chance of exporting the wrong version, and lowers the risk of sending metadata or internal file details through a browser-based tool.
For professional work, that split is worth it. It saves time, and it protects the files.
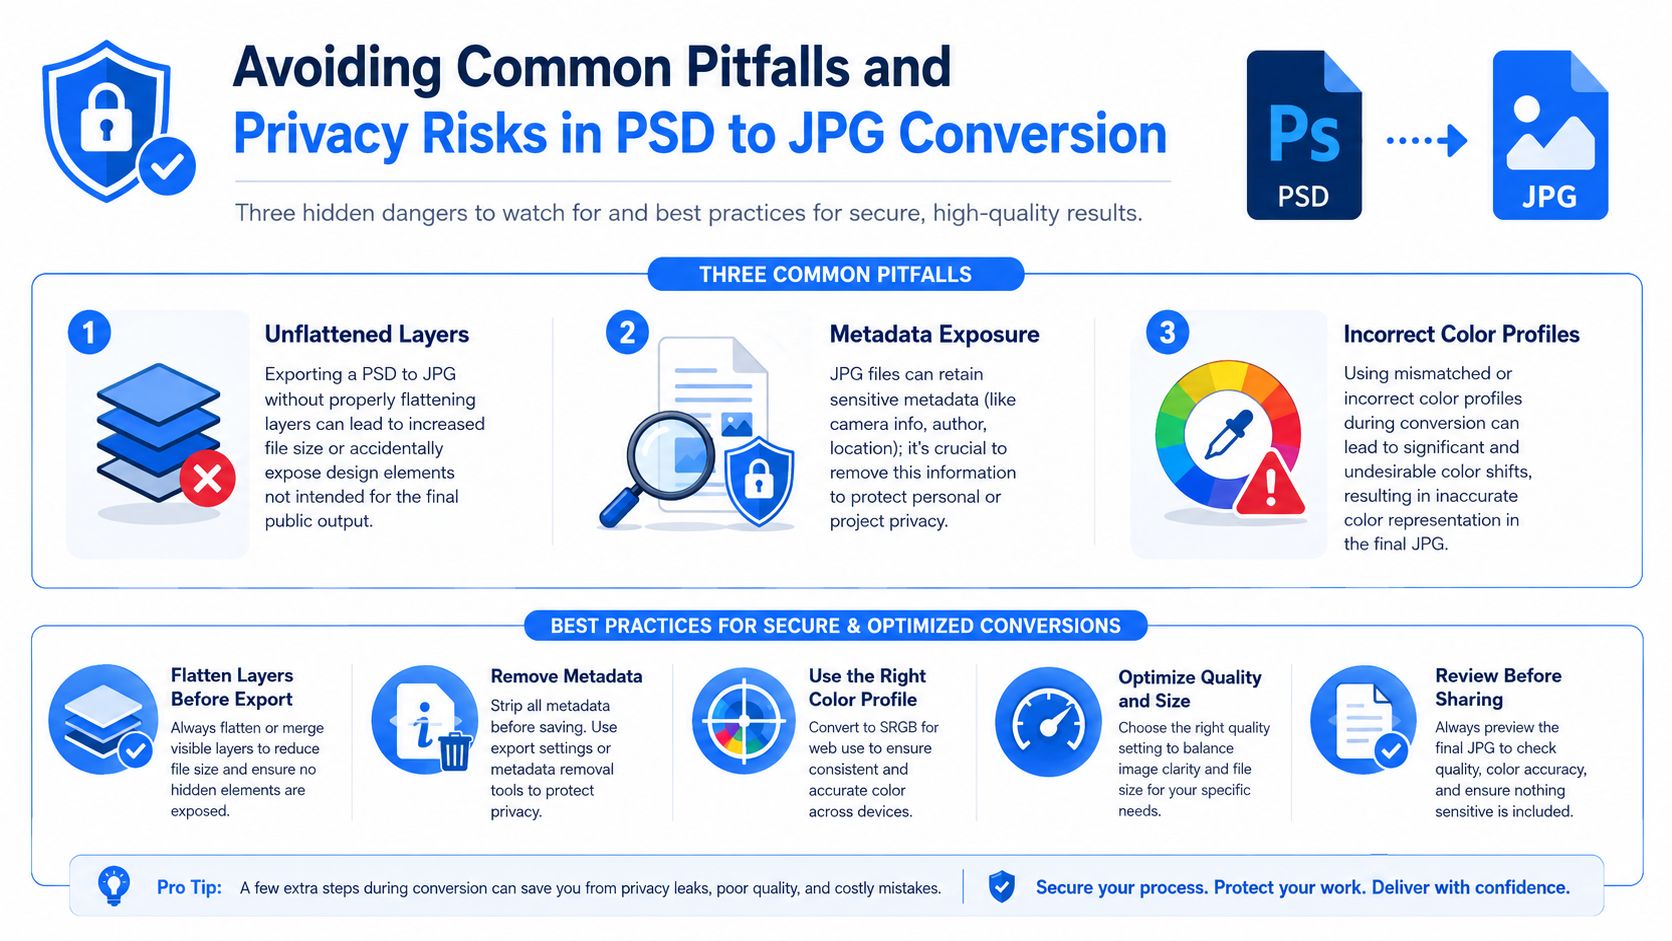
Avoiding Common Pitfalls and Privacy Risks
A PSD to JPG export can fail in ways you do not notice until the file is already with a client, a legal team, or a public audience. I see the same pattern over and over. The image looks acceptable in a quick preview, but the exported file has the wrong visible layers, softened detail from repeated JPG saves, or metadata that shares more than the artwork itself.
Flattening mistakes that change the final image
JPG does not preserve a layered PSD. It records one flattened result, exactly as the document is set up at export time.
That sounds obvious, but it is where rushed handoffs break down. Hidden drafts, alternate logos, placeholder images, comments, or guide layers can slip into the final export if the PSD was used for review rounds instead of being cleaned for delivery. Transparency is another common trap. If the design depends on transparent areas, the JPG has to replace them with a background, and that can change the look more than expected.
Before exporting, verify these points:
- Layer visibility: Remove or hide drafts, alternates, notes, and unused comps.
- Text appearance: Check for font substitutions, raster effects, and scaling issues.
- Background fill: Confirm how transparent regions will render once flattened.
- Adjustment layers: Review the image at full size, not just fit-to-screen.
A 20-second layer check saves a long apology email.
Repeated JPG saves gradually reduce image quality
JPG is a delivery format, not a working format. Every time you open a JPG, edit it, and save it again, the file is recompressed. Fine detail gets softer, edges break down, and flat color areas can start showing artifacts or banding.
The practical fix is simple. Keep the PSD as the master file and export a fresh JPG for each new version. Do not retouch last week's JPG and save over it again.
If image quality still matters, the JPG should never become the file you keep editing.
That habit prevents a lot of avoidable degradation, especially on social assets, product graphics, and campaign images that get revised in multiple rounds.
Metadata leakage is the part many teams miss
Visual quality gets all the attention. File privacy usually does not.
A JPG can carry metadata such as author information, software details, timestamps, and other file properties that were never meant for the recipient. That risk increases when people use browser-based converters or default export settings without checking what stays attached to the file. In sensitive workflows, the issue is not theoretical. Client names, internal project details, and production history can ride along with the image.
If you handle:
- Client deliverables
- HR or recruiting documents
- Legal files
- Financial records
- Internal decks
- Signed forms or ID scans
then metadata is part of the review process, not an afterthought.
For those cases, use a process built around converting files locally without uploading them. Keeping the job offline reduces exposure, and it gives you more control over what leaves the machine.
A safer review checklist looks like this:
| Risk | What causes it | Better practice |
|---|---|---|
| Wrong final image | Hidden layers, alternate comps, unchecked visibility | Review the PSD before export |
| Quality loss | Editing and re-saving the same JPG multiple times | Export a new JPG from the PSD each round |
| Metadata exposure | Default export settings or online converters | Inspect and strip metadata before sharing |
PSD to JPG conversion is routine, but it is not harmless by default. Treat the export as a delivery step, not a throwaway click. That is how you protect image quality and keep private file details from leaving with the artwork.
Choosing the Right Conversion Workflow for You
The right workflow depends on what role the JPG plays in your process.
If you're converting a single design for a quick send, Photoshop or GIMP is enough. Photoshop's Export As route gives better control. GIMP works well when you need a free desktop option and the PSD isn't using highly complex Photoshop-only features.
If you're doing creative production, true discipline is in the handoff. Keep the PSD as the master, finish color-sensitive work before export, and treat the JPG as the final delivery format rather than a file you'll keep editing. That one mindset avoids a lot of quality problems.
If you're processing folders of files, repeatability matters more than clicks. Batch tools save time when your files are consistent, naming is controlled, and you're not relying on one-by-one exports.
If the files are sensitive, privacy needs to be part of the conversion decision. Standard exports can preserve metadata. Browser tools add another layer of exposure because the job depends on upload. In those cases, an offline workflow is the safer choice.
Professional file handling isn't about making conversion complicated. It's about making it deliberate. The best workflows protect image quality, reduce rework, and avoid sharing more information than you meant to.
If you want a privacy-first way to convert PSDs, batch process image folders, and clean metadata locally on macOS or Windows, File Studio is built for that kind of offline workflow. It's a practical fit when you need more than a one-off export and don't want sensitive files leaving your device.