

How to Convert CR2 to JPG Fast (4 Methods for 2026)

Ayush Soni
Founder, File Studio
On this page
- Why Your CR2 Files Need Converting
- CR2 is great for editing and bad for sharing
- Where conversion fits in a real workflow
- Choosing Your CR2 to JPG Conversion Method
- Pick based on what matters most
- CR2 to JPG Conversion Method Comparison
- The Secure Offline Method with File Studio
- How the offline workflow looks
- Why this route makes sense for routine conversion
- Using Professional Editors like Lightroom and Photoshop
- Lightroom Classic export workflow
- Photoshop with Image Processor
- Free Conversion Options on Windows and macOS
- Built-in options for quick one-off jobs
- Free tools with more control
- Mastering Quality Settings Metadata and Batch Processing
- Choose JPEG quality on purpose
- Color profile and metadata decisions
- Batch processing without surprises
You've got a folder full of Canon CR2 files, the shoot is done, and now the annoying part starts. Your client wants previews, Instagram won't take the files, email complains about attachment size, and half the apps on your computer either won't open them properly or strip out the look you expected.
That's why people search for how to convert CR2 to JPG. It's usually not about file formats in the abstract. It's about getting usable images out the door quickly, without wrecking color, waiting forever on exports, or uploading private client work to a random converter site.
Why Your CR2 Files Need Converting
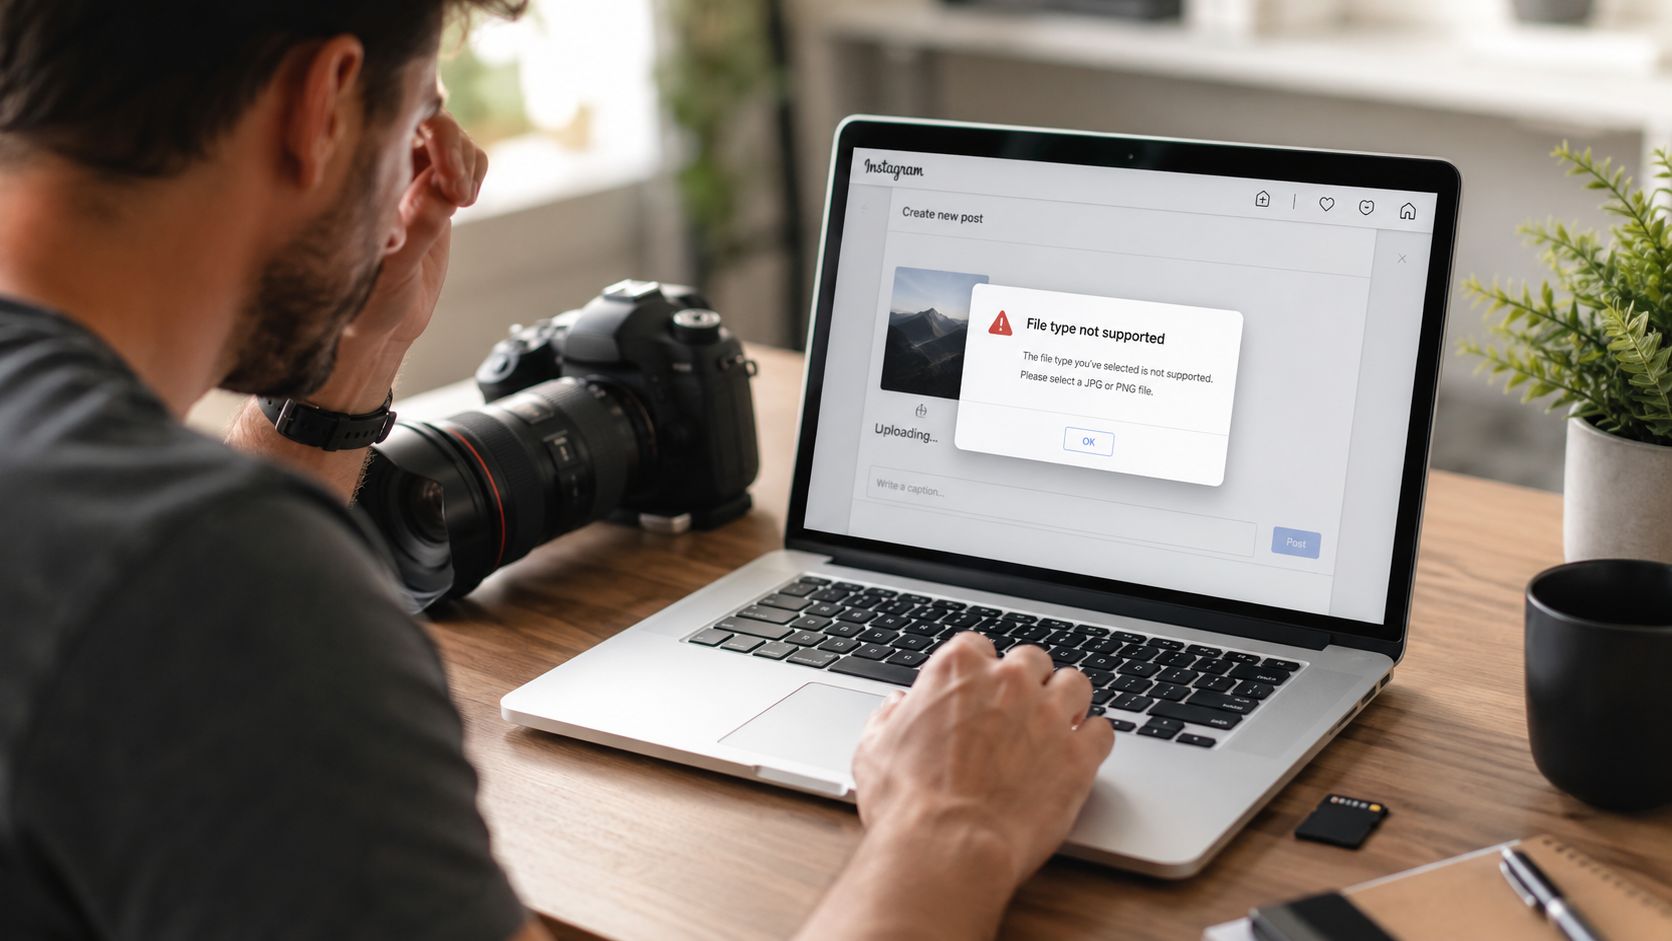
The usual moment is familiar. You finish a shoot, dump the card, and everything looks fine until you try to use the files. A client asks for a few previews. A coworker wants images in email. You drag a CR2 into a website form or social platform, and it refuses the upload.
CR2 is great for editing and bad for sharing
CR2 was Canon's primary RAW standard for over 13 years, from 2005 to 2018, and those files typically land in the 15 MB to 30 MB range. A high-quality JPG conversion cuts that by about 70 to 85%, which can bring a 25 MB CR2 down to around 3 MB to 5 MB, making it practical for email and web use, as outlined in this Canon CR2 and CR3 JPG output guide.
That size difference matters because CR2 is a working format, not a delivery format. It's built to preserve sensor data and editing flexibility. JPG is built for compatibility. Nearly every browser, phone, messenger, CMS, and client portal expects JPG.
Practical rule: Keep the CR2 as your master. Convert to JPG for sharing, proofing, uploads, and anything that needs to open everywhere.
Where conversion fits in a real workflow
Think of CR2 as your digital negative. You adjust white balance, recover highlights, tune exposure, then export a JPG that other people can open. That's true whether you shoot weddings, products, portraits, or internal corporate work.
A few situations where conversion stops being optional:
- Client previews: You need files that open instantly on laptops and phones.
- Email delivery: Large RAW files hit attachment limits fast.
- Web galleries: JPG loads faster and works with standard gallery software.
- Legacy apps: Older software often won't decode Canon RAW files correctly.
The mistake I see most often is treating conversion like a technical afterthought. It isn't. The export settings you choose affect color, size, upload speed, and whether the recipient sees what you meant them to see.
Choosing Your CR2 to JPG Conversion Method
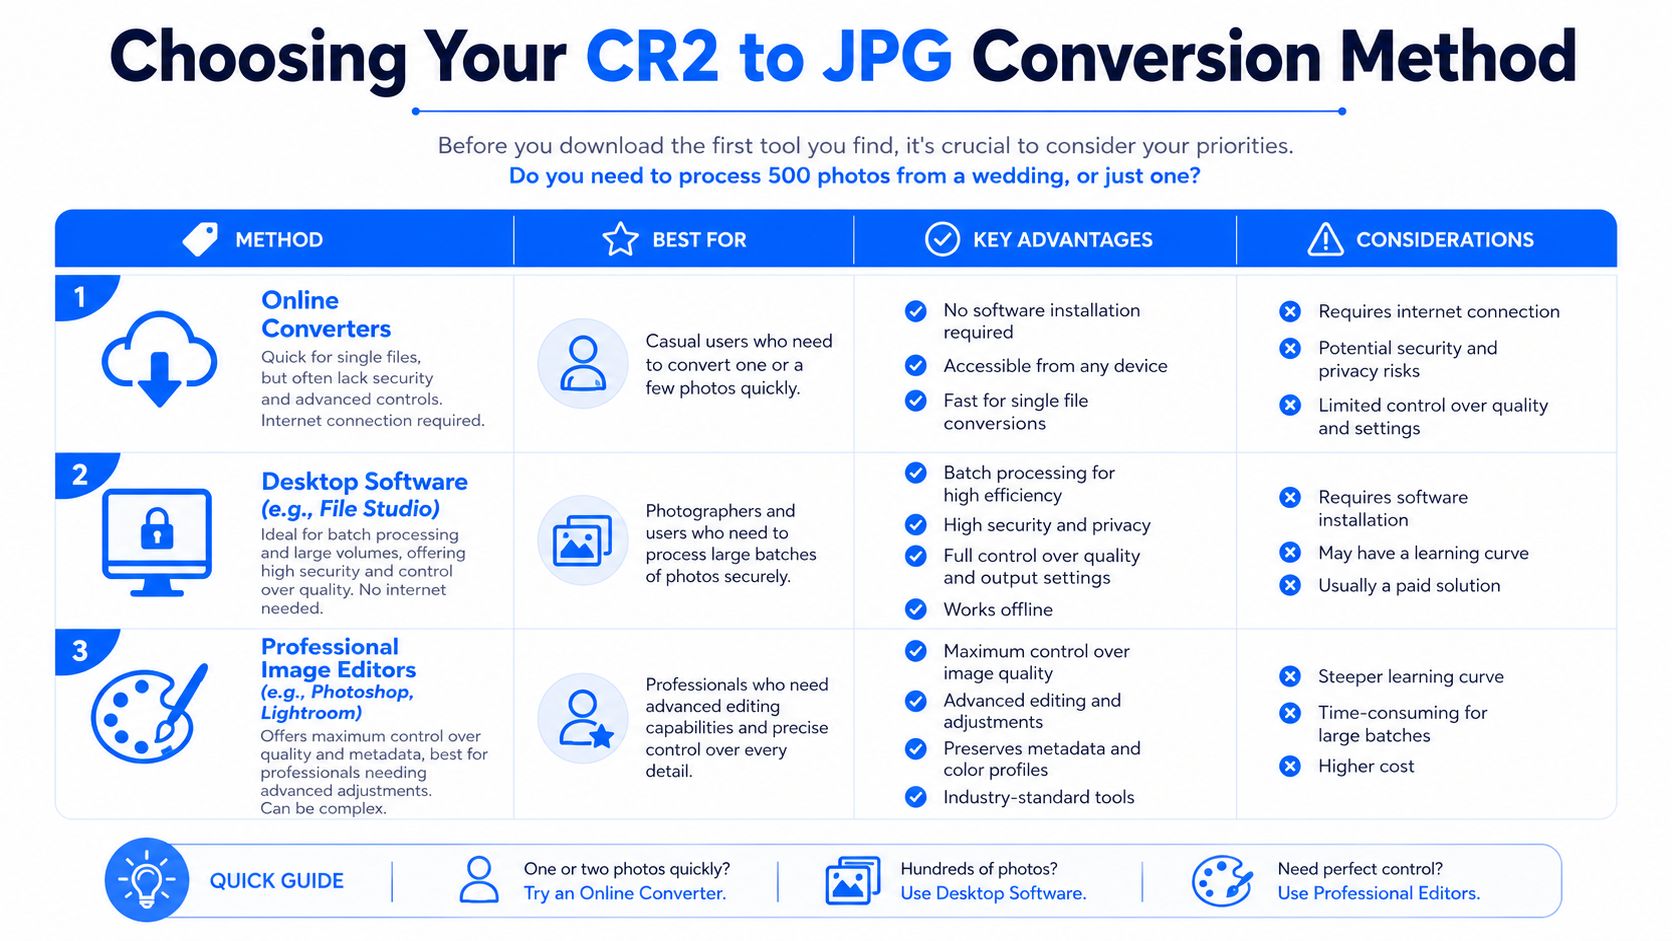
There isn't one universal answer to how to convert CR2 to JPG. The right method depends on what you care about most. Sometimes you want speed. Sometimes you want maximum control over color and metadata. Sometimes you just need to avoid uploading sensitive files to a third-party server.
Pick based on what matters most
Privacy deserves more attention than it usually gets. According to discussion citing independent privacy research on CR2 conversion tools, 68% of online image converters retain uploaded files for 30+ days and may embed tracking identifiers. That matters if your files contain GPS data, camera serial numbers, author information, or client-sensitive material.
If you shoot for legal, healthcare, finance, real estate, or private family clients, that alone should push you toward an offline method.
Uploading a RAW file to a converter site isn't just a format choice. It's a data-handling decision.
Other priorities matter too:
- Convenience: Online tools are fast for one image if the file uploads cleanly.
- Control: Lightroom, Photoshop, and Canon tools let you tune export quality and profile handling.
- Simplicity: Desktop utilities are usually easier for bulk conversion than full editing suites.
- Cost: Built-in OS tools and free apps can handle light use if you accept some limitations.
CR2 to JPG Conversion Method Comparison
| Method | Best For | Privacy | Cost |
|---|---|---|---|
| Online converters | One-off, non-sensitive files | Weak, because files leave your device | Usually free or freemium |
| Desktop software | Batch jobs, routine conversion, local workflows | Strong, because processing stays on your computer | Free trial or paid app depending on tool |
| Professional image editors | Photographers already using Adobe or Canon software | Strong when used locally | Often paid, unless you already own it |
| Built-in OS tools | Occasional personal conversions | Strong when used locally | Free |
The practical decision is simple. If the images are sensitive or numerous, use offline software. If you already live in Lightroom or Photoshop, stay there. If you only need a couple of casual files and don't care about deeper controls, built-in tools can do the job.
The Secure Offline Method with File Studio
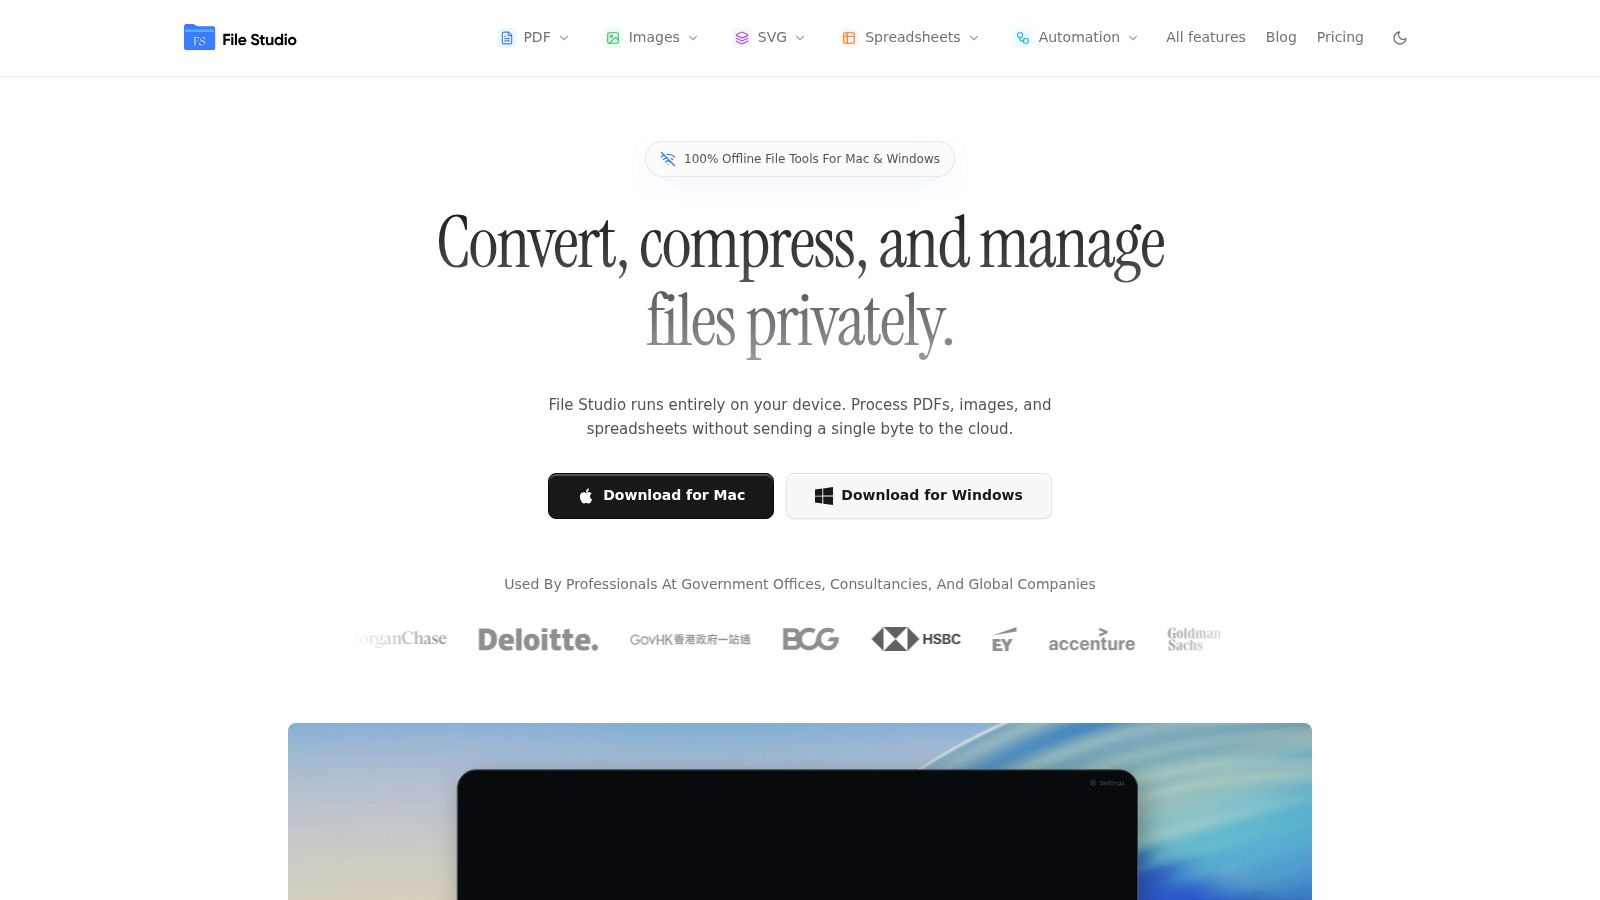
Generally, the cleanest route is a local desktop tool that handles CR2 files without forcing you into a full editing suite. That gives you privacy, batch conversion, and direct control over output quality without the overhead of Lightroom catalogs or browser uploads.
How the offline workflow looks
A straightforward offline workflow usually looks like this:
- Add the CR2 files or folder Drag in one image or a full shoot folder.
- Choose JPG as output Set the destination format before you process anything.
- Set export quality For client-facing output, stay in the high-quality range. For lighter web delivery, you can reduce quality to save space.
- Pick an output folder Keep converted JPGs separate from your RAW originals.
- Check metadata options If you're sending images outside your team, remove unnecessary metadata before export.
- Run the batch Let the app process everything locally.
If you want a local-first walkthrough, File Studio has a short guide on converting files without uploading them. The main appeal is that the files never leave the machine.
Why this route makes sense for routine conversion
This approach is especially sensible when you're handling repeated jobs. You don't need layered editing tools just to turn deliverable CR2 files into JPGs. You need something that opens the RAWs, converts reliably, preserves the result you expect, and doesn't make privacy an afterthought.
A local converter also avoids the usual browser friction:
- No upload wait
- No file-size gate from a web form
- No account requirement
- No dependency on internet access
- No accidental client data exposure through third-party storage
The trade-off is that a dedicated utility won't replace Lightroom or Photoshop for full photo editing. That's fine. It doesn't need to. For conversion, renaming, compression, and local metadata cleanup, a focused desktop workflow is often the more practical choice.
Using Professional Editors like Lightroom and Photoshop
If you already use Adobe tools, converting CR2 to JPG is easy to fold into your normal edit flow. The upside is control. You can adjust white balance, exposure, and output settings in one pass. The downside is that these apps are heavier than you need for quick conversion work.
Lightroom Classic export workflow
In Lightroom Classic, the clean way to do it is:
- Import the CR2 files.
- Apply your basic RAW edits.
- Select the images you want to export.
- Open the Export dialog.
- Choose JPG as the file format.
- Set a high JPEG quality level.
- Embed sRGB for predictable display on the web and on client devices.
- Export to a separate delivery folder.
That workflow tracks with benchmarked recommendations for high-integrity CR2 to JPG conversion, which report 98 to 100% conversion integrity when using Canon's DPP or Adobe Camera Raw with high-quality JPEG settings in the Q=95 to 98 range. The same recommendation emphasizes opening the CR2, applying basic adjustments, then exporting as JPEG with sRGB embedded to avoid color shifts and highlight clipping.
If your JPG looks different from the edited RAW, the first thing to check is the output color profile.
Photoshop with Image Processor
Photoshop is less convenient for large sets unless you use Image Processor. That script is buried enough that many photographers forget it exists, but it's useful when you need folder-based output without opening and saving each image manually.
A practical workflow looks like this:
- Open the folder through Adobe Camera Raw.
- Make synchronized adjustments if the files were shot under similar light.
- Run File > Scripts > Image Processor.
- Choose the source folder and destination.
- Save as JPG with high quality.
- Confirm the export profile before final delivery.
Photoshop gives you strong control, but it's overkill when the job is conversion. If you're not already inside the Adobe ecosystem, it's more tool than task.
Free Conversion Options on Windows and macOS
Free tools are useful when the job is small and the stakes are low. They're less ideal when you need repeatable output, careful metadata handling, or fast folder-based processing. Still, if you only need to convert a few files, the built-in options on your computer can be enough.
Built-in options for quick one-off jobs
On macOS, Preview and Photos can handle simple exports once the system can read the RAW file. They're convenient for a few images, especially if you just need a quick JPG for email or a slide deck.
If you're newly on a Mac and still learning where Preview, Finder, and Photos fit into your workflow, this guide for new Mac users helps with the broader adjustment. It's useful context because a lot of CR2 frustration on macOS is really just unfamiliarity with where Apple hides basic file actions.
On Windows, the Photos app can work once RAW support is installed. For occasional use, that's often enough. Open the file, check that it renders correctly, then export or save a JPG version.
The caution with built-in tools is consistency. CR2 files require a proper RAW decode path, and they're based on the TIFF standard with a two-stage conversion process. As noted in this technical discussion of CR2 conversion and profile handling, a color profile mismatch can cause a noticeable color shift if you don't embed the right profile, such as sRGB.
Free tools with more control
If you need more than the operating system gives you, free utilities can fill the gap.
- IrfanView on Windows: Fast and lightweight, good for bulk image tasks if you install the right plugins.
- GIMP on Windows or macOS: More flexible, but slower for simple batch conversion.
- Canon DPP: Worth using if you want Canon's own RAW handling without moving into Adobe.
If your work regularly involves large folders, batch output becomes the key dividing line. A dedicated batch workflow is much easier to live with than repeated one-file exports, and this batch image converter overview shows the kind of setup that saves time when conversion is part of your weekly routine.
Mastering Quality Settings Metadata and Batch Processing
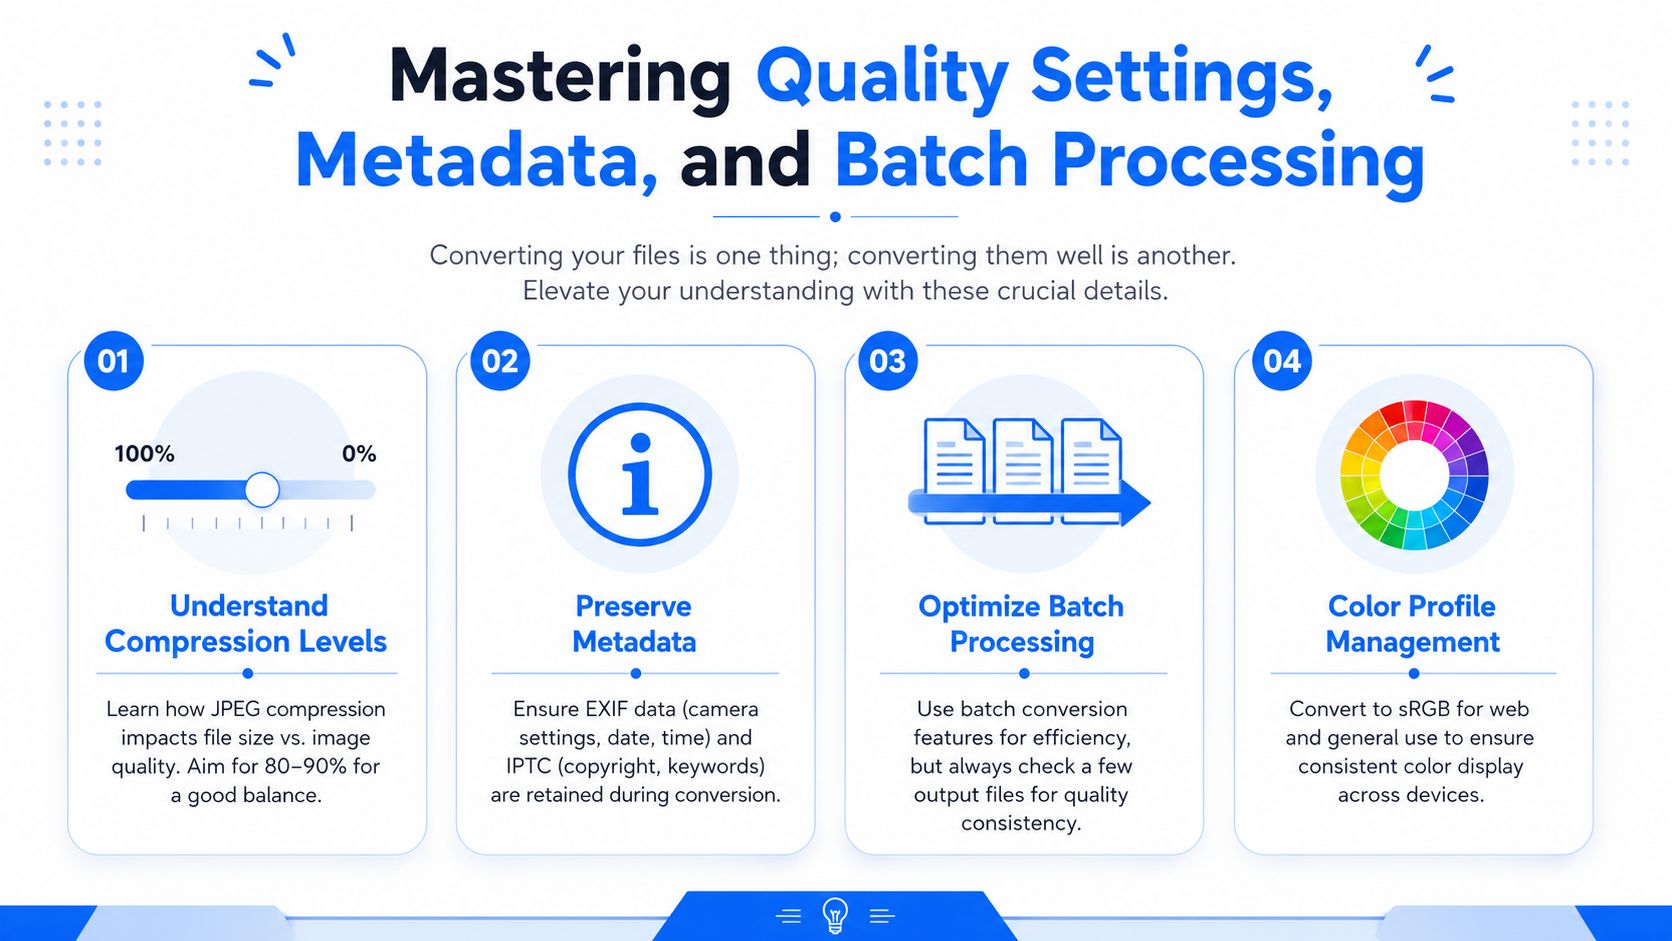
A CR2 to JPG conversion is only finished when the JPG is fit for its job. I usually judge the export on four points: visible detail, file size, color consistency, and how much metadata leaves with the file. If one of those is off, the conversion technically worked, but the result is still wrong for delivery.
Choose JPEG quality on purpose
JPEG quality controls the trade-off between detail and file weight. For client-facing images, I keep quality high enough to avoid visible compression in skin, gradients, and fine texture. For web galleries or previews, I lower it until the file size drops without introducing obvious artifacts.
A simple working rule helps:
| Use case | Recommended approach |
|---|---|
| Client proofs | High quality, with a visual check at 100% zoom |
| Portfolio uploads | Moderate to high quality, tuned for faster loading |
| Contact sheets | Lower quality is often fine if small size matters more than fine detail |
The mistake is pushing every file to maximum quality by default. That increases storage, upload time, and delivery friction, often without a visible improvement. Test one export, inspect it closely, then lock in the setting for the rest of the batch.
Color profile and metadata decisions
Profile handling affects how the JPG looks on other screens. For general sharing, web delivery, and client review, sRGB is usually the safest export profile because it holds up better across browsers, phones, and unmanaged displays. Adobe RGB can make sense in a controlled print workflow, but it is a poor default for broad distribution.
Metadata needs the same deliberate approach. EXIF can be useful for archive work, technical review, and licensing records. It can also expose location data, camera serial information, timestamps, and other details the recipient never needed.
That matters more with online converters. Uploading RAW files to a third-party service already raises a privacy question. Leaving unnecessary metadata in the final JPG adds another one. An offline workflow gives you direct control over both. If you want a broader look at local-first RAW workflows, this RAW image converter guide for offline processing is a useful companion.
Batch processing without surprises
Batch conversion saves time only if the settings are right before you start. A bad export preset applied to one image is annoying. Applied to 300 images, it becomes rework.
My check is simple. I export a small test set first: one bright frame, one dark frame, one image with skin tones, and one file with fine detail like hair, foliage, or fabric. That catches the usual problems fast, including over-compression, poor white balance, clipped highlights, and color shifts.
A few habits make batch work more reliable:
- Export a small sample before committing the whole folder
- Save to fast local storage instead of a synced cloud folder if speed matters
- Keep filenames structured so the JPGs stay traceable to the RAW originals
- Decide in advance whether to keep or strip metadata, rather than accepting the software default
If you convert CR2 files regularly and want to keep everything local, File Studio is a practical option for Windows and macOS. It handles RAW-to-JPG conversion offline, supports batch processing, and fits the kind of workflow where privacy matters as much as convenience.